Recipe: Three Ingredient Nutella Brownies

IMG_1762

While these aren’t exactly healthy, per se, they do hit the spot when you’re hit with a craving for super-fudgy brownies and have very few ingredients on hand.

Just three, to be exact: Eggs, salt and Nutella. Yes, Nigella Lawson is a genius.

And if Nutella’s not a staple in your pantry, well, then it’s a great excuse to stock up because this dessert is a surefire crowd-pleaser!

Three Ingredient Nutella Brownies

(original recipe here)

Ingredients: 

  • 4 extra-large eggs
  • 2 pinches of fine sea salt
  • 1 cup Nutella chocolate hazelnut spread

Directions: 

  1. Preheat oven to 350° F. Line the base and sides of an 8-in.-square cake pan with parchment paper.
  2. Using an electric mixer with the whisk attachment, beat eggs and one pinch of salt on high until mixture doubles in size and is pale and mousse-like (about 5 minutes).
  3. Place Nutella in a microwave-safe bowl, and heat for about 1 minute, stirring after 30 seconds, or until slightly runny.
  4. With mixer on medium-high, slowly drizzle all of the heated Nutella into the eggs until fully combined (the volume of the eggs will decrease).
  5. Pour mixture into prepared pan, sprinkle with another pinch of sea salt, and bake for 20-30 minutes or until a toothpick comes out clean.
  6. Cool completely in the pan (about an hour) before removing from pan. Cut into 16 squares and serve.
Are you a Nutella fan, or no? If, so, what’s your favorite way to savor the spread?

Recipe: “Angeled” Eggs

IMG_1632

What’s not to love about eggs?!

They’re cheap, easy to make and super versatile — not to mention full of protein, fats and 12+ vitamins and minerals — which is why they’re a staple in our house, particularly these past few months during ’round-the-clock eating and bun-in-the-oven baking.

Ben’s favorite way to consume them is something he calls the “poor man’s deviled egg,” a recipe he created in college. Ready for it? You grab a hard-boiled egg, and squirt yellow mustard on it in between bites, usually while standing over the kitchen sink.

While I can’t knock his, uh, creativity…stomach space is at a premium these days, so I need something that packs a bit more of a punch in the nutrient density department.

Enter “Angeled” Eggs. By replacing the usual mayo with a healthy zing of hummus, you’ll not only save a few calories but also add extra protein, iron and fiber into one incredible little snack.

“Angeled” Eggs

(adapted from PopSugar’s recipe here)

Ingredients: 

  • 1 dozen hard-boiled eggs
  • 1 16-ounce container hummus
  • Smoked paprika

Directions: 

  1. Remove shells from hard-boiled eggs while rinsing under cool water to help separate.
  2. Cut eggs in half lengthwise, carefully scoop out yolks and place them in a bowl.
  3. Mash yolks with a fork. Add hummus, and mix together until creamy.
  4. Spoon the egg mixture into the egg-white halves. Top with a pinch of smoked paprika, and serve immediately.
Got any quick, easy & healthy egg recipes to share? I’m always on the lookout!

15 Healthy Snacks for the Pregnancy Homestretch

SmartSnacks

Combine shrinking stomach space and a temperamental tummy with the mounting nutritional needs of growing a baby, and you’ve got a potential recipe for pregnancy disaster.

Case in point: When an earlier ultrasound revealed that Baby H might be measuring behind, my doctor had me double down on healthy fats, cut back on exercise and increase meal frequency. Now we know it was just a wonky measurement due to breech positioning, but nothing like another dip on the emotional roller-coaster that comes with being a first-time mom! 

Normal-sized meals may be out the window, and lack of time and energy can make it tempting to grab whatever’s nearby (or cave in to cravings) so I’ve been relying heavily on snacking. Having the following 15 mini-meals in my arsenal have been key to putting my mind at ease — and keeping my blood sugar levels from dropping.

1. Protein Shakes. Convenient grab-and-go-option for a quick shot of protein and calcium; my go-to is banana, ice, protein powder, peanut butter and milk in my trusty immersion blender.

2. Cheese Sticks & Crackers. Protein, calcium and just the right amount of carbs when you’re craving something salty and starchy.

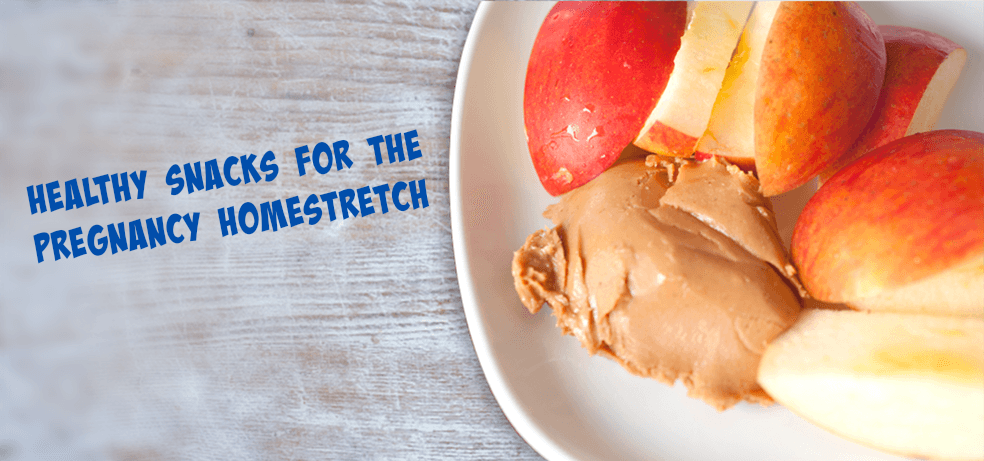
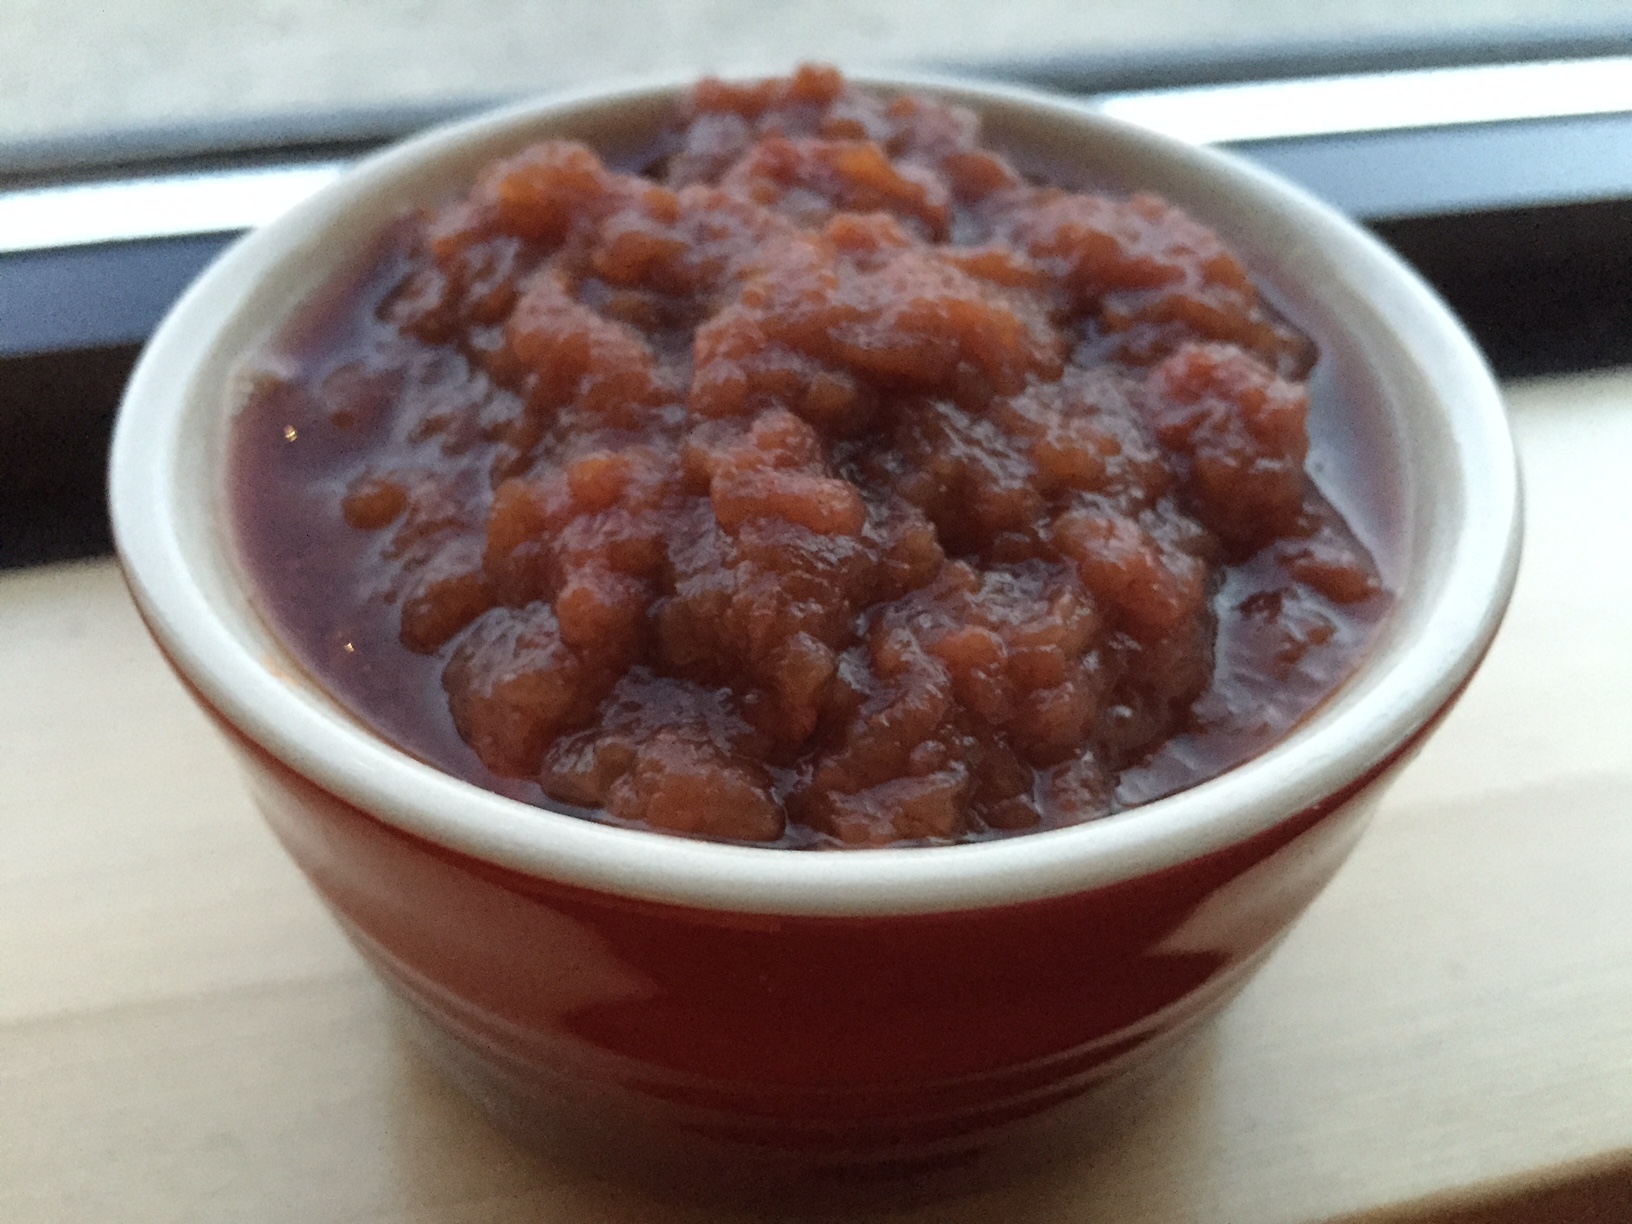
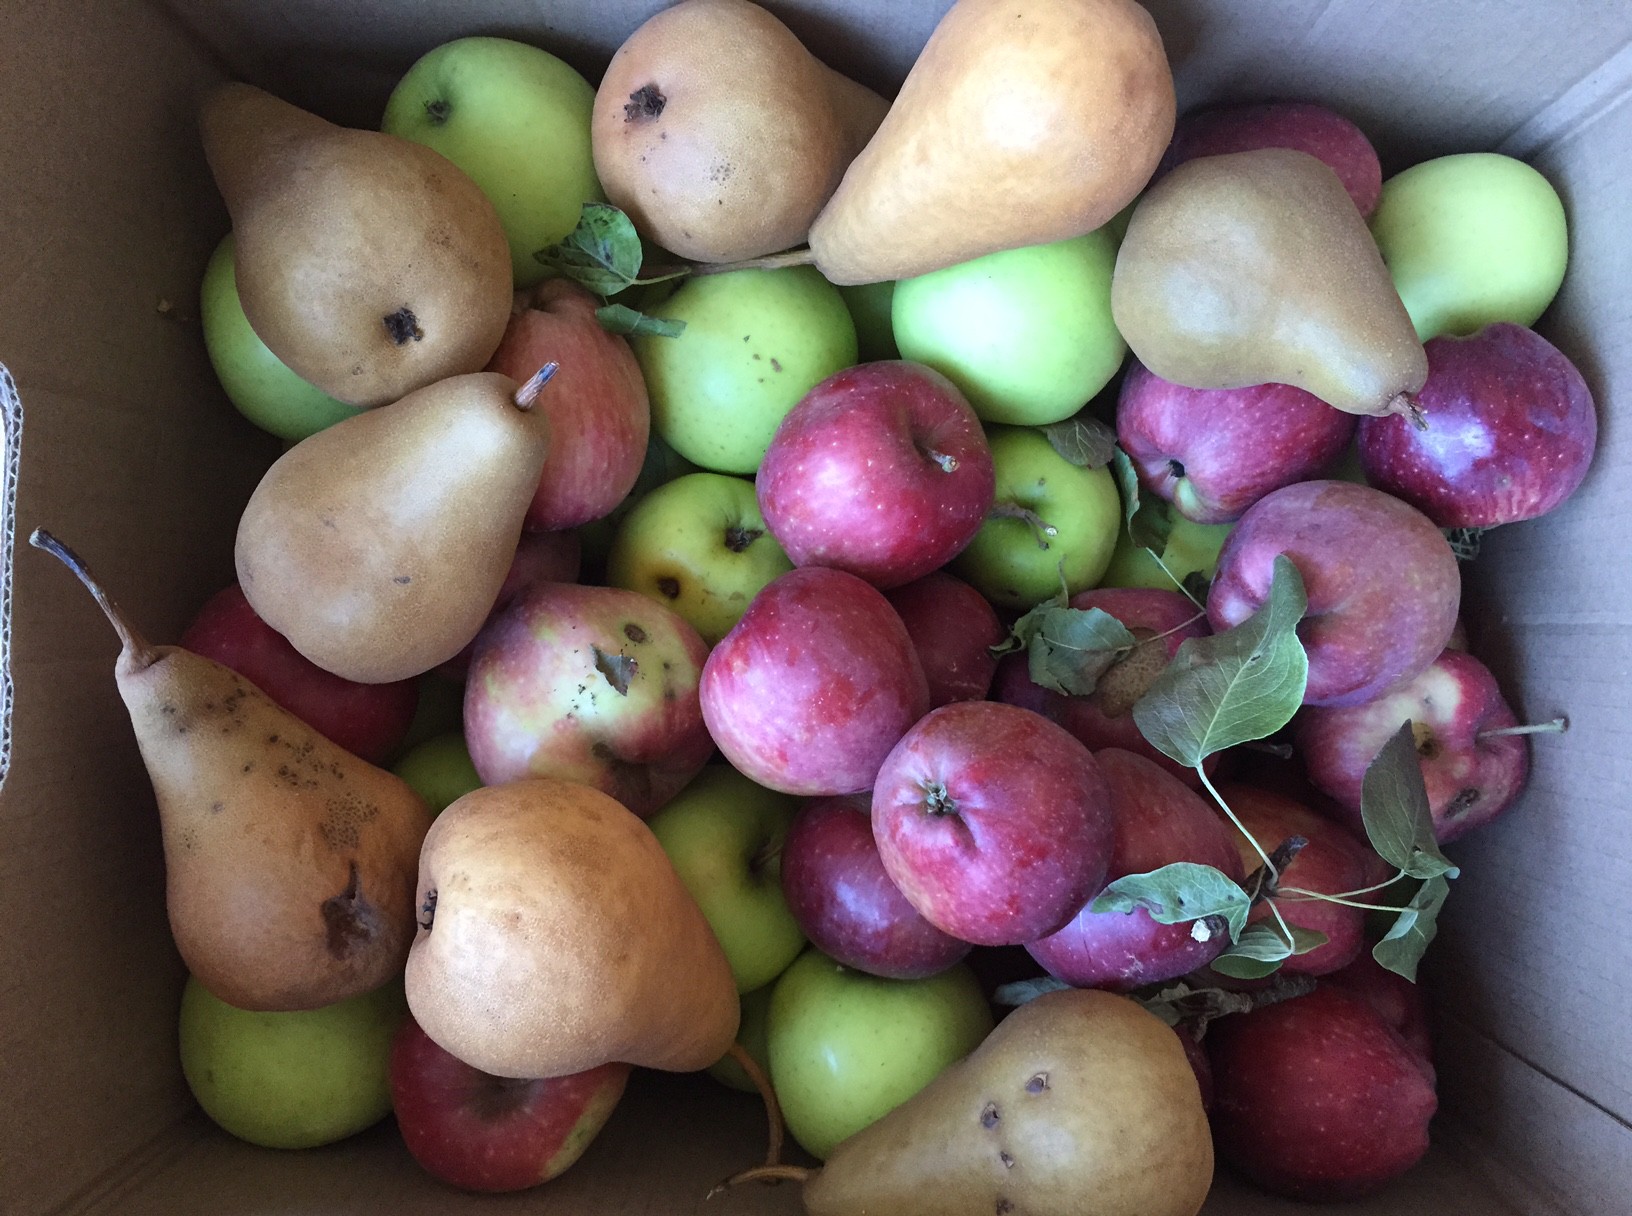
3. Fruit with Nut Butter. Think of your usual apples, bananas and pears as a blank canvas for all the great butter flavors and blends out there.

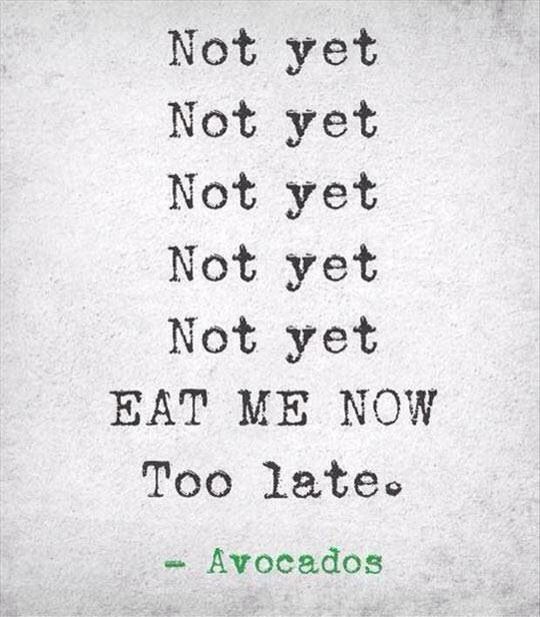
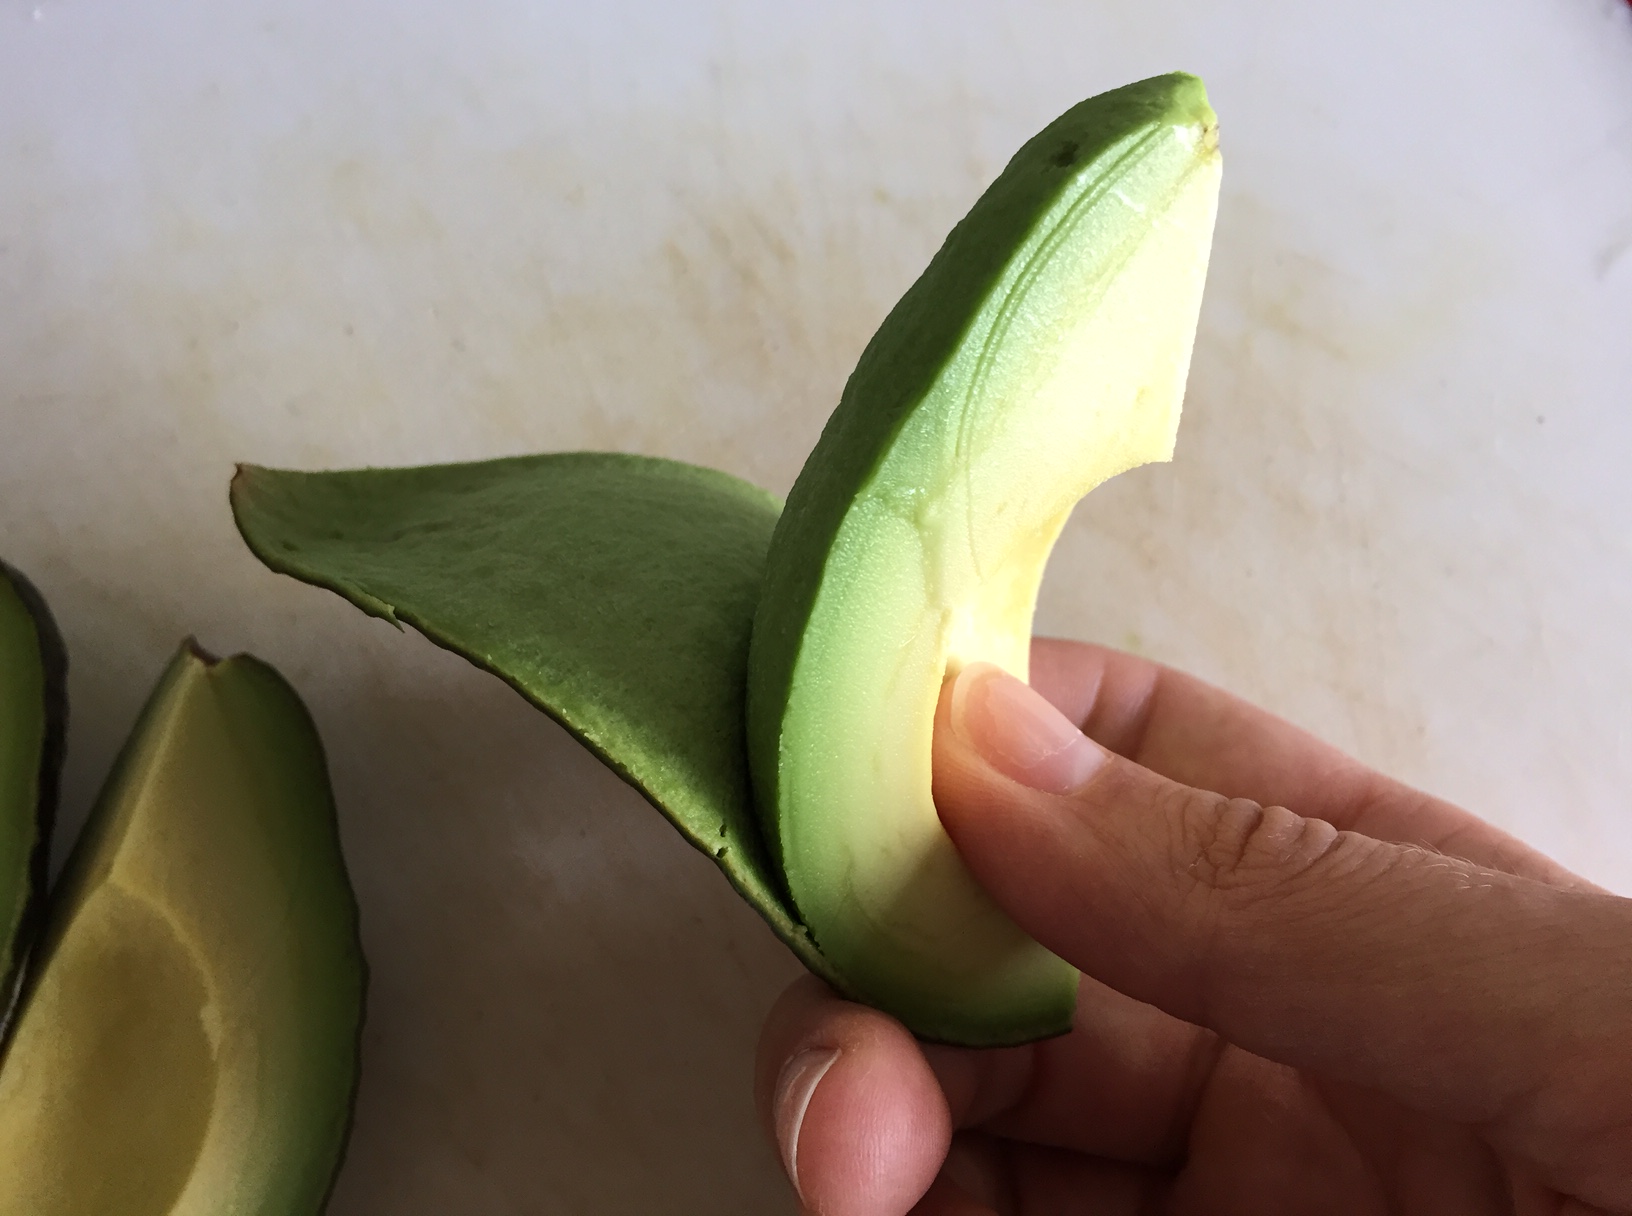
4. Guacamole. Avocados are a wonderful source of good fats, and they’re especially delicious as a zesty dip (for chips) or spread (for sandwiches).

5. Cereal & Milk. Although my current favorite is shredded wheat with fruit in the middle (fiber!), I’ve eaten my fair share of fortified kids’ cereals without guilt these past nine-plus months.

6. Yogurt, Granola & Berries. One of my very favorite breakfasts, this parfait delivers good protein, nutrients and fiber without being too filling.

7. Oatmeal & Mix-ins. Pick a theme — sweet or savory — and there’s no limit to the amount of good stuff that can be packed into one bowl!

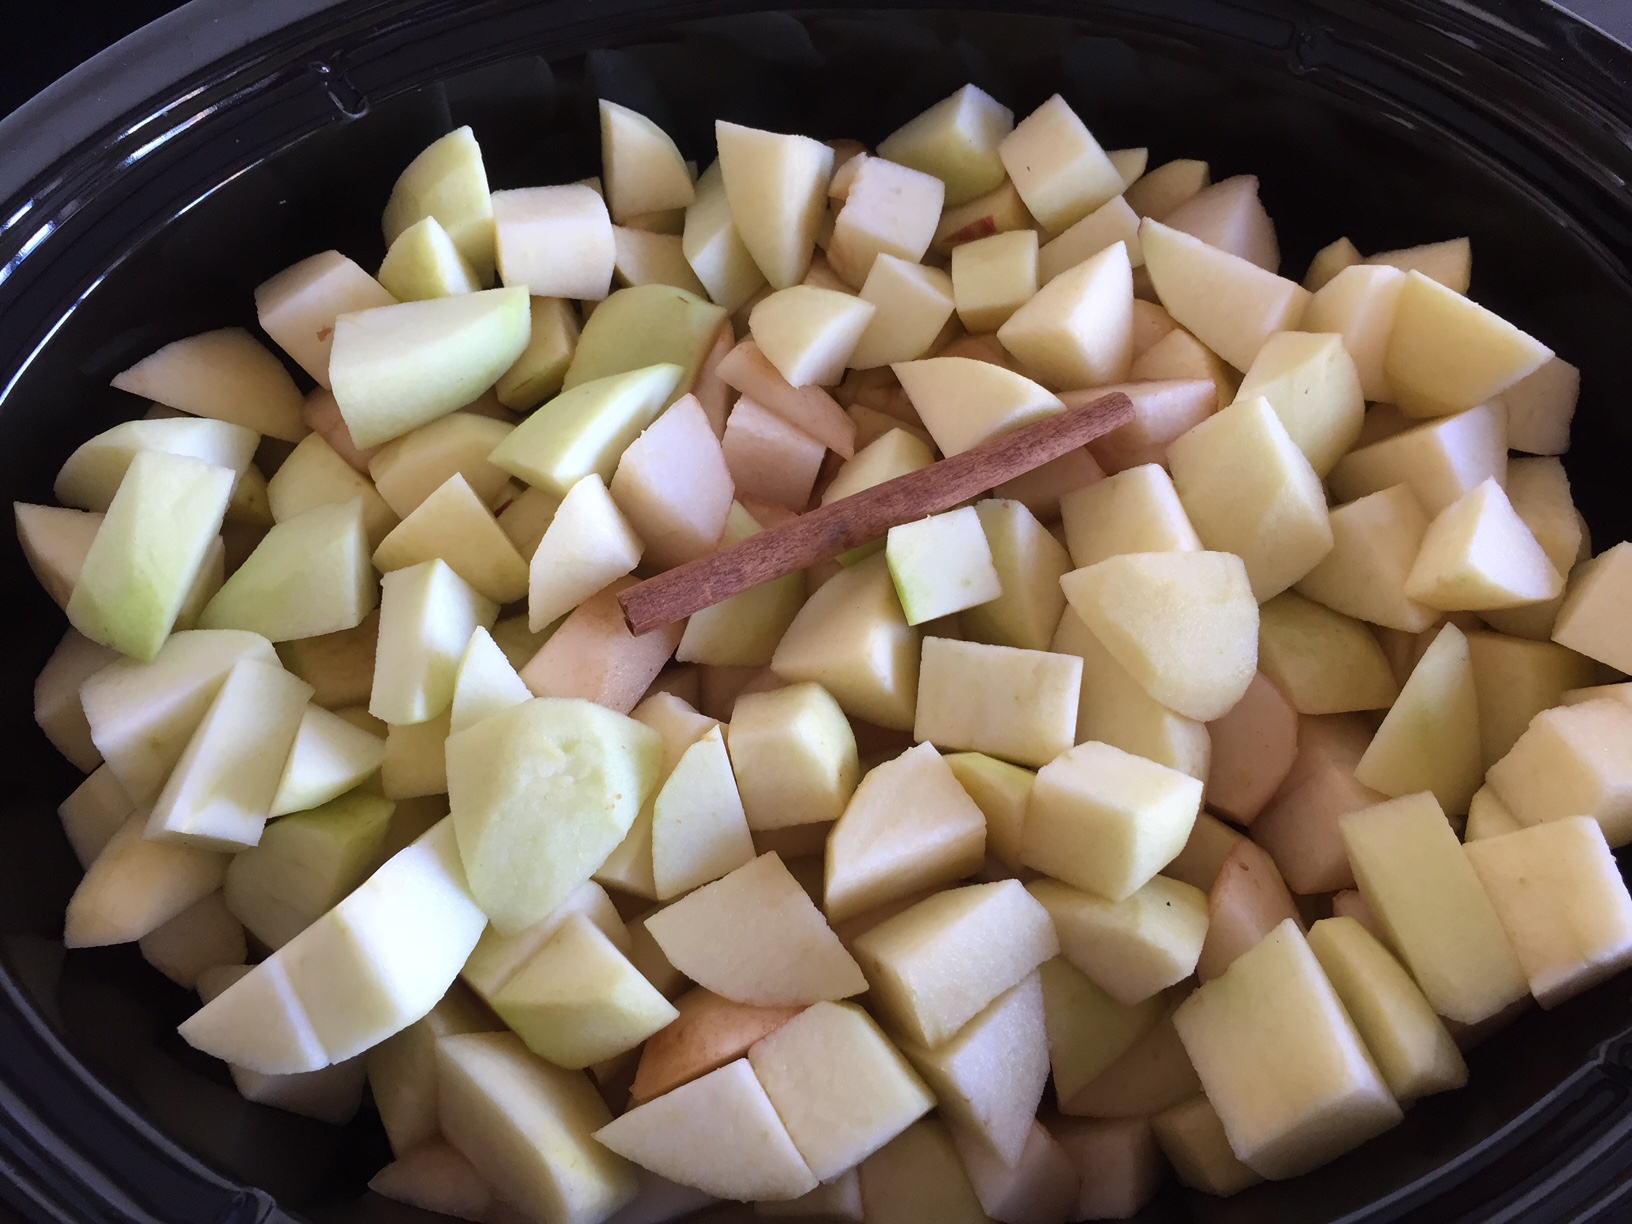
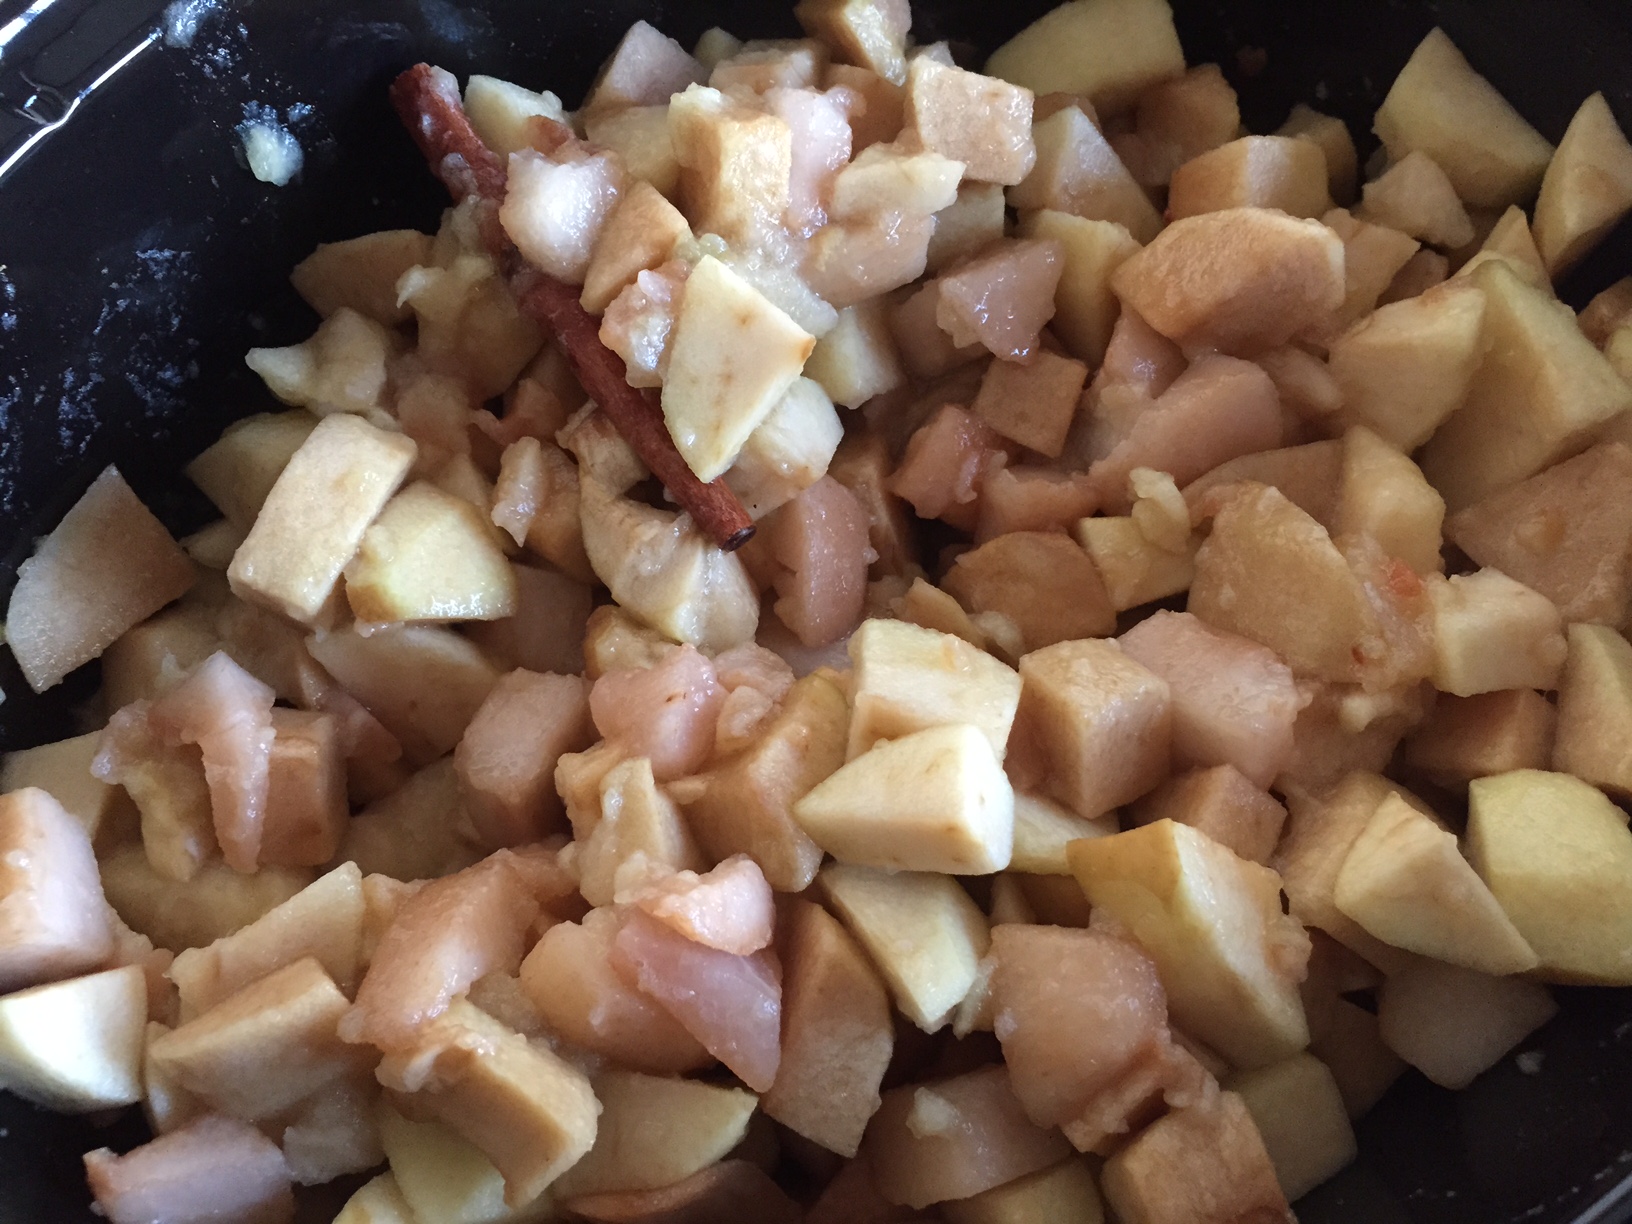
8. Fresh Fruit. Delicious, portable, bursting with nutrients and full of flavor, I aim for a few servings a day to add variety to my diet.

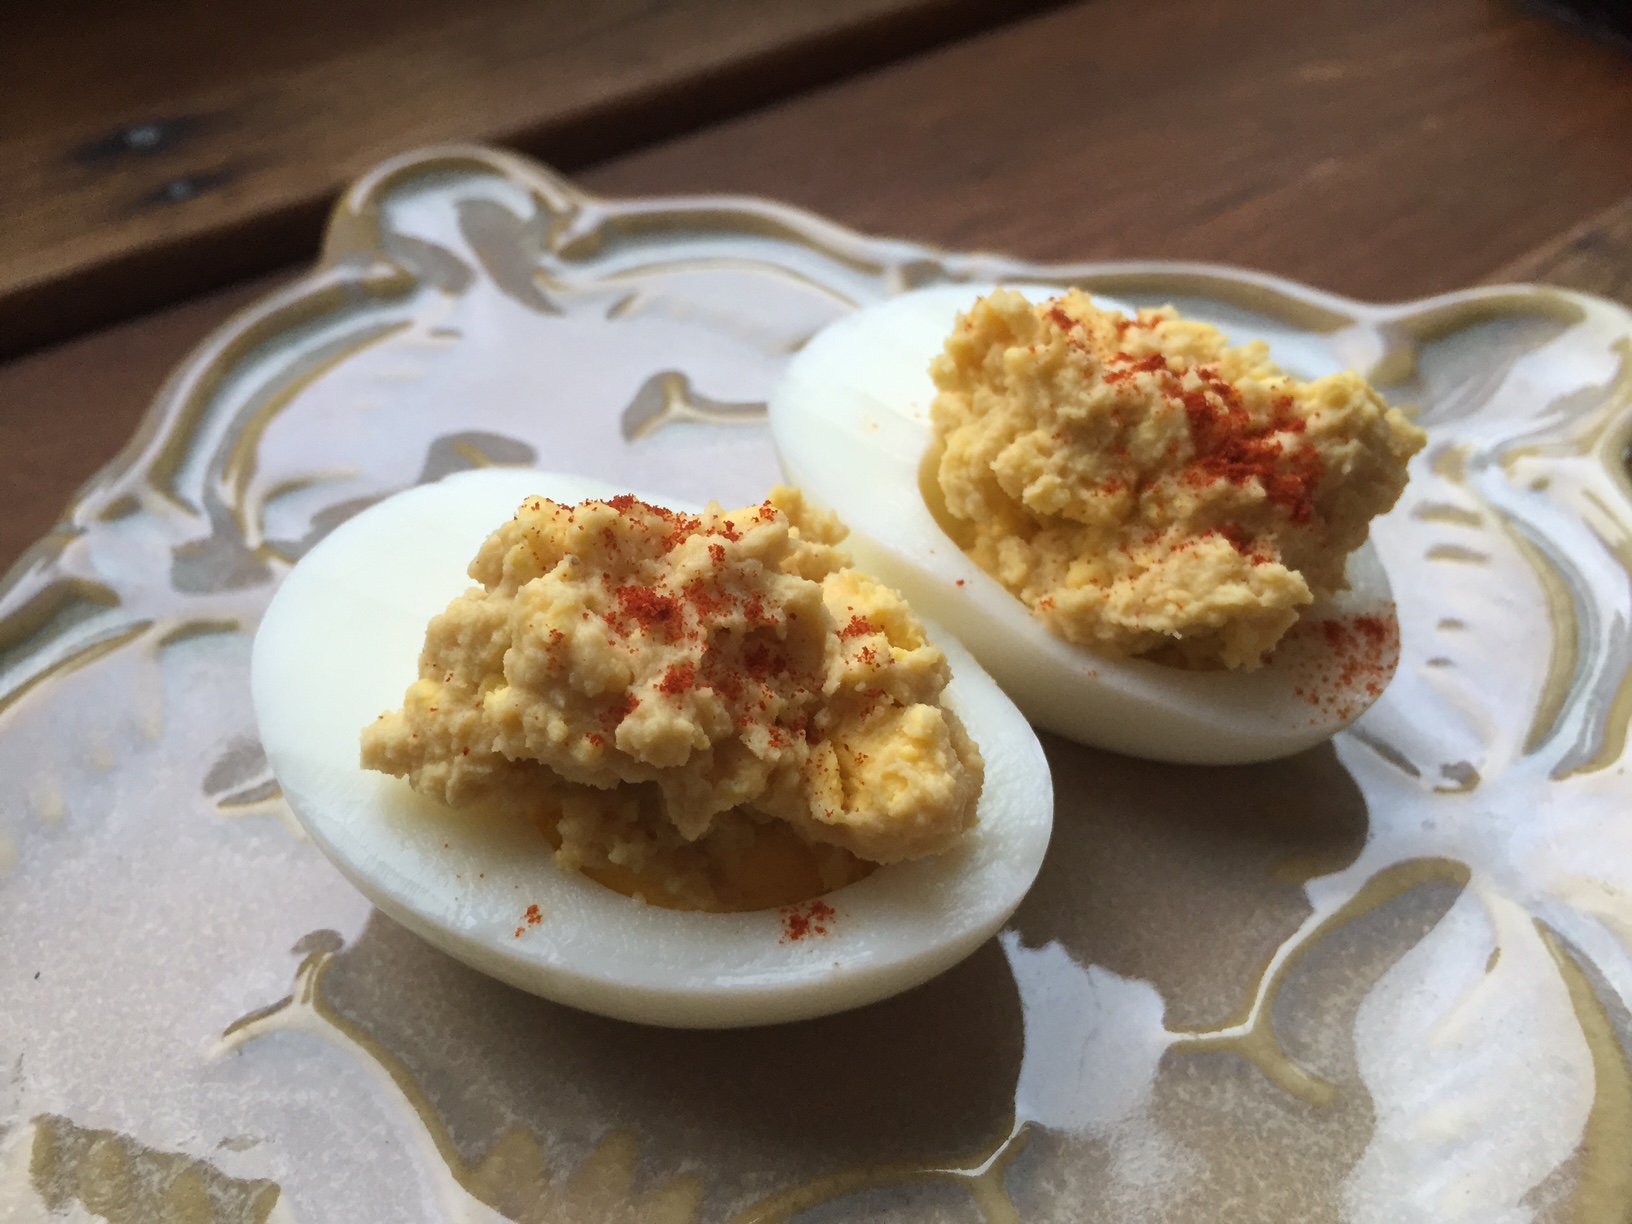
9. Hard-Boiled Eggs. Incredible and edible, these protein-packed bites are a great way to stay satiated between meals and keep energy levels steady.

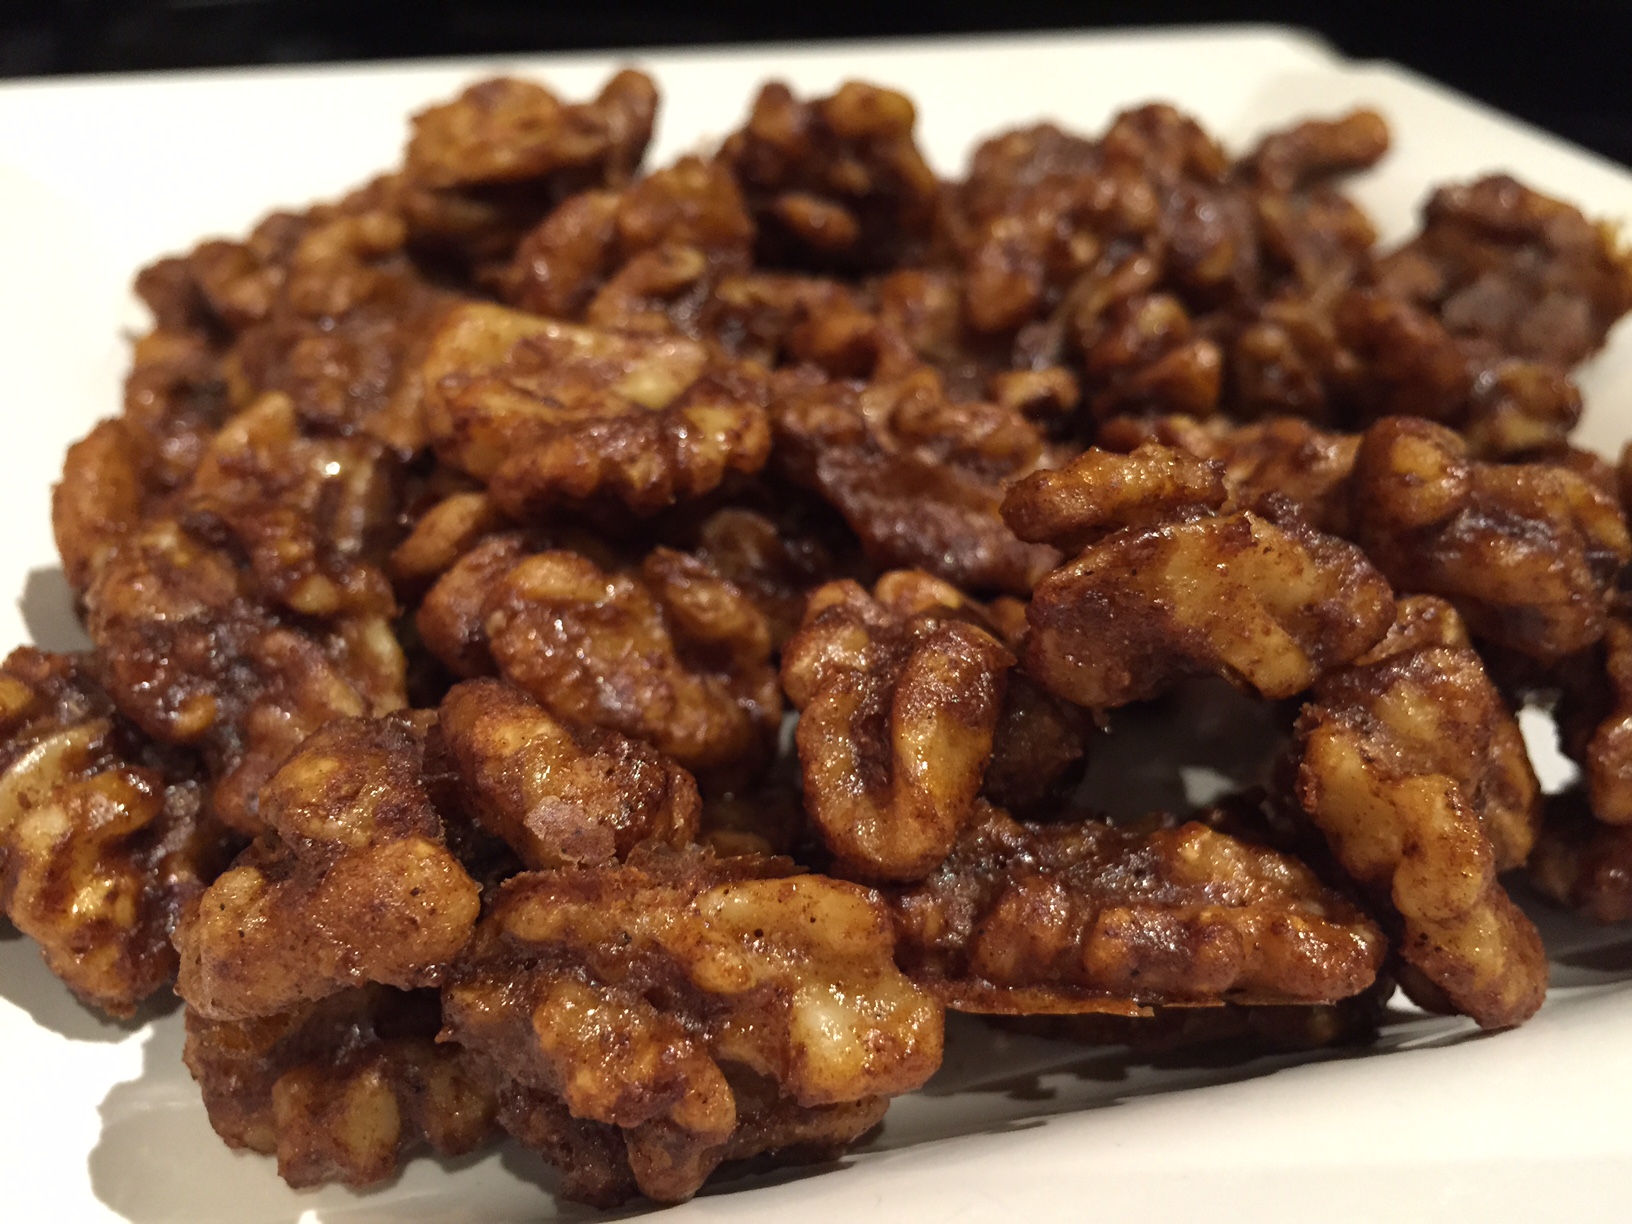
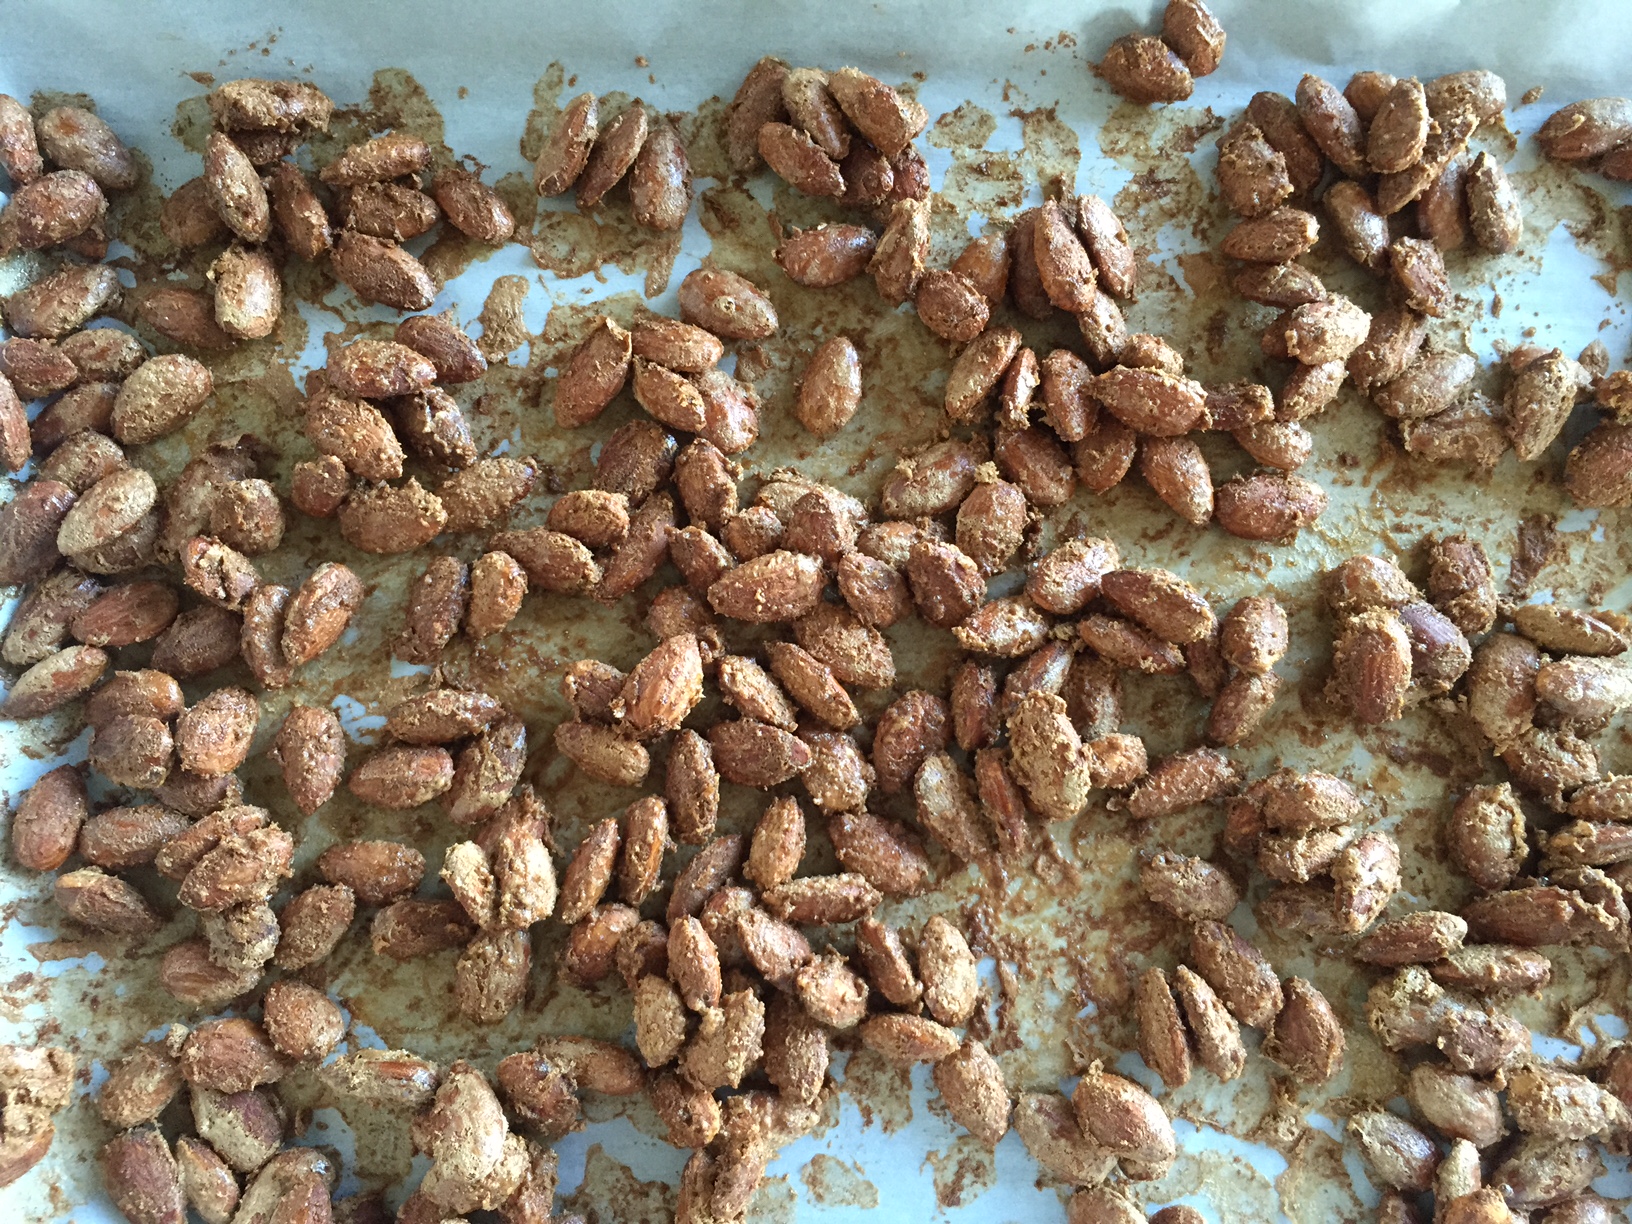
10. Dried Fruit & Nuts. Mix and match for a sweet and salty treat that’s great for taking with you for anywhere, anytime snacking.

11. Ants on a Log. Don’t discount the old childhood throwback! Spread your favorite peanut butter on celery sticks, and top with raisins.

12. Cottage Cheese & Sunflower Seeds. I know, I know…it’s a weird combo. But don’t knock it ’til you try it — the creamy, crunchy, savory flavors hit the spot.

13. Dates With Cream Cheese & Walnuts. Halve dates, fill with a smear of cream cheese and top with a walnut. Also makes an elegant appetizer!

14. Baby Carrots & Hummus. When you’ve got a craving for crunch, nothing does the trick quite like this sweet, tangy combination.

15. Healthy Bars. Make your own or pick up a few favorites (mine are KIND, LUNA and Larabar) to pack in your purse for when hanger strikes.

What are your favorite pregnancy (and non-pregnancy!) snacks? 

Recipe: Zest Nutrition’s Sweet & Spicy Walnuts

IMG_1049

When your doctor suggests that you double down on healthy fats to help your baby pack on the pounds in its last few weeks in utero, you happily oblige. Especially when you know you’ve got friends with something delicious up their sleeves to help perk up plain old nuts.

Typically, candied nuts are coated in butter and refined white sugar. But Megan and Anna, the brilliant minds behind Zest Nutrition, created a recipe that uses egg white instead of butter and maple syrup and coconut sugar for natural sweetness.

These tasty tidbits are their creation, which totally hit when spot when you’re looking for a quick sweet-n-savory snack. In fact, they’re downright addictive. You’ve been warned!

Sweet & Spicy Walnuts

(via Zest Nutrition)

Ingredients:

  • 4 cups walnut halves
  • 2 egg whites
  • 1/4 cup maple syrup
  • 3 tablespoons coconut sugar
  • 4 teaspoons cinnamon
  • 2 teaspoons chili powder
  • 2 teaspoons salt

Directions:

  1. Preheat oven to 350F.
  2. Coat walnuts in egg white and maple syrup.
  3. Stir together remaining ingredients and toss with walnut mixture.
  4. Bake for 20 minutes, option to stir halfway through.
  5. Allow to cool completely before storing. Flavors enhance once nuts have cooled and the crunch has set in.
How do you incorporate healthy fats into your diet?

‘Boning Up’ on the Bone Broth Trend (+ DIY Recipe)

IMG_0617

“We are indeed much more than we eat, but what we eat can nevertheless help us to be much more than what we are.” – Adele Davis

If you’ve been hearing a lot of buzz about bone broth recently, you’re not alone. But what exactly is the difference between stock, broth, consomme, and bouillon? And why are people raving over bone broth, in particular, for its healing and nourishing benefits?

With those questions in mind, I popped into the ZOOM+Performance lab last week to learn more from the first of their lunchtime classes. Local expert Tressa Yellig from Salt, Fire & Time was on hand to educate us about this savory elixir and how she believes it’s one of the simplest and most powerful food remedies you can have at your disposal.

According to Yellig, bone broth stands head and shoulders above other stock-type liquids because it’s cooked for a long time (up to three days) over a low heat (roughly 180 degrees) in order to extract all the good stuff — gelatin, nutrients and minerals — from bones.

So what else makes bone broth so special? Well,  for starters it’s rich in calcium, magnesium, iron, silicon, phosphorous, sulphur and other trace minerals, meaning it’s nutrient-dense. Plus, it contains a host of other unique and powerful substances, including marrow, cartilage, glycine, proline, collagen and gelatin, which are thought to help support the immune system, reduce inflammation and promote healing.

What I found most interesting, however, is when Yellig talked about bone broth also being a “protein sparer,” which means that it helps create adequate nutrition in the short-term absence of protein (read: when you’re sick and the last thing you feel like eating is a hunk of meat). Not to mention it hits the spot on these cold and dreary Portland winter days…

IMG_0619

Bone broth can be enjoyed as it is (with a little salt to enhance the flavor). Yellig also suggested experimenting with it as a base for soups, stews, sauces, gravy, cooking grains, vegetables, savory baked goods or with beans.

It’s pretty simple to make, so if you’ve got the time or inclination she shared this recipe to help you get your bone broth on at home:

Basic Bone Broth

(courtesy of Salt, Fire & Time)

Ingredients: 

  • About 1 pound of mixed bones per quart of purified water
  • Splash of vinegar (cider, red or white wine, rice or lemon juice)
  • Vegetables and herbs for flavor (optional)

Directions: 

  1. Place bones in a medium to large stock pot and add water to cover.
  2. Mix in the splash of vinegar and allow to sit at room temperature for about an hour. Note: If there’s a lot of meat on the bones, roast them first for flavor. 
  3. Bring the pot up to a gentle simmer (about 180 degrees) and allow to continue for 8-72 hours
  4. Add the vegetables and herbs in the middle of your cooking time.
  5. Strain out he bones, vegetables and herbs, and allow to cool.
  6. Package in glass containers for refrigerator storage (2 weeks) or plastic freezer bags or ice trays for freezer storage (3 months).

Or if the prospect of babysitting a simmering pot on the stove for a few days is too daunting, you can always swing by Yellig’s Broth Bar here in Portland. She offers a bunch of condiments, stir-ins and add-ons to customize each steaming cup to your liking.

Not local? You’re in luck. Salt, Fire & Time also has an online shop that ships all kinds of delicious goodies ’round the country.

Are you on the bone broth bandwagon? Why or why not?

Recipe: Crock-Pot Apple-Pear Sauce

IMG_9170

While I’m on my apple kick, I figured I’d share another family-favorite fall recipe: Crock-pot apple-pear sauce, otherwise known as the gift that keeps on giving.

Not only do you get to have fun hitting up the orchard to collect bushels of fruit (or in our case, my in-laws’ backyard — thanks, guys!), but then you get to come home and reap the benefits of its deliciousness.

What I especially love about this recipe — well, besides the eating part — is that it’s practically foolproof. Three ingredients, loose directions, and in a few hours you’ll have some pretty amazing sauce to share (…or not).

Crock-Pot Apple-Pear Sauce

Ingredients:

  • ~20 small apples (your favorite variety)
  • ~10 pears (I use Bosc)
  • Cinnamon stick

Directions:

  1. Rinse, dry, peel and roughly chop enough of the apples and pears to fill your Crock-pot to the top. Add a stick of cinnamon.
  2. Turn Crock-pot on low and cook fruit until it starts to break down (a few hours), stirring occasionally.
  3. When fruit has cooked down (i.e. darkened up and gotten mushy), remove cinnamon stick and use spoon to break up any remaining large chunks.
  4. Let cool before eating. If desired, use an immersion blender to blend to a smooth consistency, but I like the rustic, chunky kind of sauce!

Hint: I like to have a few extra apples and pears on hand; as the fruit breaks down, it takes up less room in the Crock-pot (if you start with it full to the brim, you’ll end up with a half batch), so I’ll add more fruit as it cooks to end up with a full batch.

IMG_9099

Here’s the “before” — with fresh fruit and a cinnamon stick in the Crock-pot just as I turned it on. Resist the urge to add water or sugar (you’ll see why when you taste the finished product).

IMG_9100

And the “during” in which the fruit starts to brown up and break down. Be sure to stir regularly to avoid it sticking to the sides and bottom.

IMG_9107

And since I started this batch in the afternoon and added more fresh fruit before bedtime, I let it cook on low overnight so we’d wake up to a sweet surprise with breakfast the next morning!

Are you as apple-obsessed as I am in fall?

Recipe: Apple, Sausage & Cheddar Monkey Bread

IMG_8978

Fall means a lot of things, but perhaps the one I get most excited about is…APPLES! Squeezed into cider, drizzled with caramel or melted down into sauce in the crockpot, they’re delicious (and nutritious!) any which way you can get your hands on them this time of year.

This recipe stopped me in my tracks, though, as I was flipping through the latest issue of Real Simple magazine. Could my favorite fall-themed fruit also play well with biscuits, sausage and cheese?

Only a taste test would tell. So I made this dish one Sunday for a football-watching brunch with Ben. It says it serves 12, but we may have eaten half the pan by noon…using the excuse that it was good pre-workout fuel, of course.

Apple, Sausage & Cheddar Monkey Bread

(recipe adapted from Real Simple)

Ingredients: 

  • 16-oz. turkey breakfast sausage
  • 2 diced red apples
  • 16-oz. can biscuit dough, cut into 1-in. pieces
  • 1.5 cups grated cheddar cheese

Directions: 

  1. Preheat oven to 425° F. Cook sausage in a 10-inch cast-iron skillet over medium heat until browned.
  2. Stir in apples. Cook until the apples are soft; transfer to a bowl. Stir in biscuit dough.
  3. Spread mixture into the skillet, and top with cheddar. Bake until golden, about 22 minutes.

IMG_8976

What’s your favorite out-of-the-box apple recipe?

Recipe: Cinnamon Roasted Almonds

IMG_8179

Nuts are the quintessential portable snack with plenty of nutrients, good fats, fiber and staying power to hold you over ’til that next meal. When I’m in  training mode they’re a great option for keeping my energy up between workouts, but now that I’m training for two, so to speak, they’re a full-blown necessity for those moments when that panicked I-NEED-TO-EAT-NOW feeling hits.

Sometimes they need a little spicing up, though — particularly when we’re on the cusp of fall, and my thoughts are drifting toward cooler days filled with cider, pumpkins, apples and all kinds of comfort food. So after I devoured a packaged of the store-bought variety, I figured it was time to take matters into my own hands and make an all-natural version at home.

And bonus: It makes your entire house smell delicious!

Cinnamon Roasted Almonds

(adapted from Taste of Home)

Ingredients: 

  • 1 egg white
  • 3 teaspoons vanilla extract
  • 2 cups unblanched almonds
  • 1/6 cup sugar
  • 1/6 cup packed brown sugar
  • 1/2 teaspoon salt
  • 1 teaspoon ground cinnamon

Directions: 

  1. In large bowl, beat egg white until frothy; beat in vanilla. Fold in almonds; stir to coat.
  2. Combine sugars, salt and cinnamon in separate bowl; add to nut mixture and stir to coat.
  3. Spread evenly into a baking sheet lined with parchment paper. Bake at 300° for 25-30 minutes or until almonds are crisp, stirring once.
  4. Cool, and store in an airtight container. Yields about 2 cups.
What are you looking forward to this fall?

Recipe: Fully-Loaded Zucchini Banana Bread

IMG_8113

Ever have a moment when you see a shot of a baked good, and it looks so tantalizing that it literally stops you in your tracks?

Ok, maybe that’s just me. 

When blogger friend Carleeh Mulholland posted pics from her recent Banana Zucchini Chia Bread baking session, I suddenly found myself at the grocery store on my lunch break to gather the ingredients.

She had tweaked the original recipe, doubling it, along with adding a cup of zucchini, 1/4 cup of chia and a extra banana for oomph. I figured I could take it a step further by taking out some of the sugar, playing with some “healthier” flours and packing in some more fiber with wheat germ.

The result speaks — or rather, shows, in the image above — for itself: a super-moist, super delicious bread that had hubby sneaking seconds (and thirds!) as a late-night snack.

Loaded Zucchini Banana Bread

(adapted from LittleBitsOf.com & special thanks to Carleeh for the heads up!)

Ingredients:

  • 2 eggs
  • 1 cup sugar
  • 1/4 cup agave nectar
  • 2 teaspoons vanilla
  • 1 cup unsalted butter, at room temperature
  • 1 cup buttermilk
  • 4 overripe bananas, mashed
  • 1 small zucchini, finely grated
  • 2 cups wheat flour
  • 1/2 cup coconut flour
  • 1/2 cup all-purpose flour
  • 1 teaspoon salt
  • 1 teaspoon baking soda
  • 2 teaspoons baking powder
  • 2 teaspoons cinnamon
  • 1/4 cup wheat germ

Directions:

  1. In a large bowl, beat together the egg, sugar, agave nectar and vanilla until combined. Add the butter and beat until smooth and the butter is fully incorporated. Beat in the buttermilk, bananas and zucchini.
  2. In a separate bowl, mix together the flours, salt, baking soda, baking powder, cinnamon and wheat germ. Slowly stir the dry ingredients into the wet until all the flour is incorporated.
  3. Spray two loaf pans with non-stick spray, and pour half of the batter in each.
  4. Bake in a pre-heated 350 degree oven for about 60 minutes or until a toothpick comes out clean.
How do you sneak healthy ingredients into your favorite recipes?

My favorite life-changing kitchen hack

c595e8c0ebcb5003204b84ec9f2fcc7d

Ok, that title is a bit dramatic. But for someone who eats — on average — an avocado a day, it’s become imperative to find an easier way to prepare these slippery little suckers.

Previously, I’d cut them in half lengthwise and clumsily attempt to peel the skin away on each side only to have it disintegrate into hand-held guacamole. Or I’d cut them in half and scoop out the flesh, but that’s not really an option if you’re looking for pretty avocado slices or dices.

Enter this genius little kitchen hack. Total game changer!

First, use a sharp knife to carefully cut a ripe avocado in half, lengthwise. You’ll have to rotate it as you go because you can’t cut through the pit, and then gently twist to get the two halves apart.

IMG_7237

Next, remove the pit by striking it with the heel of the knife until the blade goes about 1/4 into it. Carefully twist the knife to remove the pit.

IMG_7238

After that, slice each half lengthwise again. Now you’ve got it cleanly quartered and are ready to strip the skin.

IMG_7239

No more fumbling around, though. If the avocado is ripe enough, the whole piece will come off in one fell swoop. Voilà!

IMG_7240

Now you’ve got some gorgeous avocado to use however you choose. My favorites are in salads to add good fats, on sandwiches in place of mayo and in good ol’ guacamole…with tortilla chips and salsa, of course.

IMG_7241

What’s your tried-and-true kitchen hack?