Recipe: DIY Chipotle Burrito Bowl

img_5050

When people talk about weird cravings during pregnancy, I often forget to mention what Ben likes to call the “Chipotle trimester.” Burritos were my jam, and I was a regular staple in the lunch line for several months…well, pre-E. coli-outbreak, that is.

Fast forward to having said baby and moving to the ‘burbs, though, and it’s a lot tougher to make regular pit stops into ‘potle these days. Plus there’s that whole wanting-to-eat-healthier thing and the there’s-barely-enough-time-to-eat-lunch-let-alone-make-it thing, which means meal planning and prep have become necessities for us.

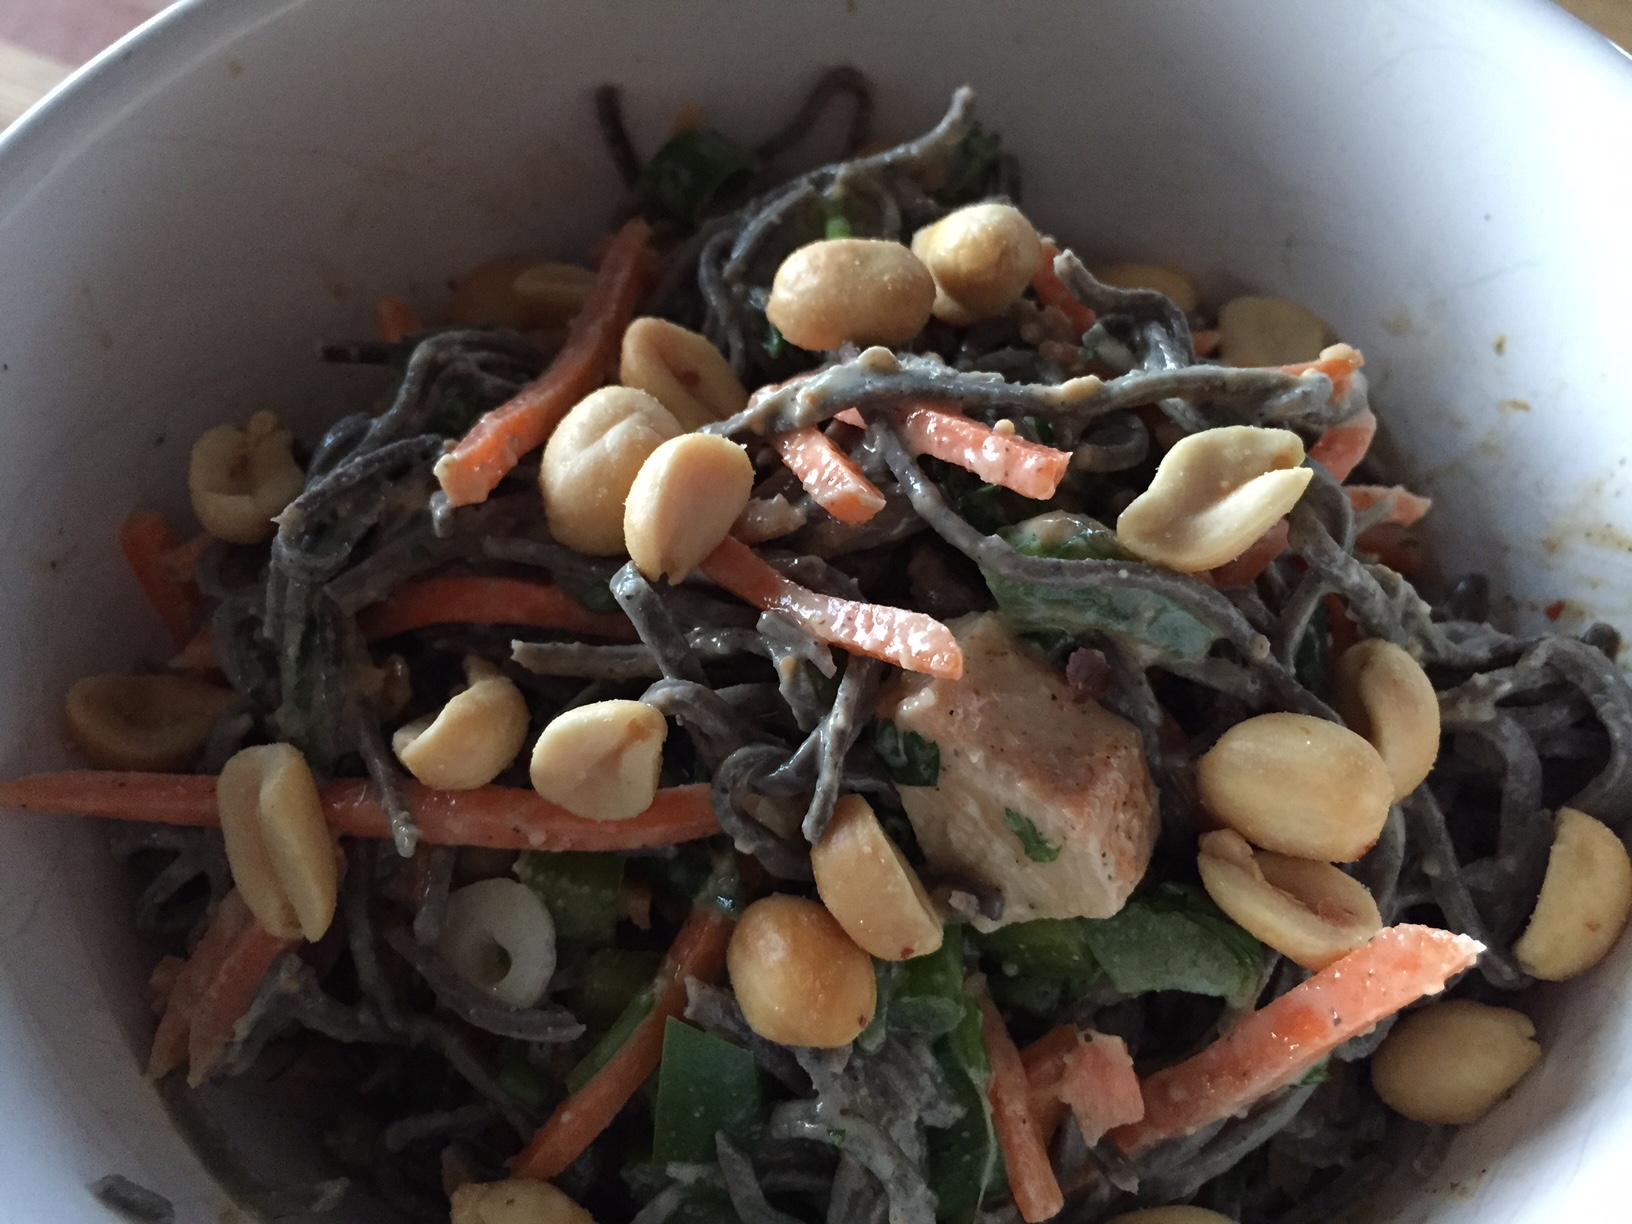
Enter the following DIY recipe, which tastes almost as good as the real deal. Toss with greens for extra nutrients, fold into burrito form or scoop straight out of the bowl with chips!

DIY Chipotle Burrito Bowl

(adapted from What’s Gaby Cooking)

Ingredients:

For the Chicken

  • 1 tablespoon vegetable oil
  • 2 chipotle peppers in adobo, finely chopped
  • 1 teaspoon garlic powder
  • 1 teaspoon ground cumin
  • 1/2 teaspoon dried oregano
  • 1/2 teaspoon black pepper
  • 4 boneless, skinless chicken thighs (or 3 boneless, skinless chicken breasts)

For the Rice

  • 1 teaspoon vegetable oil
  • 1 cup brown rice
  • 2 cups water
  • 1 lime
  • 2 tablespoons freshly chopped cilantro
  • kosher salt to taste

For the toppings

  • 1 cup pinto beans (warmed)
  • 1 cup black beans (warmed)
  • 1 cup fresh corn, cut from the cob
  • 1 cup guacamole
  • 1 cup pico de gallo
  • 1 cup finely shredded monterey jack cheese

Directions:

For the Chicken

  1. Combine the vegetable oil, chopped chipotle peppers in adobo, garlic powder, cumin, dried oregano, and black pepper in a small bowl and stir to combine.
  2. Place the chicken in a large zip top plastic bag and add the marinade. Zip the bag and mix the chicken into the marinade. Place it into the fridge and let it marinate for at least an hour.
  3. Heat an outdoor grill to about 400 degrees F (medium high heat). Place the chicken onto the grill and grill 5 to 6 minutes per side, until the chicken is cooked. Remove the chicken from the grill and let rest for 10 minutes. Chop the chicken into small bite-sized pieces.

For the Rice

  1. In a heavy saucepan, heat the oil over medium heat. Once hot, add the brown rice and lime juice and sauté for 60 seconds to toast the rice.
  2. Add the water and bring the rice to a boil. Cover and reduce the heat to low and cook until the rice is tender and all the water is absorbed.
  3. Add in the cilantro and fluff rice with a fork.

To assemble

  1. Arrange equal parts of the brown rice and chopped grilled chicken in 4 bowls.
  2. Top with equal parts of the pinto beans, black beans, corn, guacamole, pico and cheese.
  3. Season with salt and pepper as needed and serve immediately.
To Chipotle or not to Chipotle…that is today’s question. Have you been back since the E. coli scare?

Recipe: Capalbo’s Cauliflower Mac and Cheese

IMG_0505

Whenever I’m stumped for new dinner ideas, I like to ask friends what they’ve been eating. This recipe came from Anabel, who served up a new twist on a classic to rave reviews during a girls’ night.

While it’s not the super-smooth-and-creamy-chemical-laced boxed stuff, it does have a lot of good nutrients (cauliflower’s a great source of vitamin C, vitamin K, folate, pantothenic acid and vitamin B6, for example). It also hits the spot when you’re in the mood for a decadent-tasting side dish; I like to pair it with protein, like chicken or salmon.

And although mac and cheese is something I usually reserve for special occasions, Anabel assured me that it “tastes very rich and indulgent without having any butter and very little cheese.” Sold. 

Capalbo’s Cauliflower Mac and Cheese

(Adapted from “The Athlete’s Palate” in the March 2011 issue of Runner’s World)

Ingredients: 

  • 2 1/2 cups chicken stock
  • 2 bay leaves
  • 1 cauliflower, cored & cut into large pieces
  • 8 oz. whole-wheat elbow macaroni (I used an entire 13 oz. box)
  • 1/2 cup grated cheese (I used sharp cheddar)
  • 2 tablespoons olive oil
  • 1 tablespoon Dijon mustard
  • 1/8 teaspoon nutmeg
  • Salt and black pepper
  • 1/4 cup grated Parmesan cheese (I eyeball this)
  • 1/2 cup whole-grain bread crumbs (same as above)

Directions: 

  1. Heat oven to 400. Microwave cauliflower in a steamer bag for five minutes or until tender.
  2. Meanwhile, in a saucepan, warm stock and bay leaves on medium-low heat for five minutes; turn off heat.
  3. Place cauliflower blender or food processor. Add macaroni pasta to the boiling water and cook for five minutes. Drain pasta, and rinse to cool. Put pasta in a greased, 9-13-inch baking dish.
  4. Process cauliflower with stock (bay leaves removed), cheese, oil, mustard, nutmeg, salt and pepper. Note: if using a blender be sure to leave open a crack for steam to escape.
  5. Pour sauce over pasta, toss and spread evenly in dish. Top with Parmesan and bread crumbs.
  6. Bake 20 minutes or until golden brown on top.
Healthy mac and cheese — yea or nay?

Recipe: Full Belly’s Butternut Ragu Lasagna

IMG_9772

Combine fluctuating energy levels with the wintery mix of rain and darkness that’s descended upon the Pacific Northwest, and there’s only one option for dinner: comfort food.

And when it comes to this category, I’d argue that there’s not much that can compare to lasagna. It’s a one-dish meal that’s not only filling, but also extremely leftover-friendly.

This version also happens to be pretty pregnancy-friendly, as well. A solid square serves up an impressive amount of vitamins A and C, calcium, iron and folate, all of which help with the growth and health of cells and tissues in the body (i.e. baby development!).

So whether you’re building a human this season or simply in search of a more nutrient-packed twist on the traditional family favorite, this recipe is well worth a try.

Butternut Ragu Lasagna

(recipe adapted from Full Belly: Good Eats for a Healthy Pregnancy)

Ingredients: 

For the Ragu:

  • 1 Tbsp extra-virgin olive oil
  • 8 oz ground turkey (I used 1 lb)
  • 1 medium yellow onion, diced small
  • 4 garlic cloves, roughly chopped (I used garlic paste)
  • 1 small bunch Swiss chard, cut into 1/-2-in pieces (I used 1 bag cut kale)
  • 1 large butternut squash, peeled and cut into 1/4-in cubes (I used 2 lb squash already peeled and cut)
  • 4 large fresh sage leaves, thinly sliced
  • 1/2 tsp fresh thyme leaves, chopped (from about 4 sprigs)
  • 1 28-oz can crushed tomatoes
  • 1 tsp fine sea salt
  • 1/4 tsp freshly-ground black pepper (about 20 grinds)

For the Lasagna:

  • 1 large egg, beaten
  • 16 oz ricotta
  • 1/4 cup grated Parmesan cheese (I used a Parmesan/Romano blend)
  • 1.5 cups grated mozzarella cheese, divided (I used 2 cups)
  • 4 large fresh sage leaves, minced
  • 1/2 tsp fresh thyme leaves, chopped
  • 1/8 tsp freshly-ground black pepper
  • 12 oz no-boil lasagna noodles (I used 8 oz; this may vary according to pan size)

Directions: 

  1. For the ragu, heat oil in a large Dutch oven or saucepot over medium-high heat. Add turkey and cook for about 5 minutes, stirring with a wooden spoon to break it up, until it’s no longer pink and just beginning to brown.
  2. Add onion and cook for 2 minutes, stirring once or twice. Drizzle 1/4 cup water into pan and scrape any brown bits from bottom. Add garlic and saute for 30 seconds.
  3. Add chard and squash, stirring to incorporate all of the ingredients. Cover pot partially and let cook for 8-10 minutes, stirring once, or until chard wilts to half of it’s original volume and squash starts to soften slightly.
  4. Add the sage, thyme, tomatoes, salt and pepper, stir well, and then reduce heat to low. Simmer ragu uncovered for 30 minutes, stirring occasionally.
  5. Once the ragu is done, you’re ready to work on the lasagna! Preheat oven to 350 degrees Fahrenheit. Combine egg, ricotta, Parmesan, 1 cup of the mozzarella, sage, thyme and black pepper in a large mixing bowl.
  6. Put one heaping scoop of ragu at the bottom of a 13×9 baking dish. Set a single layer of noodles in the saucy bottom the pan. Drop several dollops of the ricotta mixture over the noodles (don’t worry about spreading; it’ll melt). Pour a heaping scoop of ragu over this layer and use back of ladle to spread it around.
  7. Repeat the layers — noodles, ricotta, ragu — until you reach nearly the top of the dish, ending with noodles. Top the last layer of noodles with the remaining ragu (no ricotta mixture) and the remaining mozzarella cheese.
  8. Cover the dish with aluminum foil, and bake for 40-50 minutes or until noodles are tender. If you’d like the top layer of cheese to be a bit browned, remove the foil during the last 10 minutes of baking.
  9. Let the lasagna sit for about 10 minutes before cutting into pieces and serving.
What’s your favorite cold-weather comfort food?

Recipe: Lazy Crock-Pot Pot Roast

IMG_9351

I thought about calling this my “easy” pot roast recipe, but what’s less work than “easy?”

Since it’s a one-dish meal that requires very little prep (less, even, than your typical pot roast recipe, which requires searing of the meat beforehand), it’s my lazy-man’s version that’ll still give you a healthy, piping-hot meal to top off a perfect fall day.

If you’re prepping this before you leave for work, you can leave it on low to cook all day (8-10 hours). But if you get a late start on a weekend, crank the Crock-Pot up to high to cut the cook time nearly in half (5-6 hours).

And don’t let the name fool you, though — just because it’s “lazy” doesn’t mean it’s not delicious!

Lazy Crock-Pot Pot Roast

Ingredients:

  • 2-lb chuck roast
  • 1 medium onion, chopped
  • 4-5 carrots, peeled & chopped
  • 4-5 celery stalks, chopped
  • 2-3 potatoes, peeled & chopped
  • 1/2 tsp garlic powder
  • 1/2 tsp onion powder
  • 1 tsp celery salt
  • 1 bay leaf
  • 2 sprigs fresh rosemary (or 1 tsp dried)
  • Salt & pepper, to taste
  • 1 cup red wine
  • 1/2 cup Worcestershire sauce
  • 32 oz beef broth

Directions:

  1. Turn Crock-Pot on low. Wash and prep vegetables before adding them to the Crock-Pot.
  2. Place roast on top of vegetables in Crock-Pot, and sprinkle with spices.
  3. Slowly add liquids until both meat and vegetables are submerged.
  4. Cook until vegetables are tender when pierced with a fork and meat pulls apart easily with a fork.
What’s your go-to meal for fall?

Recipe: Apple, Sausage & Cheddar Monkey Bread

IMG_8978

Fall means a lot of things, but perhaps the one I get most excited about is…APPLES! Squeezed into cider, drizzled with caramel or melted down into sauce in the crockpot, they’re delicious (and nutritious!) any which way you can get your hands on them this time of year.

This recipe stopped me in my tracks, though, as I was flipping through the latest issue of Real Simple magazine. Could my favorite fall-themed fruit also play well with biscuits, sausage and cheese?

Only a taste test would tell. So I made this dish one Sunday for a football-watching brunch with Ben. It says it serves 12, but we may have eaten half the pan by noon…using the excuse that it was good pre-workout fuel, of course.

Apple, Sausage & Cheddar Monkey Bread

(recipe adapted from Real Simple)

Ingredients: 

  • 16-oz. turkey breakfast sausage
  • 2 diced red apples
  • 16-oz. can biscuit dough, cut into 1-in. pieces
  • 1.5 cups grated cheddar cheese

Directions: 

  1. Preheat oven to 425° F. Cook sausage in a 10-inch cast-iron skillet over medium heat until browned.
  2. Stir in apples. Cook until the apples are soft; transfer to a bowl. Stir in biscuit dough.
  3. Spread mixture into the skillet, and top with cheddar. Bake until golden, about 22 minutes.

IMG_8976

What’s your favorite out-of-the-box apple recipe?

Recipe: Farmer’s Market Salad

IMG_8658

Although I was off salads for most of the summer (ah, food aversions), I credit one special dish to getting me back on the fresh veggie bandwagon in time for fall: the Daily Cafe’s Sauvie Island Farm Salad. It’s a heavenly combination of chopped heirloom tomatoes, avocado, corn, cucumbers, sweet onions and arugula tossed with an apple cider vinaigrette.

I realized my new “habit” had become a full-blown obsession, however, as I was packing up to head home to Michigan a few weeks back and found myself wondering what I’d do without my usual lunchtime rendezvous. So I figured I’d take matters into my own hands with a little recipe redux for my family…plus a few small tweaks, of course (because I’m still off avocados…dammit).

Use it as a side dish to compliment your protein, as we did with some glazed salmon one evening. Or pile on some shredded chicken breast, and call it a meal unto its own. Either way, it’s a fantastic way to enjoy the final fruits of summer!

Farmer’s Market Salad

Ingredients: 

  • 4 heirloom tomatoes
  • 1 ear of fresh corn
  • Few handfuls of arugula lettuce
  • One ball of fresh mozzarella cheese
  • 1/4 cup olive oil
  • 1/4 cup balsamic vinegar
  • Salt and pepper, to taste
  • 1 cup shredded chicken, optional

Directions: 

  1. Wash and chop tomatoes into 1/2-inch sized cubes. Place in a large bowl.
  2. Peel corn, and cut kernels off the cob directly into the bowl with tomatoes. Toss in a few handfuls of arugula (more, if you’d like).
  3. Cut mozzarella ball into small pieces, and add to bowl. Drizzle with olive oil and balsamic vinegar, and season with salt and pepper.
  4. Add shredded chicken (optional), and toss entire mixture to coat evenly with dressing. Serve and devour immediately.

Two quick tips: First, think out of the box and try using different kinds and colors of tomatoes. Red, green, yellow, brown, large, small — they’re all gorgeous and add more visual appeal to your meal. Remember, feeling satisfied and well-nourished means engaging all of your senses!

IMG_8656

Second, if you’re leery of soft cheeses (like me at the moment), I’ve got a super simple fix: Instead of fresh moz, buy some mozzarella string cheese to chop up. Sure, it’s got a slightly tougher texture, but it’s still delicious and a terrific source of calcium.

IMG_8657

Which recipes have you been craving this season?

Recipe: Peach Pecan Baked Oatmeal

IMG_7639

Now that the cat’s out of the bag about the bun in the oven, I’m excited to share some of my go-to recipes from over the past few months. The only non-negotiables have been that whatever we’re making is A) nutrient dense (because: brain food) and B) quick, easy and able to last a few days (because: exhaustion).

The good news? Those very same guidelines apply to anyone who is busy, active and health-conscious (i.e. you). So you don’t have to be expecting to enjoy these eats; you’ve just gotta want to put good stuff in your body and not spend too much time preparing to do so (because: hangry preggo).

My swaps included peaches instead of the original recipe’s nectarines, and I added a second egg and some nutmeg to up the ante on the protein and flavor. Not only does it smell fantastic while baking, but it’s even more delicious tasting — like a decadent peach cobbler!

Peach Pecan Baked Oatmeal

(recipe adapted from Full Belly)

Ingredients:

  • 2 cups old fashioned oats
  • 1/4 cup dark brown sugar
  • 1 tsp baking powder
  • 3/4 tsp fine sea salt
  • 1/2 tsp ground cinnamon
  • 1/4 tsp ground nutmeg
  • 1 1/2 cups milk (I used almond)
  • 1/2 cup plain yogurt
  • 2 eggs
  • 2 Tbsp coconut oil (melted, if solid, and cooled slightly)
  • 2 Tbsp maple syrup
  • 1 1/2 tsp vanilla extract
  • 2 medium ripe peaches, cut into 1/2-inch pieces
  • 1/2 cup chopped pecans
  • 1 tsp turbinado sugar

Directions:

  1. Preheat the oven to 375 degrees. Coat a 9-inch pie plate with about a teaspoon of the coconut oil.
  2. In a large mixing bowl, stir to combine the oats, brown sugar, baking powder, salt, cinnamon and nutmeg.
  3. In a separate medium bowl, whisk together the milk, yogurt, eggs, coconut oil, maple syrup and vanilla.
  4. Pour the liquid ingredients over the oat mixture and fold everything together with a large rubber spatula.
  5. Gently stir in peaches, and pour the oat batter into the pie plate. Scatter with pecans and sprinkle with turbinado sugar.
  6. Set the pie plate on a baking sheet and bake for about 50 minutes, or until it’s set in the middle (no wobble) and the top is crisp.
  7. Let sit for about 5 minutes after removing from heat to set before cutting into wedges and serving. Drizzle with extra maple syrup, if desired.
What are your must-haves when meal-planning? 

Recipe: Nutella Banana Protein Oatmeal

IMG_8439

Stuck in a breakfast rut? Yeah…me, too.

As much as I love my usual yogurt/granola/fruit or whatever egg frittata we whip up over the weekend, sometimes my taste buds need a little variety. If I’m being really honest, once in a while they also need something sweet. 

And when I want to venture into dessert-for-breakfast territory without totally throwing my system into sugar shock before 7 a.m., I experiment with oatmeal. With all the fixings, of course.

But where to start? Well, my lovely friend Corey, an RN and Arbonne Executive District Manager, knows I’m a supplement fan. So when a box of her very favorite Arbonne nutrition goodies arrived at my doorstep recently, I couldn’t wait to give the Chocolate Protein Shake Mix a whirl.

Not only does a serving of this stuff provide 20 grams of vegan protein (plus 20+ essential vitamins and minerals), but it’s also clinically tested and certified to have a low glycemic index, which has little effect on blood sugar levels and does not cause a spike in blood sugar.

A cure for my early-morning chocolate craving? Check. But one that won’t send me hurtling toward an energy crash? Yup. Let’s do this! 

Nutella Banana Protein Oatmeal

Ingredients:

  • 1 package plain, unsweetened instant oatmeal
  • 1/2 cup hot water
  • 1/4 cup oat cereal (I used this one from Bob’s Red Mill)
  • 1 tsp chia seeds
  • 1 Tbsp wheat germ
  • 1/2 oz chopped hazelnuts
  • 1-2 Tbsp Nutella
  • 1/2 banana, sliced
  • 1 scoop chocolate protein powder (I used Arbonne’s)
  • 1/4 cup 2% milk

Directions:

  1. In a bowl, mix the instant oats and hot water according to the directions on the package.
  2. Add oat cereal, chia seeds, wheat germ, hazelnuts, Nutella, banana and protein powder. Mix well to incorporate.
  3. Stir in milk (add more, as desired, to get consistency you like), and microwave for 30 seconds. Enjoy!
How do you get out of the dreaded ‘breakfast rut?’

Recipe: Green Bean Salad with Seared Pineapple and Shrimp

IMG_7898

Sick of the same old same old when it comes to summer dinners? Spice things up a bit with this Sriracha-spiked salad.

I spotted this recipe in the July issue of O Magazine, and since it’s A) not too heavy on ingredients, B) chock full o’ nutrients, and C) ready in practically no time, it’s been what’s for dinner. Especially on weeknights when we’re pressed for time and creative meal ideas!

And, no, it’s not as spicy as you’d think. I’m not one for set-your-mouth-on-fire heat, but I love me some Sriracha; this recipe is more about flavor, though, than pushing the limits of your palate.

Green Bean Salad with Seared Pineapple and Shrimp

(courtesy of Marcia Kiesel via O Magazine)

Ingredients: 

  • ¾ tsp. plus ⅛ tsp. salt, divided
  • 1 pound green beans, trimmed
  • 3 Tbsp. vegetable oil, divided
  • 1½ cups 1″ pineapple chunks
  • ½ pound large shrimp, peeled and deveined
  • 3 garlic cloves, minced
  • 1 cup halved cherry tomatoes, divided
  • 2 Tbsp. Worcestershire sauce
  • 1 Tbsp. white wine vinegar
  • 1½ tsp. Sriracha

Directions:

  1. Bring a large nonstick skillet of water to a boil. Add ½ tsp. salt and green beans, and cook until just tender, about 4 minutes. Drain and spread out on a baking sheet to cool.
  2. In the dry skillet, heat ½ Tbsp. vegetable oil on high heat until shimmering. Add pineapple chunks in a single layer. Cook until browned on the bottom, about 30 seconds. Transfer to a large bowl.
  3. Add ½ Tbsp. oil to skillet. When hot, add shrimp, and season with ⅛ tsp. salt. Reduce heat to medium and cook, stirring a few times, until shrimp is just cooked, about 1 to 2 minutes. Transfer to bowl with pineapple.
  4. To skillet, add 2 Tbsp. oil and add garlic. Cook until golden brown, about 1 minute. Add ½ cup tomatoes and cook 1 minute, crushing with a spoon to release juices. Add Worcestershire sauce, vinegar and Sriracha and stir well. Remove from heat and season with ¼ tsp. salt.
  5. To bowl, add reserved beans and the additional ½ cup tomatoes. Pour warm tomato-Worcestershire mixture on top and toss well. Serve at room temperature or slightly chilled.

Are you on Team Sriracha — yay or nay? 

Recipe: Thai-Style Noodle Salad

IMG_7234

As we creep toward our one-year anniversary of living in Oregon, we’re headed for a season of record-breaking temperatures. Not that I’m complaining. It’s going to take a lot more humidity to scare this Midwesterner who’s also lived through a few sweltering East Coast summers.

If I’ve noticed one thing, however, it’s that my desire to eat warm foods is inversely proportional to the number on the thermometer. So hot summer days call for a cold, protein-packed salad — and this one’s something I whipped up on a weeknight utilizing ingredients we already had on hand.

Because, if we’re being honest here, my willingness to hit the grocery store also plummets as the heat rises… 

Thai-Style Noodle Salad

Ingredients: 

Salad:

  • 1 package black bean pasta, cooked al dente
  • 1 bag matchstick carrots (approx. 2 cups)
  • 2 cups grilled chicken, diced
  • 1 bell pepper, chopped
  • 2 stalks celery, halved lengthwise & chopped
  • 1/2 cup red onion, minced
  • 1 cup cilantro, chopped
  • 1 bunch green onion, chopped
  • 1 small container roasted peanuts

Sauce:

  • 2 cups all-natural peanut butter
  • 1/2 cup sweet chili sauce
  • 1 tsp lime juice
  • 1 TBSP fish sauce
  • 1 TBSP ginger (minced or paste)
  • Dash of salt

Directions: 

  1. Once pasta is cooked and cooled, place all salad ingredients in a large bowl.
  2. In a small bowl, mix together all sauce ingredients.
  3. Pour sauce over salad, and toss to coat evenly.
  4. Serve immediately (with a sprinkle of peanuts), or refrigerate for an hour if you want to eat it cold.

Not only is the black bean pasta gluten-free, but it’s also a terrific source of protein — there’s a whopping 25 grams of protein and 12 grams of fiber in every serving!

IMG_7231

This salad is super-versatile, too; I’d serve atop leafy greens for a more nutrient-dense main dish or as a side salad to accompany a meaty entree on nights when I’m looking for more protein.

IMG_7232

Do you adjust your kitchen habits with the weather?