‘Boning Up’ on the Bone Broth Trend (+ DIY Recipe)

IMG_0617

“We are indeed much more than we eat, but what we eat can nevertheless help us to be much more than what we are.” – Adele Davis

If you’ve been hearing a lot of buzz about bone broth recently, you’re not alone. But what exactly is the difference between stock, broth, consomme, and bouillon? And why are people raving over bone broth, in particular, for its healing and nourishing benefits?

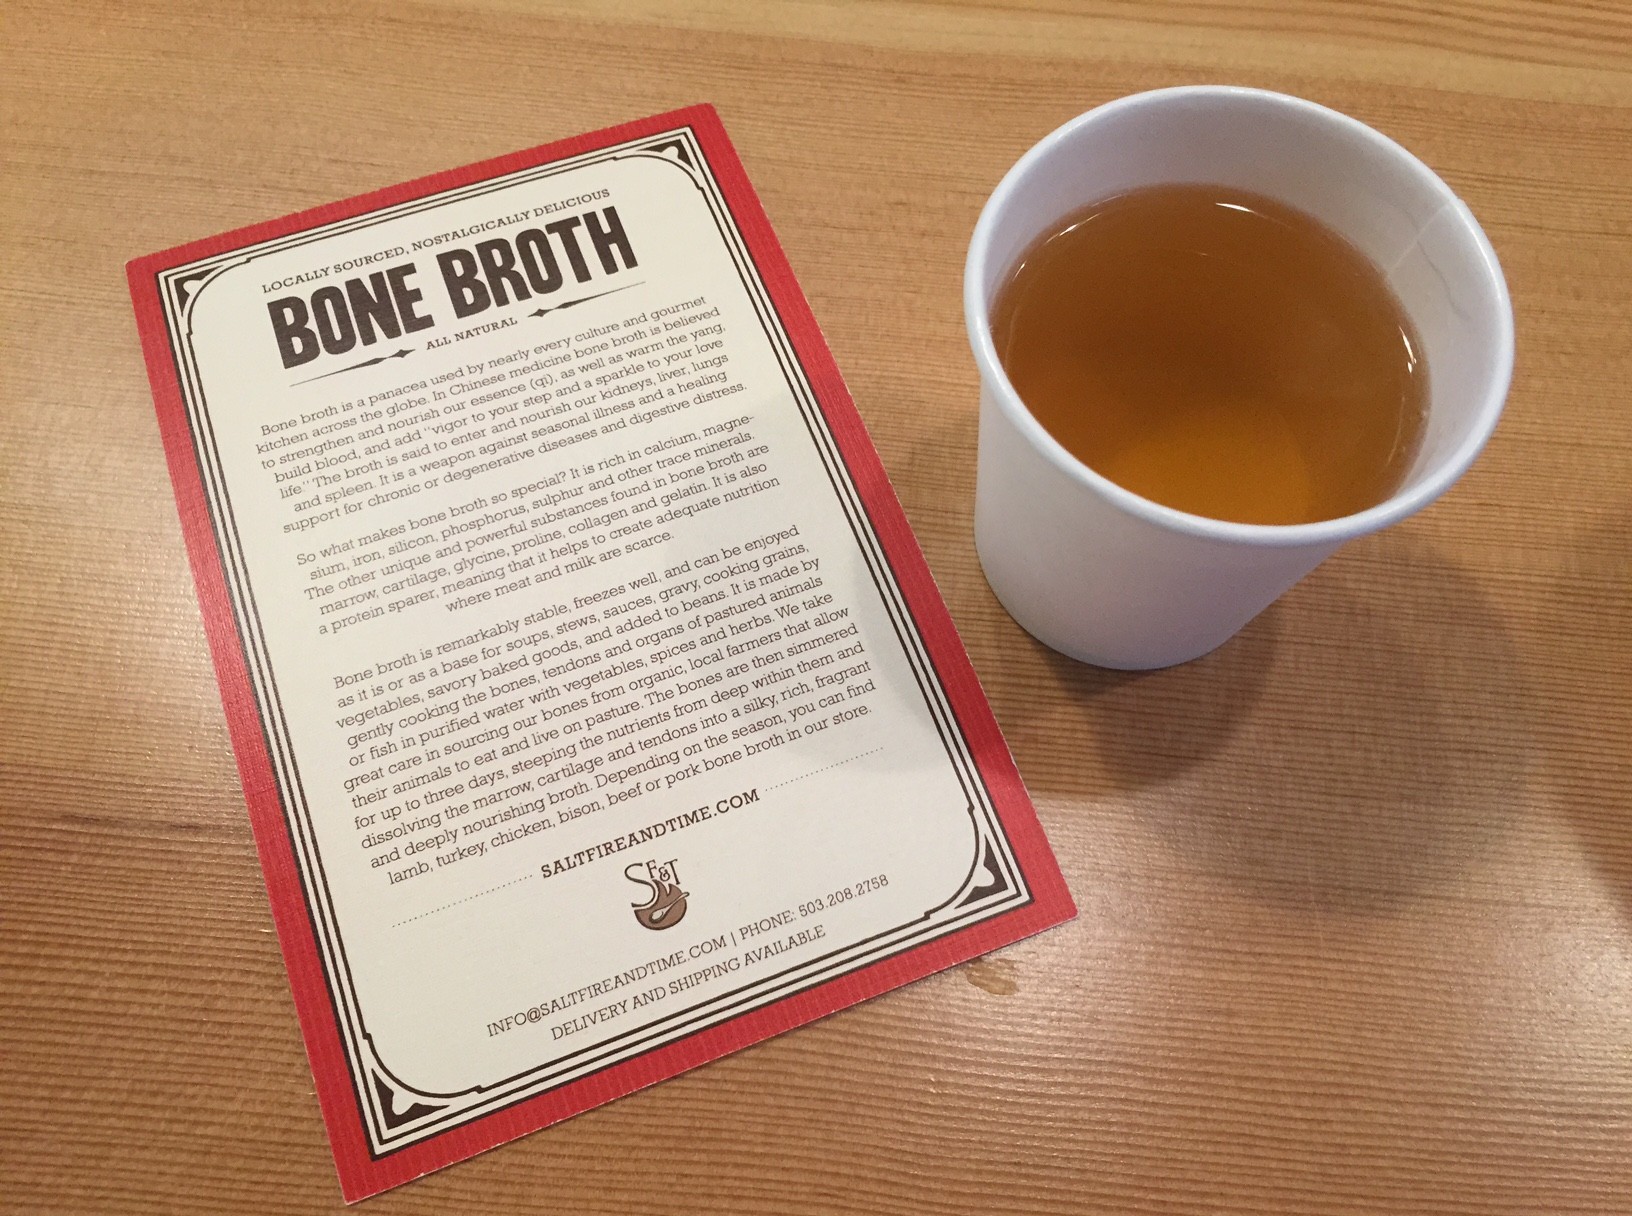
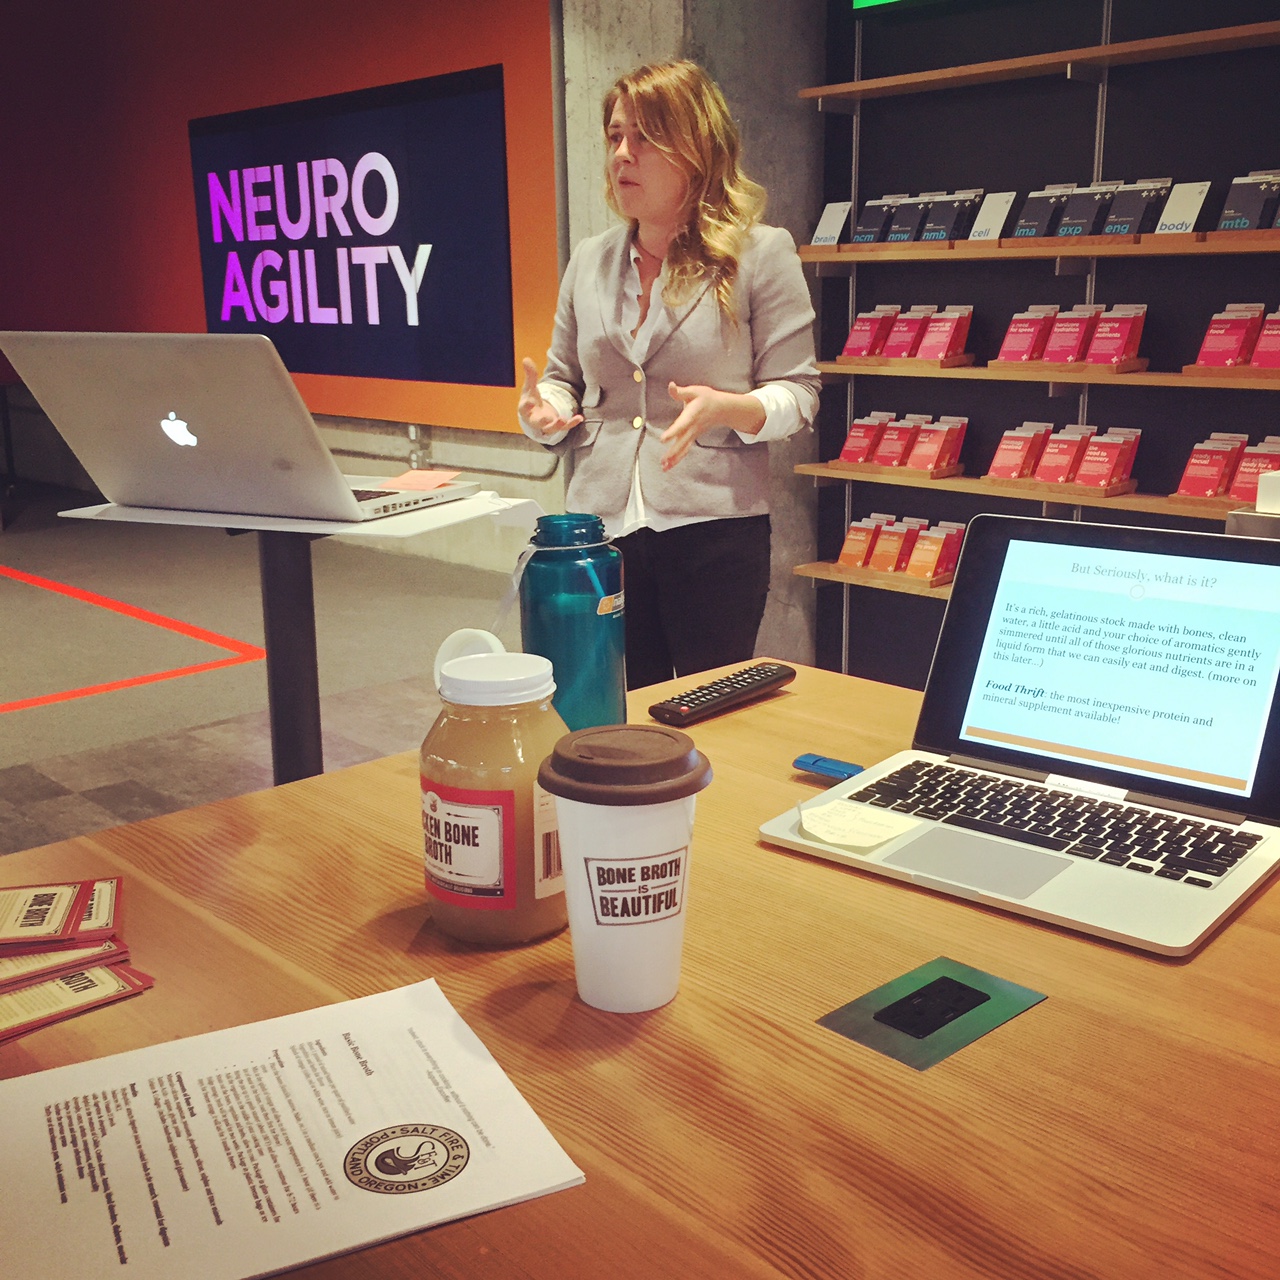
With those questions in mind, I popped into the ZOOM+Performance lab last week to learn more from the first of their lunchtime classes. Local expert Tressa Yellig from Salt, Fire & Time was on hand to educate us about this savory elixir and how she believes it’s one of the simplest and most powerful food remedies you can have at your disposal.

According to Yellig, bone broth stands head and shoulders above other stock-type liquids because it’s cooked for a long time (up to three days) over a low heat (roughly 180 degrees) in order to extract all the good stuff — gelatin, nutrients and minerals — from bones.

So what else makes bone broth so special? Well,  for starters it’s rich in calcium, magnesium, iron, silicon, phosphorous, sulphur and other trace minerals, meaning it’s nutrient-dense. Plus, it contains a host of other unique and powerful substances, including marrow, cartilage, glycine, proline, collagen and gelatin, which are thought to help support the immune system, reduce inflammation and promote healing.

What I found most interesting, however, is when Yellig talked about bone broth also being a “protein sparer,” which means that it helps create adequate nutrition in the short-term absence of protein (read: when you’re sick and the last thing you feel like eating is a hunk of meat). Not to mention it hits the spot on these cold and dreary Portland winter days…

IMG_0619

Bone broth can be enjoyed as it is (with a little salt to enhance the flavor). Yellig also suggested experimenting with it as a base for soups, stews, sauces, gravy, cooking grains, vegetables, savory baked goods or with beans.

It’s pretty simple to make, so if you’ve got the time or inclination she shared this recipe to help you get your bone broth on at home:

Basic Bone Broth

(courtesy of Salt, Fire & Time)

Ingredients: 

  • About 1 pound of mixed bones per quart of purified water
  • Splash of vinegar (cider, red or white wine, rice or lemon juice)
  • Vegetables and herbs for flavor (optional)

Directions: 

  1. Place bones in a medium to large stock pot and add water to cover.
  2. Mix in the splash of vinegar and allow to sit at room temperature for about an hour. Note: If there’s a lot of meat on the bones, roast them first for flavor. 
  3. Bring the pot up to a gentle simmer (about 180 degrees) and allow to continue for 8-72 hours
  4. Add the vegetables and herbs in the middle of your cooking time.
  5. Strain out he bones, vegetables and herbs, and allow to cool.
  6. Package in glass containers for refrigerator storage (2 weeks) or plastic freezer bags or ice trays for freezer storage (3 months).

Or if the prospect of babysitting a simmering pot on the stove for a few days is too daunting, you can always swing by Yellig’s Broth Bar here in Portland. She offers a bunch of condiments, stir-ins and add-ons to customize each steaming cup to your liking.

Not local? You’re in luck. Salt, Fire & Time also has an online shop that ships all kinds of delicious goodies ’round the country.

Are you on the bone broth bandwagon? Why or why not?

Don’t Just Sit There: DIY Standing Desk

toon377

It’s funny how your body can speak volumes to someone without even saying a word.

Case in point: Every time I go in for a massage lately, my therapist gets stuck on my back. Or, rather, my back gets itself stuck, and then my massage therapist has to spend an hour convincing it to loosen up.

You see, working from home is a double-edged sword. Now I’m not complaining — my commute rocks, my workout-wear attire is comfy and my four-legged office-mates are pretty chill (unless they hear a knock at the door, then all bets are off). But the drawback is that sometimes the lack of ergonomics can be a pain in the neck — like, literally.

Some scary facts:

  • The moment you sit at your desk each morning, your calorie-burning rate immediately drops to one calorie per minute
  • Sit for six hours a day, 14 days straight: Muscles stop burning fat, blood sugar rises and maximum oxygen consumption drops.
  • After a year of sitting six hours per day, weight gain would be noticeable, as would higher cholesterol levels and loss of bone mass.

But the real kicker comes 10-20 years down the line. Us desk jockeys may need to augment retirement savings to account for medical bills. Sitting affects almost every part of our bodies from head to toe, raises risk of death by nearly 50 percent and creates a stunning 125 percent increase in the risk for cardiovascular disease.

So I’ve decided I’m not taking this sitting down. In fact, I’m taking a stand…as in, using a DIY standing desk.

Why? Well, our budget is zilch, and we’re lucky enough to have a bar-height butcher block table in the kitchen that works, so I’m trying that out for now. But Plan B is to “hack” our space using the specs and ideas below to create something that’s cheap, comfortable and won’t undo all the good I try do by way of exercise.

So, athletes, consider this my little PSA: We talk about the benefits of recovery because that’s where the body bounces back and the real gains happen. But if you’re sitting at a desk all day, you’re still doing yourself a disservice.

Get up, stand up. Stand up for your life.

Click to Enlarge Image

DIY Desk

DIY Desk
Infographic by CustomMade

Are you ergonomic at work?

Have any tips for doing it effectively (and on a budget)?

5 Tips for Building a Budget-Friendly Home Gym

modern-home-gym

Bring your workouts closer to home for 2015 — meaning, in it. No matter how small your space or budget, it’s easier than you think to build an effective gym without breaking the bank.

Here are five ways to become a healthier homebody — and for shrinking your waistline, not your wallet — in the New Year:

1. Go weightless.

These aren’t your father’s push-ups and sit-ups; today’s body weight exercises are high-performance maneuvers designed for building and maintaining muscle strength and endurance, along with interval training. Don’t believe me? Check out this video and tell me that’s not an intense workout!

2. Think DIY.

Function often trumps form when it comes to gym gear, so before you buy it, try making it on the cheap. Use hot water bottle bladders under your feet in place of a pricey Bosu balance trainer, tap into your woodworking skills to build your own plyo boxes, and make medicine balls from old basketballs and some sand, for example.

3. Buy secondhand.

Wait a few more weeks, and plenty of New Year’s resolutionists will be hawking their (barely used) exercise equipment on Craigslist. But don’t stop there: Visit stores such as Play It Again Sports to snag a deal on pre-owned gear, scout your local gym for used equipment sales after yearly upgrades or ask for discounts on floor models at retailers.

4. Press play.

There’s an app for that — or a video game, a gadget, a DVD, etc. Whether it’s tracking activity with a Runtastic Orbit, turning your smartphone into you own personal trainer with Nike Training Club or popping in a video from home-fitness giant Beachbody, harness technology to keep you healthy and active throughout the day, not just in the confines of a gym.

5. Embrace co-op.

Finally, if your motivation comes in the form of group fitness, consider creating a co-op gym space with relatives, friends or neighbors. Split the cost of equipment (either by machine or overall, depending on how your crew wants to divvy it up), and store everything at one home where everyone can congregate for workouts.

How do you curb your workout costs? 

Pick-a-stick workout

Source: Ashley Benson Fitness

Source: Ashley Benson Fitness

We all have those weeks where it’s tough to find either the time or the motivation to work out. Whether you’re slammed at work, between training schedules, overwhelmed at home, trying to get back in the groove or just on the road and out of your usual routine, removing the obstacle of having to choose your workout makes it more likely that you’ll actually get to the working out part.

But all you need for this is a few items — and virtually no equipment — so it’s easy to do in the comfort of your home or hotel room. And if you don’t want to pack the sticks while traveling, you can print out the list below and choose numbers instead of colors to create the day’s combination.

When you just need a quickie sweat session, simply pull one stick of each color and perform the moves. Or if you want a longer challenge, repeat the set of four exercises a few times, depending on how much time you have. And if you really want to mix things up, get crazy and pull several sticks of each color for a more varied total-body workout.

What you need: 

  • 40 Popsicle sticks
  • 5 permanent markers, each a different color (black, red, green, blue, yellow, for example)
  • 2 Mason jars or cups

How to do it: 

  1. Divide the Popsicle sticks into four groups of 10, and color the ends of each group of sticks with a different colored marker (so when you’re done, you’ll have 10 sticks tagged with red, 10 sticks with green, 10 sticks with blue and 10 sticks with yellow)
  2. Assign one color to each of the exercise groups (i.e. red = upper body, green = lower body, blue = core, and yellow = cardio)
  3. Take the black marker and write a corresponding exercise on each stick — refer to the list below for some ideas, but if you have other favorites, feel free to swap them in
  4. Put all the sticks (colored ends up) in one jar labeled “Do it!” And when you’re ready for a workout, just grab one stick of each color.
  5. Once the workout is complete, place the used sticks in the second jar labeled “Done!”
Source: Pinterest

Source: Pinterest

Exercise ideas: 

  • Upper Body
    1. 25 Standard Push-Ups
    2. 25 Diamond Push-Ups (tips of thumbs and index fingers touch)
    3. 20 Push-Ups with Side Arm Balance (alternate sides)
    4. 20 Plank Up-Downs (alternating arms)
    5. 15 Lateral Raises (using dumbbells, water bottles or cans)
    6. 20 Incline/Decline Push-Ups (elevate feet for 10, elevate hands for 10)
    7. 15 Bent-Over Rows (using dumbbells, water bottles or cans)
    8. 15 Hammer Curls (using dumbbells, water bottles or cans)
    9. 25 Tricep Dips
  • Lower Body
    1. 30 Walking Lunges (alternating legs)
    2. 40 Squats
    3. 60-second Wall Sit
    4. 30 Reverse Lunges (alternating legs)
    5. 30 Calf Raises (10 each with toes facing in, straight, out)
    6. 30 Side Lunges (15 each side)
    7. 40 Plie/Sumo Squats
    8. 50 One-Legged Dead Lifts (25 each side)
    9. 50 Donkey Kicks (25 each side)
    10. 30 Curtsy Lunges (15 each side)
  • Core
    1. 60-second High Plank (arms straight under shoulders)
    2. 20 Mountain Climbers
    3. 60-second Superman
    4. 30-second Side Plank (each side)
    5. 50 Crunches
    6. 50 Bicycles (25 each side)
    7. 60-second Low Plank (on elbows)
    8. 45-second Flutter Kick
    9. 15 Sliding Pikes (with towel under feet on uncarpeted floor)
    10. 30 Bird Dogs (on knees, lift opposite arm and opposite leg)
  • Cardio
    1. 25 Burpees
    2. 60 Jumping Jacks
    3. 40 Stair Hop-Ups (jump up with both feet onto one step)
    4. 50 High Knees (jog in place, bringing knees as high as possible)
    5. 50 Butt Kicks (touch heel to glute)
    6. 90-second Stairs (time yourself running up and down a flight)
    7. 15 Tuck Jumps (bringing both legs to chest)
    8. 20 Squat Jumps (squat, then jump as high as you can)
    9. 25 Lunge Jumps (lunge, then jump into the air and switch legs)
    10. 30-second Single Leg Hops (each side; jump back and forth over an object, such as a towel)

Of course, the disclaimer: Always check with your physician to get the go-ahead before you start any new exercise program!

DIY Beauty: Peppermint lip scrub

Source: Jessica Beautician

Source: Jessica Beautician

If harsh winds and frigid temperatures are leaving your pout dry and in need of some serious smoothing, a scrub can help you kiss chapped skin goodbye this season.

But skip the chemical-laden, store-bought versions; instead try this simple, all-natural recipe from eco-chic skincare expert Indie Lee, which is the perfect way to nourish lips while leaving them kissable (hello mistletoe!) this winter.

Indie Lee’s Total Lip Service Scrub

Ingredients: 

  • 1 Tbsp. raw cane sugar
  • 1 Tbsp. honey
  • 1 drop peppermint oil

Directions: 

  1. Combine sugar and honey in a small bowl
  2. Mix in peppermint for a refreshing scent
  3. Use to buff and polish lips by putting a small amount of scrub on fingertip and gently rubbing on lips in a circular motion
  4. Wipe (or lick!) off remaining scrub, and follow up with a lip moisturizer

How do you adjust your usual beauty routine during the winter months? 

DIY Beauty: An at-home facial in 6 simple steps

Being short on time or strapped for cash is no excuse for neglecting your skin, especially as the humidity lifts and cold weather sets in.

Try this DIY facial; it’ll work wonders for a dull, dry winter complexion!

Facial-mask-for-men-at-home1

1. Cleanse. Using warm water and a mild cleanser, gently massage face to remove all traces of makeup and dirt. One of my favorites is an old standby, Cetaphil ($10), which won’t disturb skin’s natural pH balance or strip it of natural protective oils or emollients.

Source Spa Sonic

Source: Spa Sonic

2. Exfoliate. Removing dead skin cells keeps them from blocking pores, evens out skin tone and decreases the appearance of wrinkles and sunspots. You can do this manually with a scrub, or get fancy with a device like the Spa Sonic Skin Care System Face & Body Polisher (regularly $60, but check Target for special promotions).

I’m not a fan of dropping $100+ on a Clarisonic, so the folks at Spa Sonic asked if I’d like to give their device a whirl. The result? Smoother skin at a fraction of the cost. Not only is it waterproof (any fellow shower multitaskers?), but it comes with five attachments for head-to-toe touch-ups: a big brush for the body, pumice for rough areas on (ahem, runners’) feet, facial sponge for microdermabrasion and two small brushes for the face. I’ve added it to my weekly regimen, and it’s been especially great at getting rid of that pesky film of makeup that wipes and washcloths always seemed to leave behind.

3. Steam. Buying a steam machine is unnecessary, and leaning over a hot pot of water on the stove is downright dangerous. Instead, fill a sink with hot water, add a few drops of your favorite scented oil, such as lavender (to relax), peppermint (to energize) or eucalyptus (to clear nasal passages), and lean over it with a towel draped over you head to trap the steam for 10-15 minutes.

4. Nourish. After splashing your face with cool water, apply a mask of your choice to target your specific skin troubles. My go-to? Aztec Secret Indian Healing Clay ($9), an easy — and inexpensive! — way to draw out impurities and temporarily tighten pores.

5. Tone. Refresh and restore skin with this all-natural homemade toner: In a blender, combine 1/2 cucumber with three tablespoons witch hazel and three tablespoons rosewater (or substitute distilled water). Pour the mixture through a fine-mesh sieve to remove any chunks, then pour liquid into a clean bottle. Store in the refrigerator; it should last about two weeks.

6. Hydrate. Finish by gently massaging a moisturizer into your face and neck using upward and outward movements. Typically, the colder the weather, the thicker and creamier my moisturizer, but if you have sensitive skin, I love Simple Hydrating Light Moisturizer ($9) because it’s enriched with vitamins B5 and E, but doesn’t contain any dyes, artificial perfumes or harsh chemicals. And don’t forget to slather on some sunscreen (at least SPF 15, but ideally SPF 30) before you head outdoors!

How does your skin care routine change with the seasons? 

(Thanks to the folks at Spa Sonic for providing a sample for review; all opinions are my own.) 

DIY Beauty: Honey yogurt oatmeal mask

oatmeal maskOatmeal: It’s not just for breakfast anymore!

Soothe stressed-out skin in a cinch with this easy, inexpensive mask, which utilizes yogurt to brighten, honey to retain moisture and oatmeal to heal dry, itchy areas.

When I’ve got more time, I like to paint it all over my face pre-shower and let the steam work it’s magic. Super simple, and great for even the most sensitive skin!

Honey Yogurt Oatmeal Mask

Ingredients: 

  • 2 tablespoons oatmeal
  • 2 tablespoons plain yogurt
  • 1 teaspoon honey, warmed with a hot spoon

Directions: 

  1. Mix ingredients together so they form a paste
  2. Apply a thick layer all over clean face (yes, the mask consistency is lumpy!)
  3. Leave on for about 15-20 minutes or until mask is almost dry
  4. Rinse off with warm water, using fingers to gently scrub skin with oatmeal
  5. Pat skin dry, and finish by applying your favorite moisturizer

DIY Beauty: Honey-yogurt facial

Photo credit: Stonyfield.com

Photo credit: Stonyfield.com

When it comes to DIY beauty, my grandmother passed down these words of wisdom:

“What’s good for the inside of you is good for the outside of you, too.”

So while I have yet to find a kale facial (don’t worry; I’ll keep you posted), there’s another cheap and easy fix that uses everyone’s favorite protein-packed, probiotic snack: Greek yogurt.

Not only does the lactic acid help smooth fine lines and even out skin tone, but yogurt’s enzymes can also help remove dead cells and exfoliate your skin.

Add a spoonful of honey to help skin retain moisture, and you’ve got a simple at-home masque that stacks up against even the spendiest spa versions.

Honey-Yogurt Facial 

Ingredients: 

  • 3 Tbsp plain, full-fat Greek yogurt
  • 1 Tbsp honey

Directions:

  1. Mix ingredients together in a small bowl
  2. Apply to face evenly in a thick layer
  3. Leave on for 15 minutes
  4. Rinse off with warm water

Create a natural citrus candle, sans wax

Photo credit: Upschool.com

Photo credit: Upschool.com

Citrus aromas make us feel refreshed and energized. But why burn toxic synthetic materials, or buy exorbitantly-priced soy and bees’ wax, when the perfect citrus-scented mood-lighting is sitting in your fridge?

Indie Lee, founder of the all-natural skincare line, Indie Lee & Co, shares one of her at-home secrets for an all-natural clementine candle – no wax necessary!

What You Need:

  • 1 Clementine
  • 2 Tbsp Olive Oil

How to Make It:

  1. Cut clementine in half
  2. Carefully peel skin off to keep whole
  3. Twist inside bottom pulp plug into a wick
  4. Fill with olive oil
  5. Light and enjoy

Extra tip: Cut a small design in the top half of the peel to make a creative candle lid.

DIY beauty: Mint brownie body polish

Mint Brownie Body Polish

Fellow chocolate lovers, here’s one of my very favorite indulgent treats – with zero calories.

Not only does it smell heavenly, but it will also leave arms, legs, heels and elbows feeling perfectly pampered in virtually no time at all.

The toughest part may just be restraining yourself from eating it straight from the jar

Mint Brownie Body Polish

Ingredients: 

  • 1/2 cup sugar
  • 1 Tbsp cocoa powder
  • 4 tsp olive oil
  • 2 drops peppermint extract

Directions: 

  1. Mix dry ingredients in small bowl
  2. Incorporate olive oil into dry mixture one teaspoon at a time
  3. Add peppermint extract, and stir again
  4. Store in an airtight container

To use, simply scoop out a small handful and use it to gently exfoliate dry skin pre-shower before rinsing off with warm water.

This recipe makes enough for approximately two or three uses, but you should discard any remaining scrub after about four weeks.