Recipe: Power Smoothie…for Pregnancy & Beyond

IMG_0776.jpg

Whether you’re an athlete or pregnant woman (or both…or neither!), iron is essential to optimal health. In fact, it’s a critical component in helping our bodies make oxygen-carrying red blood cells.

Yet, according to the Centers for Disease Control (CDC), iron deficiency is one of the most common nutritional deficiency in the U.S., with almost 10 percent of women being considered iron deficient.

But did you know that eating foods high in Vitamin C can help you absorb more iron? That’s why this recipe is a great option for anyone who is looking for a nutrient-dense snack to fuel their day.

Plus, just a handful of ingredients provides the following:

  • Peaches = Vitamins A and C, calcium, potassium & magnesium
  • Spinach = iron, Vitamins A, C and K, folate, manganese & potassium
  • Dates = good source of energy, natural sugar & fiber
  • Chia seeds = fiber, protein & Omega-3’s
  • Hemp seeds = protein, fatty acids (Omega 3, 6, 9 & GLA), & all essential amino acids
  • Greek yogurt = protein, calcium & probiotics
  • OJ = Vitamin C & folate
  • Almond milk = protein, fiber & Vitamin E

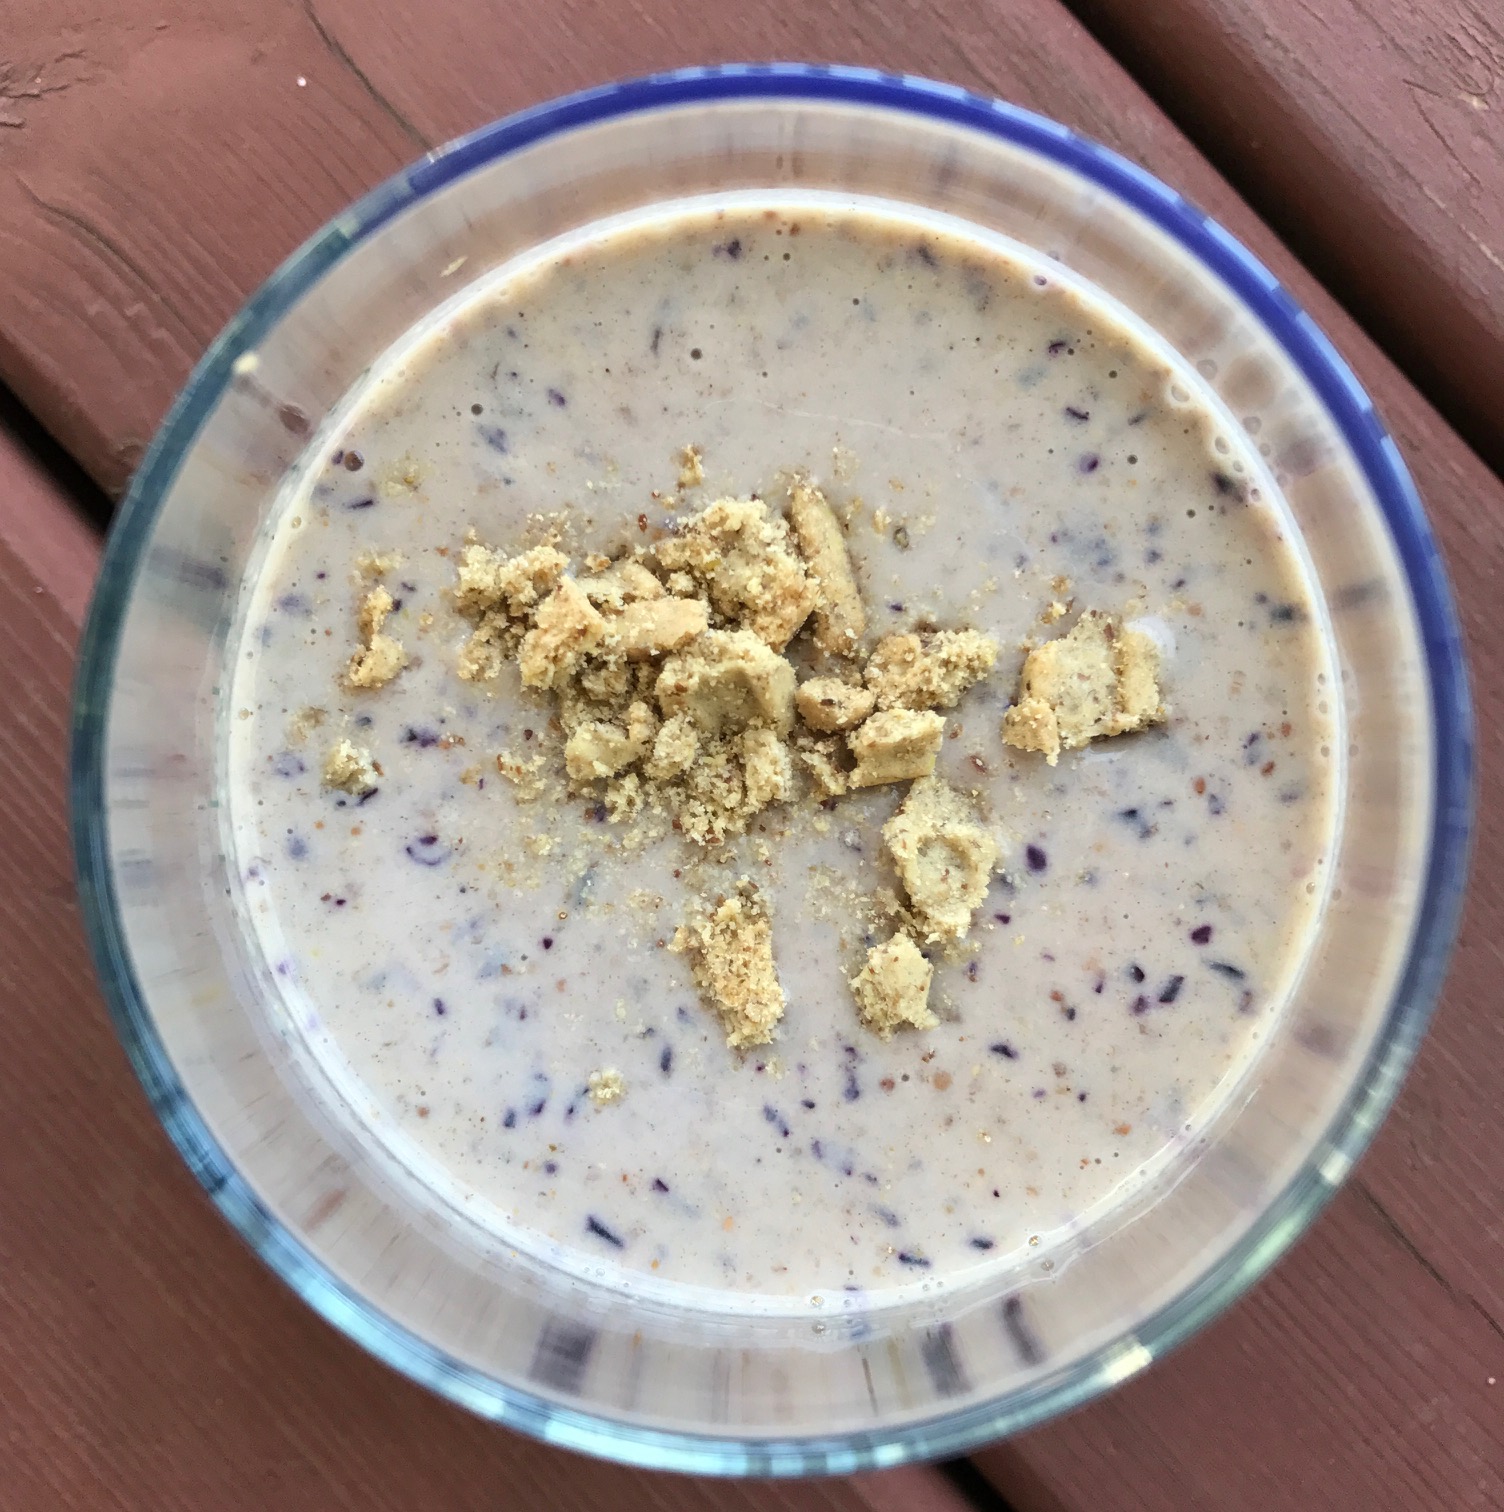
So, without further ado, I present to you the…

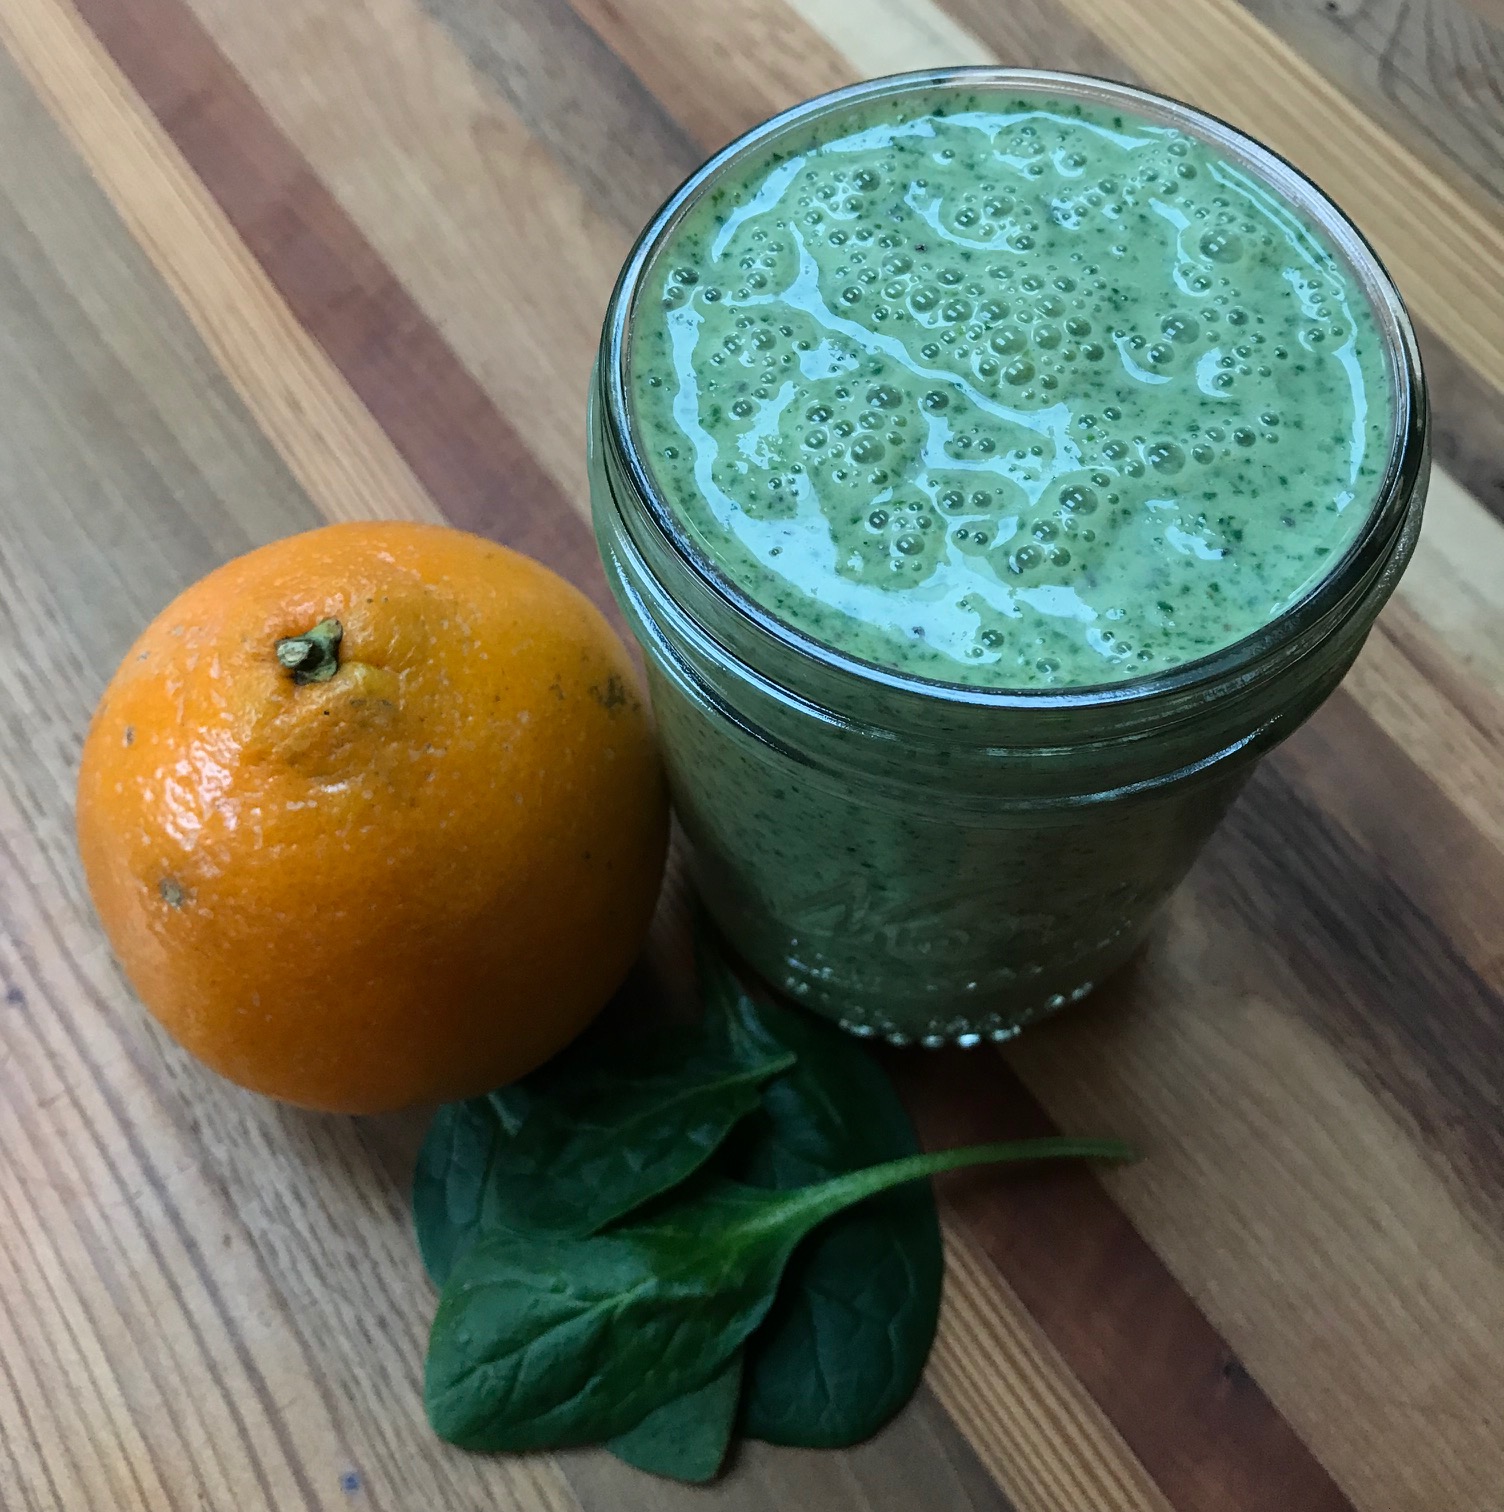
Power Smoothie…for Pregnancy & Beyond!

Ingredients:

  • 1c frozen peach slices
  • 2c loosely packed fresh spinach
  • 1 Tbsp Bard Valley Natural Delights Medjool date paste (directions here)
  • 1 Tbsp chia seeds
  • 1 Tbsp hemp seed hearts
  • 1/2c Greek yogurt
  • 1c orange juice
  • 1/2c unsweetened almond milk

Directions:

  1. Measure all ingredients into blender.
  2. Cover, blend & enjoy!

Note: If this isn’t up your alley, ingredient-wise, but you still want to whip up your own custom smoothie that’s a perfect fit for your fitness goals, my friends over at Natural Delights made a nifty smoothie builder that allows you to create your own concoction – complete with all the nutritional info.

Happy blending and healthy living, friends!

This post is sponsored by Bard Valley Natural Delights Medjool Dates, but the recipe and opinions expressed therein are my own. Thanks for supporting the brands that partner with KineticFix.com!

Recipe: (un)Candied Walnuts + Impress Guests with this Quick Holiday App

IMG_0216

Nothing rings in the holiday season quite like visits from family and friends, all kinds of comfort food, and the smell of something cinnamon wafting from the oven.

This recipe just happens to combine all of that; plus, I was curious to see if I could mimic my favorite candied nuts without the use of added sugar.

While these walnuts don’t have quite the same candy-like taste, they do have all of the flavor, making them perfect for snacking by the handful or adding to dishes where you don’t want to get smacked in the face with sweetness.

And the ingredients are easy enough to have on hand; so whenever you’ve got guests at your door, you’ll know bellies will be happy and folks will be filled with holiday cheer.

Havarti-Date Bread Bites with (un)Candied Walnuts

Ingredients: 

  • 1 c walnuts
  • 1/2 c Bard Valley Natural Delights Medjool date paste (directions here)
  • 2 tsp cinnamon
  • 1/4 tsp salt
  • 1 tsp vanilla
  • 1 Tbsp hot water
  • 1 baguette
  • 1 package pre-sliced Havarti cheese
  • Extra 1/4 c date paste for spreading on bread

Directions for the (un)Candied Walnuts: 

  1. To make candied walnuts, preheat oven to 350ºF and mix nuts, 1/2 c of the date paste, cinnamon, salt, vanilla and hot water in a bowl until nuts are evenly coated.
  2. Cover a baking sheet with parchment paper and spread nuts on it in a single layer. Bake about 10-15 minutes, watching very carefully, and remove as soon as the nuts look dry – they will burn if left in too long!

Directions for the Havarti-Date Bread Bites: 

  1. While nuts are cooling, cut baguette on an angle into inch-thick slices and arrange on another baking sheet.
  2. Spread a thin layer of date paste on bread slices and cover with a piece of Havarti cheese.
  3. Bake in oven for 5 minutes or until cheese melts. Remove, top with a candied walnut and serve immediately.

Recipe: No-Sugar-Added Pumpkin Spice Cookies

IMG_9660

Fall is just around the corner, and I couldn’t be more excited. Bring on crisp weather, colorful leaves, scary movies and all things pumpkin!

In celebration of the impending change of seasons, I bring to you this healthier take on a fall favorite: no-sugar-added cookies that are soft, chewy and not cloyingly sweet.

They sit squarely at the intersection of cookie-muffin-scone; the perfect accompaniment to your morning coffee, that upcoming tailgate, a random afternoon snack or simply tucked into a lunchbox with love.

Because it’s not fall without a little pumpkin in your life…right?

No-Sugar-Added Pumpkin Spice Cookies

Ingredients: 

  • 1 c butter, softened to room temp
  • 2 eggs
  • 2 tsp vanilla
  • 1 c Bard Valley Natural Delights Medjool date paste (directions here)
  • 15 oz can pureed pumpkin
  • 2 1/2 c flour
  • 1/4 c ground flaxseed
  • 1/4 c wheat germ
  • 1 tsp baking powder
  • 1 tsp baking soda
  • 1 tsp salt
  • 2 tsp cinnamon
  • 1 tsp nutmeg
  • 1/4 tsp ginger
  • 1/4 tsp cloves
  • 1 c chopped walnuts

Directions: 

  1. Preheat oven to 350º F. Line two baking sheets with parchment paper.
  2. In a small bowl, mix all dry ingredients (flour, flaxseed, wheat germ, baking powder, baking soda, salt and spices) until combined. Set aside.
  3. In a medium bowl, cream butter with mixer and slowly add in other wet ingredients (eggs, vanilla, date paste and pumpkin). Mix until well blended.
  4. Slowly (1/2 to 1 cup at a time) add dry mixture to wet mixture, mixing until all of the dry mixture has been incorporated.
  5. Add walnuts into batter, and mix well.
  6. Drop by large tablespoonfuls onto parchment paper on baking sheets, and press gently with back of spoon to flatten slightly.
  7. Bake for 12 minutes, or until edges are slightly golden brown.
  8. Cool on a wire rack. Enjoy immediately, and freeze leftovers to keep them fresh until needed.

Recipe: No-Bake Mocha Energy Bars

IMG_9221.JPG

I think we can all agree that snacks are pretty awesome.

That quick energy boost is a must, whether you’re deep in race training, pushing through the mid-afternoon slump of a work/school day or chasing after a toddler with a battery that just keeps going and going…and going.

But, alas, very few snacks lie at the intersection of “treat yo’self” and “treat your body well,” which is why I’m really excited to share this recipe for my No-Bake Mocha Energy Bars.

You guys: If fudge and a brownie had a baby, it’d taste just like this – but the best part is that they’re made with just a handful of whole-food ingredients.

Not only did they pass the husband-taste-test with flying colors, but they’re also loaded with protein, fiber, natural sugar and all kinds of vitamins and nutrients. So get your snack on!

No-Bake Mocha Energy Bars

Ingredients: 

  • 1/2 c almonds
  • 1 c walnuts
  • 2 c Bard Valley Natural Delights Medjool dates
  • Near-boiling water (to soak dates)
  • 1/4 c warm water
  • 3/4 c cocoa powder
  • 1/2 tsp vanilla
  • 1 Tbsp instant coffee
  • 1/4 c brown rice syrup (or honey)
  • 1/4 c almond butter
  • 1 1/2 c rolled oats
  • 1/2 c sunflower seeds
  • 1/2 c pumpkin seeds

Directions: 

  1. Pre-soak dates in hot water for 10-15 minutes, then drain.
  2. Process almonds & walnuts in food processor until they’ve reached a mealy consistency. Place into a medium bowl & set aside.
  3. Process soaked dates and warm water in food processor, adding in cocoa, vanilla and coffee until well blended.
  4. Continue processing date mixture, adding in brown rice syrup, almond butter and the nut meal from step 2.
  5. Transfer ooey-gooey goodness into a medium bowl, and add in oats and seeds. Stir to combine.
  6. Press into a 9×9 pan lined with parchment paper, and freeze for 30 minutes to harden.
  7. Lift bars from pan and chop into smaller pieces. Store in an airtight container in the freezer to keep from getting too sticky at room temp.
  8. When ready to eat, enjoy straight from the freezer!

Let me know if you try these; I’d love to hear your thoughts!

Recipe: Blueberry Pie Protein Smoothie

IMG_8978

When we moved into our house in the ‘burbs almost a year ago, one of the biggest draws was having a backyard — a little breathing room after years of city living.

While we miss the convenience, good restaurants, nearby friends and other perks of city living, our backyard has been a constant source of pleasure, relaxation and…unexpected surprises.

Like when I realized about a month ago that the large cluster of bushes in one corner happened to be blueberry bushes, just bursting with purple berries.

Needless to say, we’re up to our eyeballs in berries — whether freshly-picked and eaten or baked into pies, folded into pancakes and blended into smoothies, such as the one below.

This one’s been a recent favorite in rotation and is perfect as a quick mid-morning snack with protein, antioxidants and nutrients (plus enough staying power) to help you in that final push to lunch!

Blueberry Pie Protein Smoothie

Ingredients:

  • 3/4 cup frozen blueberries
  • 1 scoop of your favorite vanilla protein powder
  • 1 Tbsp Bard Valley Natural Delights Medjool date paste (directions here)
  • 1/4 cup full-fat Greek yogurt
  • 1/2 cup unsweetened almond milk
  • 1/2 tsp vanilla
  • 1/4 tsp cinnamon
  • 1 tsp ground flaxseed
  • 1 tsp wheat germ
  • 1 Tbsp cashew butter
  • Graham crackers (optional)
  • Lemon zest (optional)

Directions:

  1. Measure ingredients into blender (or large cup for an immersion blender)
  2. Blend on high until smoothie is your preferred consistency
  3. Top with graham crackers and and pinch of lemon zest…enjoy!

IMG_8975.JPG

I’m taking suggestions for more blueberry recipes, if you’ve got a favorite to share! 

Recipe: Orange Dreamsicle Protein Smoothie

IMG_8102

Maybe it’s just my Midwestern roots, but the taste of an Orange Julius always brings back fond memories of trips to the mall with my mom.

The only problem? Now that I’m grown up and we’re all better informed about eating healthy, the drink’s nutrition information (or lack there of?) is a tad disturbing.

Yes, I’m talking about you, 0 grams of dietary fiber and 54 grams of sugar in a SMALL serving. 

So in a recent Oregon heat wave I set about recreating this classic treat. Step one was removing any kind of artificial ingredients. Step two was giving it a boost in the nutritional value department.

Typically I sweeten my smoothies with bananas, but this one was just begging for dates. Why? Not only do dates have 50 percent more potassium by weight than bananas, but they don’t overwhelm the flavor if you’re working with a recipe like this.

And to amp up the fiber, I added ground flax seed and wheat germ. Don’t worry; you won’t even notice ’em, but your body will thank you for the extra omega-3’s, lignans (which reduce the risk of breast cancer in women and prostate cancer in men), vitamin E, magnesium, zinc, thiamin, folate and phosphorus.

One taste, and you’ll be transported back to childhood!

Orange Dreamsicle Protein Smoothie

Ingredients: 

  • 1 c orange juice
  • 1/2 c milk
  • 1/2 c plain, unsweetened yogurt
  • 1/4 c Bard Valley Natural Delights Medjool date paste (directions here)
  • 1 scoop of your favorite vanilla protein powder
  • 2 Tbsp flax seed meal
  • 2 Tbsp wheat germ
  • 1/2 tsp vanilla
  • 15 ice cubes
  • Sprinkle of granola

Directions: 

  1. Toss all ingredients into a high-speed blender or food processor & blend.
  2. Pour into two glasses, garnish with a sprinkle of granola & serve immediately.
  3. Enjoy!

Recipe: Kitchen Sink Energy Cookies

IMG_7837

Try as I might, I just can’t quit those dense, chewy, seed-laden Power Cookies from Whole Foods. Their siren song calls to me from the end of the conveyor belt, and somehow a package (or two) always sneaks itself into my basket at checkout.

But seeing as they’re quite the sugar bombs and surprisingly lacking in some key nutrients, I decided to take matters into my own hands and try to re-create them at home with, ahem, whole-food ingredients.

The result? You’ll have to taste for yourself, but I think it’s pretty darn close. And they’re chock full of fiber, essential minerals such as calcium, iron, phosphorus, sodium, potassium, magnesium and zinc (thanks to the dates!), plus natural sugars for a sustained energy boost.

Kitchen Sink Energy Cookies

Ingredients:

  • 2 large bananas, mashed
  • 1/2 c Bard Valley Natural Delights Medjool date paste (directions here)
  • 1/2 c applesauce
  • 2 Tbsp vanilla
  • 1 c wheat flour
  • 1 1/2 c oats
  • 1/2 c wheat germ
  • 1/2 c golden raisins
  • 1/2 c unsweetened, shredded coconut
  • 3/4 c chocolate chips
  • 1/2 c chopped walnuts
  • 1/4 c sesame seeds
  • 1/2 c raw sunflower seeds
  • 1/2 c pumpkin seeds
  • 1/4 c ground flax seeds
  • 1 tsp baking powder
  • 1/2 tsp salt
  • 2 tsp cinnamon
  • 1/2 tsp nutmeg
  • 1/2 tsp ginger

Directions:

  1. Preheat oven to 350º F.
  2. In a small bowl, mix together wet ingredients until blended.
  3. In a large bowl, stir dry ingredients together.
  4. Pour wet ingredients into dry ingredients and mix until fully incorporated.
  5. Shape into golf ball-sized balls with your hands, and gently flatten before placing onto a baking sheet lined with parchment paper.
  6. Bake ~15 minutes or until cookie tops feel dry to the touch.


Recipe: Cocoa Recovery Truffles

CocoaRecoveryTruffle

Eating well on the run isn’t always easy. But eating well while running…or, more specifically, while training and building mileage can be even tougher.

Suddenly justifications abound for treating yourself. And before you know it, “just this once” becomes a regular part of your routine. Or at least for me it does.

That’s why I’ve started whipping up batches of what I’ve dubbed my Cocoa Recovery Truffles. Full of protein, good fats, vitamins, antioxidants and decadent flavor, they hit the spot when you’re craving sweets yet still deliver some great nutritional benefits.

Cocoa Recovery Truffles

Ingredients:

  • Approx 1 cup almond meal (use leftovers from making almond milk)
  • 2 cups unsweetened, finely-shredded coconut
  • 1/4 cup hemp hearts
  • 2 tsp cinnamon
  • 2 tsp vanilla
  • 2 tsp water
  • 1/2 tsp sea salt
  • 10 Bard Valley Natural Delights Medjool dates, pitted
  • 1/4 cup cocoa powder
  • 1/4 cup coconut oil (warmed to liquid)
  • 1/4 cup cacao nibs

IMG_7512.JPG

Directions:

  1. Combine almond meal, coconut, hemp hearts, cinnamon, vanilla, water, salt, dates & cocoa powder in a food processor, blending to a uniform consistency.
  2. Turn off food processor & scrape down the sides.
  3. Replace cover, turn it back on & slowly pour in coconut oil until fully incorporated.
  4. Transfer mixture to a bowl & stir in cacao nibs.
  5. Using a spoon, scoop mixture into hands & roll gently into small balls.
  6. Store in an airtight container, separating layers with parchment paper, for up to one week.

IMG_7514

Almost as good as my favorite indulgence of diving spoon-first into a bowl of chocolate chip cookie dough!

Recipe: No Added Sugar Banana Zucchini Date (Smash!) Cake

IMG_7265

They say that with age comes wisdom. But, for me, it took being responsible for another little life to finally smarten up about my eating habits.

Sure, Ben and I have always tried to eat healthy, which mostly meant forgoing sugary treats until we’d eventually cave into temptation…only to start a cycle of guilt, restriction and inevitable relapse.

But it wasn’t until I got pregnant that I decided to cut myself some slack and relax when it came to cravings. Although with space in the belly at a premium, you’ve got to make every calorie count.

When I stopped thinking of foods as “good” and “bad” and started judging them on their nutrient density, I felt empowered instead of deprived. Not to mention it felt great to fuel my body — and my baby — with whole foods that would help both of us thrive.

Enter Bard Valley Natural Delights Medjool dates. I’ve partnered with them this year to help our family make the swap from refined sugars to a more natural alternative: whole foods that the body can recognize and pull nutrients from.

My 2015 almond milk experiment started what has become a passionate love affair with these little gems. Medjool dates deliver sustained energy from their combo of fiber and natural sugars, plus they’re packed with potassium to support muscle fuel and recovery.

So Wyatt’s first birthday “smash cake” became an experiment of sorts in substituting date paste for processed sugar. It may have taken me a few attempts — the first was too moist, the second was too dense — but the third time was a charm, as you can see from the shot below.

This recipe works for birthdays, but I think it’s even better made into muffins for a quick energy boost throughout the day. Finally, you can have your cake — and eat it (along with some very valuable nutrients), too.

No Added Sugar Banana Zucchini Date Cake

Ingredients: 

  • 2 small zucchinis, grated & squeezed dry (about 2 cups)
  • 1 ripe banana, mashed
  • 3 large eggs
  • 1/2 cup date paste
  • 1/2 cup natural peanut butter
  • 2 Tbsp vanilla
  • 1/2 cup coconut flour
  • 1 cup flour
  • 1.5 tsp baking soda
  • 1 tsp salt
  • 1 tsp pumpkin pie spice
  • 1 tsp cinnamon

Directions:

  1. Preheat oven to 325 degrees Fahrenheit and grease muffin cups with coconut oil (or use muffin liners).
  2. In large bowl, mix together zucchini and banana. Add eggs one at a time.
  3. Blend in date paste, peanut butter and vanilla.
  4. In small bowl, mix dry ingredients. Add slowly to wet ingredients, stirring to incorporate.
  5. Spoon into muffin cups, filling each 3/4 of the way.
  6. Bake for approximately 30 minutes, or until a toothpick inserted into muffin come out clean.

IMG_7204

Give it a try, and let me know what you think!

Recipe: DIY Chipotle Burrito Bowl

img_5050

When people talk about weird cravings during pregnancy, I often forget to mention what Ben likes to call the “Chipotle trimester.” Burritos were my jam, and I was a regular staple in the lunch line for several months…well, pre-E. coli-outbreak, that is.

Fast forward to having said baby and moving to the ‘burbs, though, and it’s a lot tougher to make regular pit stops into ‘potle these days. Plus there’s that whole wanting-to-eat-healthier thing and the there’s-barely-enough-time-to-eat-lunch-let-alone-make-it thing, which means meal planning and prep have become necessities for us.

Enter the following DIY recipe, which tastes almost as good as the real deal. Toss with greens for extra nutrients, fold into burrito form or scoop straight out of the bowl with chips!

DIY Chipotle Burrito Bowl

(adapted from What’s Gaby Cooking)

Ingredients:

For the Chicken

  • 1 tablespoon vegetable oil
  • 2 chipotle peppers in adobo, finely chopped
  • 1 teaspoon garlic powder
  • 1 teaspoon ground cumin
  • 1/2 teaspoon dried oregano
  • 1/2 teaspoon black pepper
  • 4 boneless, skinless chicken thighs (or 3 boneless, skinless chicken breasts)

For the Rice

  • 1 teaspoon vegetable oil
  • 1 cup brown rice
  • 2 cups water
  • 1 lime
  • 2 tablespoons freshly chopped cilantro
  • kosher salt to taste

For the toppings

  • 1 cup pinto beans (warmed)
  • 1 cup black beans (warmed)
  • 1 cup fresh corn, cut from the cob
  • 1 cup guacamole
  • 1 cup pico de gallo
  • 1 cup finely shredded monterey jack cheese

Directions:

For the Chicken

  1. Combine the vegetable oil, chopped chipotle peppers in adobo, garlic powder, cumin, dried oregano, and black pepper in a small bowl and stir to combine.
  2. Place the chicken in a large zip top plastic bag and add the marinade. Zip the bag and mix the chicken into the marinade. Place it into the fridge and let it marinate for at least an hour.
  3. Heat an outdoor grill to about 400 degrees F (medium high heat). Place the chicken onto the grill and grill 5 to 6 minutes per side, until the chicken is cooked. Remove the chicken from the grill and let rest for 10 minutes. Chop the chicken into small bite-sized pieces.

For the Rice

  1. In a heavy saucepan, heat the oil over medium heat. Once hot, add the brown rice and lime juice and sauté for 60 seconds to toast the rice.
  2. Add the water and bring the rice to a boil. Cover and reduce the heat to low and cook until the rice is tender and all the water is absorbed.
  3. Add in the cilantro and fluff rice with a fork.

To assemble

  1. Arrange equal parts of the brown rice and chopped grilled chicken in 4 bowls.
  2. Top with equal parts of the pinto beans, black beans, corn, guacamole, pico and cheese.
  3. Season with salt and pepper as needed and serve immediately.
To Chipotle or not to Chipotle…that is today’s question. Have you been back since the E. coli scare?