How I Run: Team LUNA Chix PDX’s Natasha Henderson

Natasha3

In honor of our inaugural Team LUNA Chix Portland Run season, I’ll be introducing my teammates via this interview series throughout the next few months…get to know these impressive ladies, and come join us for a run Monday nights from 6:30-7:30 pm in Portland (click here for details)! 

Introduced through Jamie, our mutual friend and running buddy, Natasha Henderson (aka Tasha) and I hit it off immediately over a double date with our husbands at a local brewery last summer. While the boys chatted about their shared obsession with love of all things Boston, us gals bonded over our own favorites: long runs, good beer, hard laughs, curly hair and delicious meals.

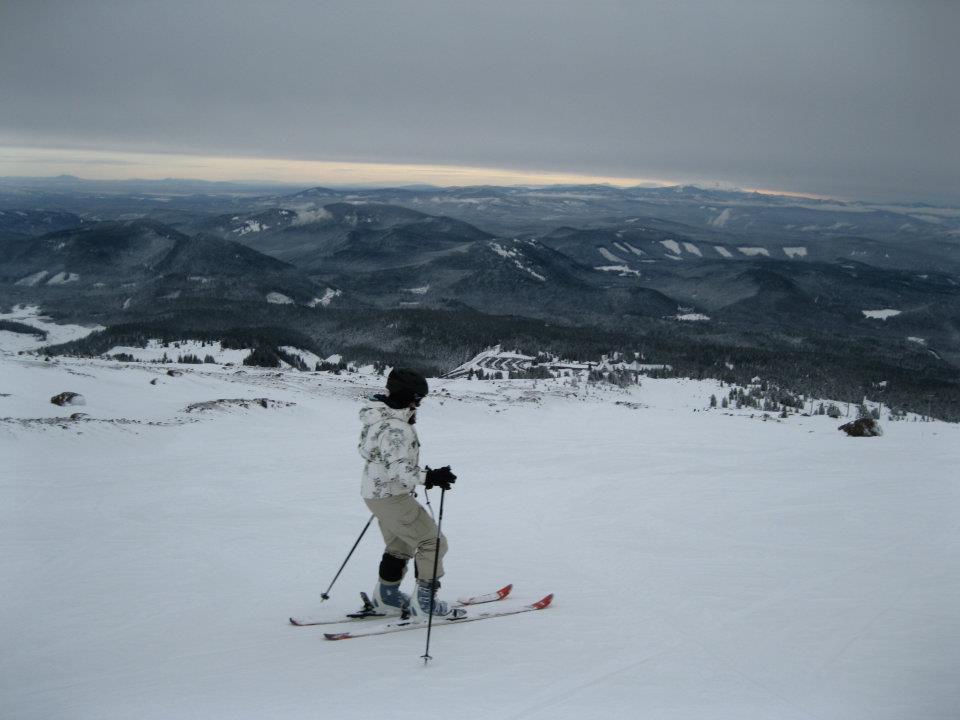
So when it came time to create this year’s Team LUNA Chix Portland Run, Tasha was a natural choice. She’s the brightest ray of sunshine on those cloudy Portland days — an embracer of life, healthy cooking and a good farmer’s market; a blogger who runs marathons, skis double black diamonds and climbs rocks.

Natasha6

Tasha’s one of those people who not only shows up, but each time she does, she brings her A game. Whether it’s concocting recipes in her kitchen, “runching” along the waterfront, being a hostess with the mostess or meeting up for mid-week workout dates, her enthusiasm is only surpassed by her warmth, which makes her an incredibly inspiring person to be around (not to mention she’s on my short list of belay partners who I trust to literally hold my life in her hands as I scale a 55-foot-high wall).

Tasha started running in junior high school, and says she’s been hooked ever since. She prefers trails over roads and is looking forward to running her first trail half marathon this year.

If she’s not navigating her way through Forest Park, there’s a good chance you’ll find her grabbing a quick lunchtime run along the waterfront in downtown Portland. And as far as favorite mid-run convos go, Tasha’s topics of choice range from peanut butter, skiing at Mt. Hood, lip gloss, hiking and camping to cooking a good meal for her friends and family, food blogging, used book stores, yoga and coffee!

Natasha1

1. What’s your favorite route? I love catching a run on the Portland waterfront during the week days. At least once a week I like to go there to squeeze in four to five miles at lunch. It’s such a beautiful loop, and on a sunny day and it energizes me for the afternoon to come.

2. What shoes do you wear? Right now I am running on hot pink Nike Air Zoom Vomeros! Before that, I was running on Asics. I’m due for a new pair of shoes soon, so we will see what the future brings!

3. What other run gear can’t you live without? I’m not sure if it counts as “gear” but I absolutely love using the Strava app. It makes it easy to track and log my runs, plus I like that I can follow my running buddies and see what type of running mischief they’ve been getting into.

4. What’s your best time-saver or “runhack?” I’m all about planning ahead and always trying to think of little things I can do to make my day (and running) easier. I am NOT a morning person, so for early morning runs or races, I literally lay out every single piece of clothing that I will wear the next morning, set the coffee machine and even prep breakfast. Not only does it save me time, but it also keeps me from forgetting something!

Natasha2

5. What running-related thing are you better at than anyone else? I’m not sure if I’m better than anyone else at it, but I am I’m great at saving a little bit so I can kick into high gear at the end of my run and finish strong.

6. What do you listen to while running? I am totally indiscriminate about my running music. So much so that sometimes I’m a little embarrassed if a song from my running mix comes on when there are others are around. Really, I’ll listen to anything with a good beat that keeps my feet moving. When I am in a running slump, I download a few new songs and they usually motivate me to get me out the door.

7. What are you currently training for? I am so excited for the Trail Factor Half-Marathon! This is my longest trail race distance so far, and I’ve been very dedicated to my training. After this I’d love to do a trail marathon, and maybe even a 50k!

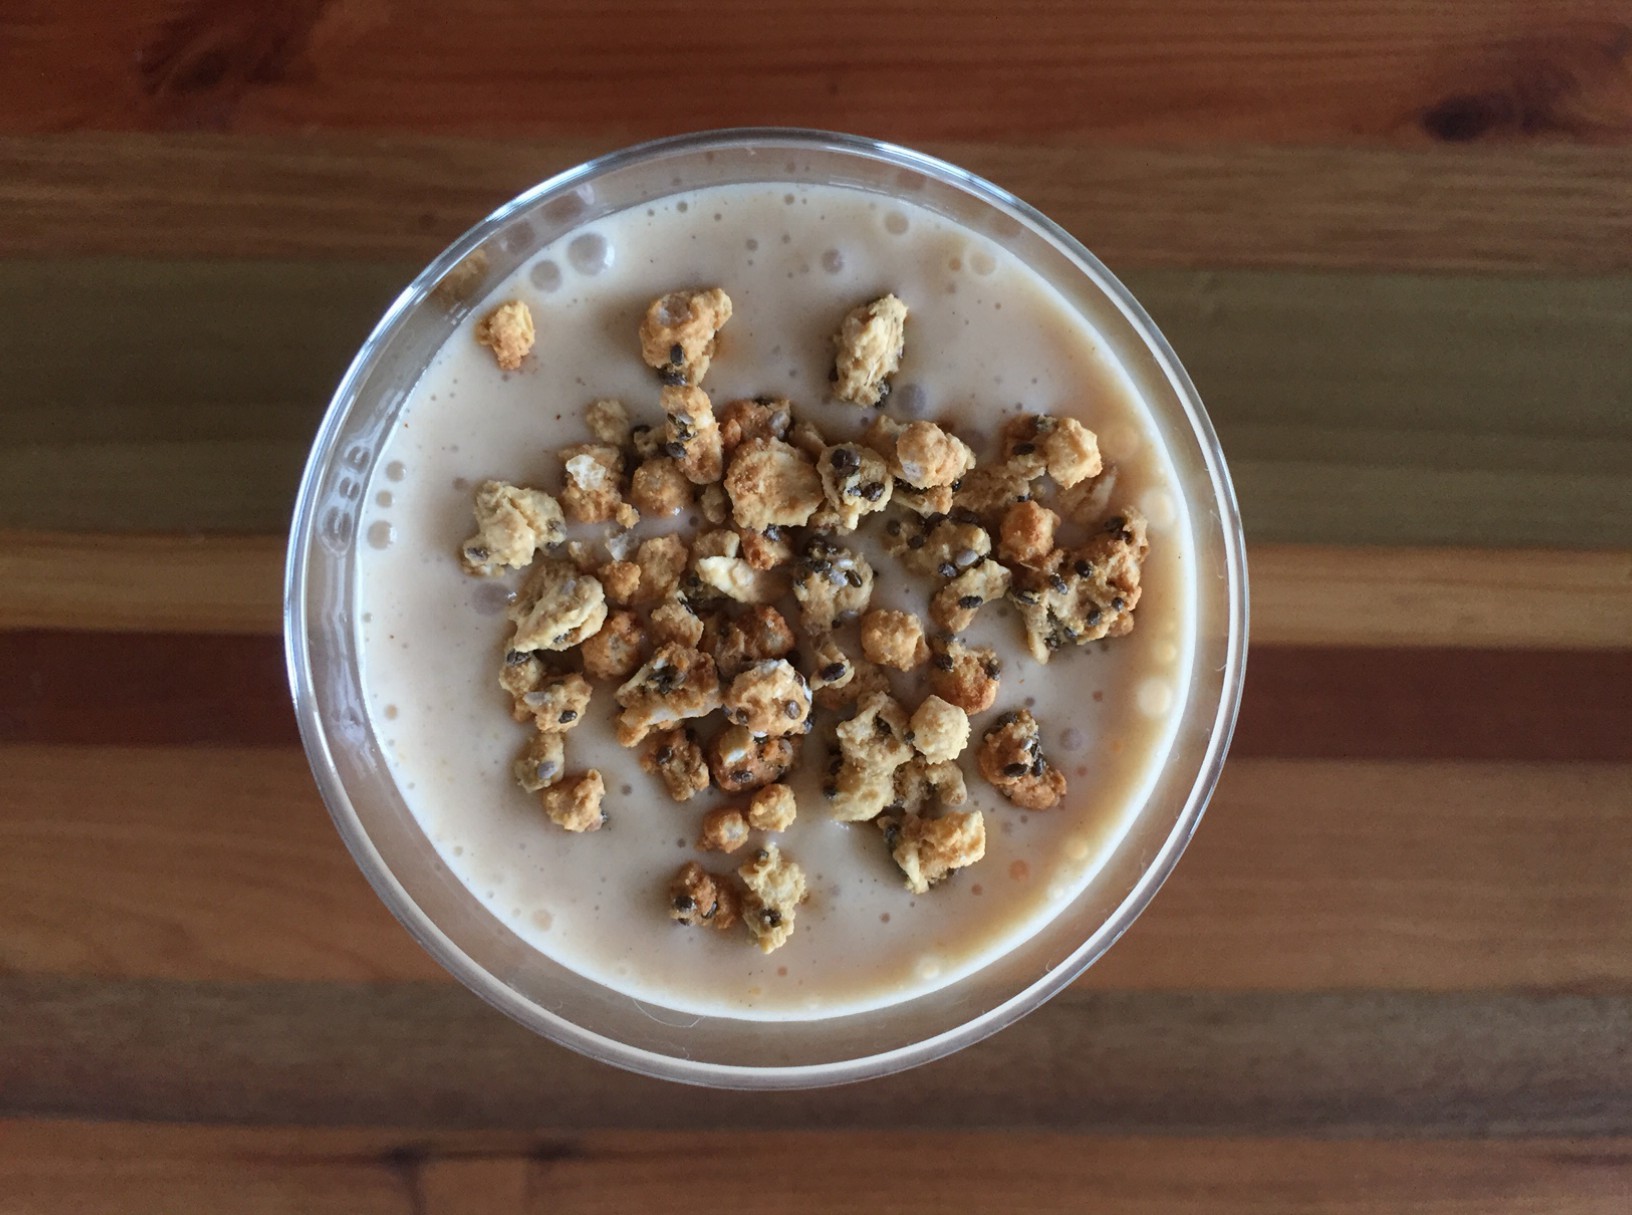
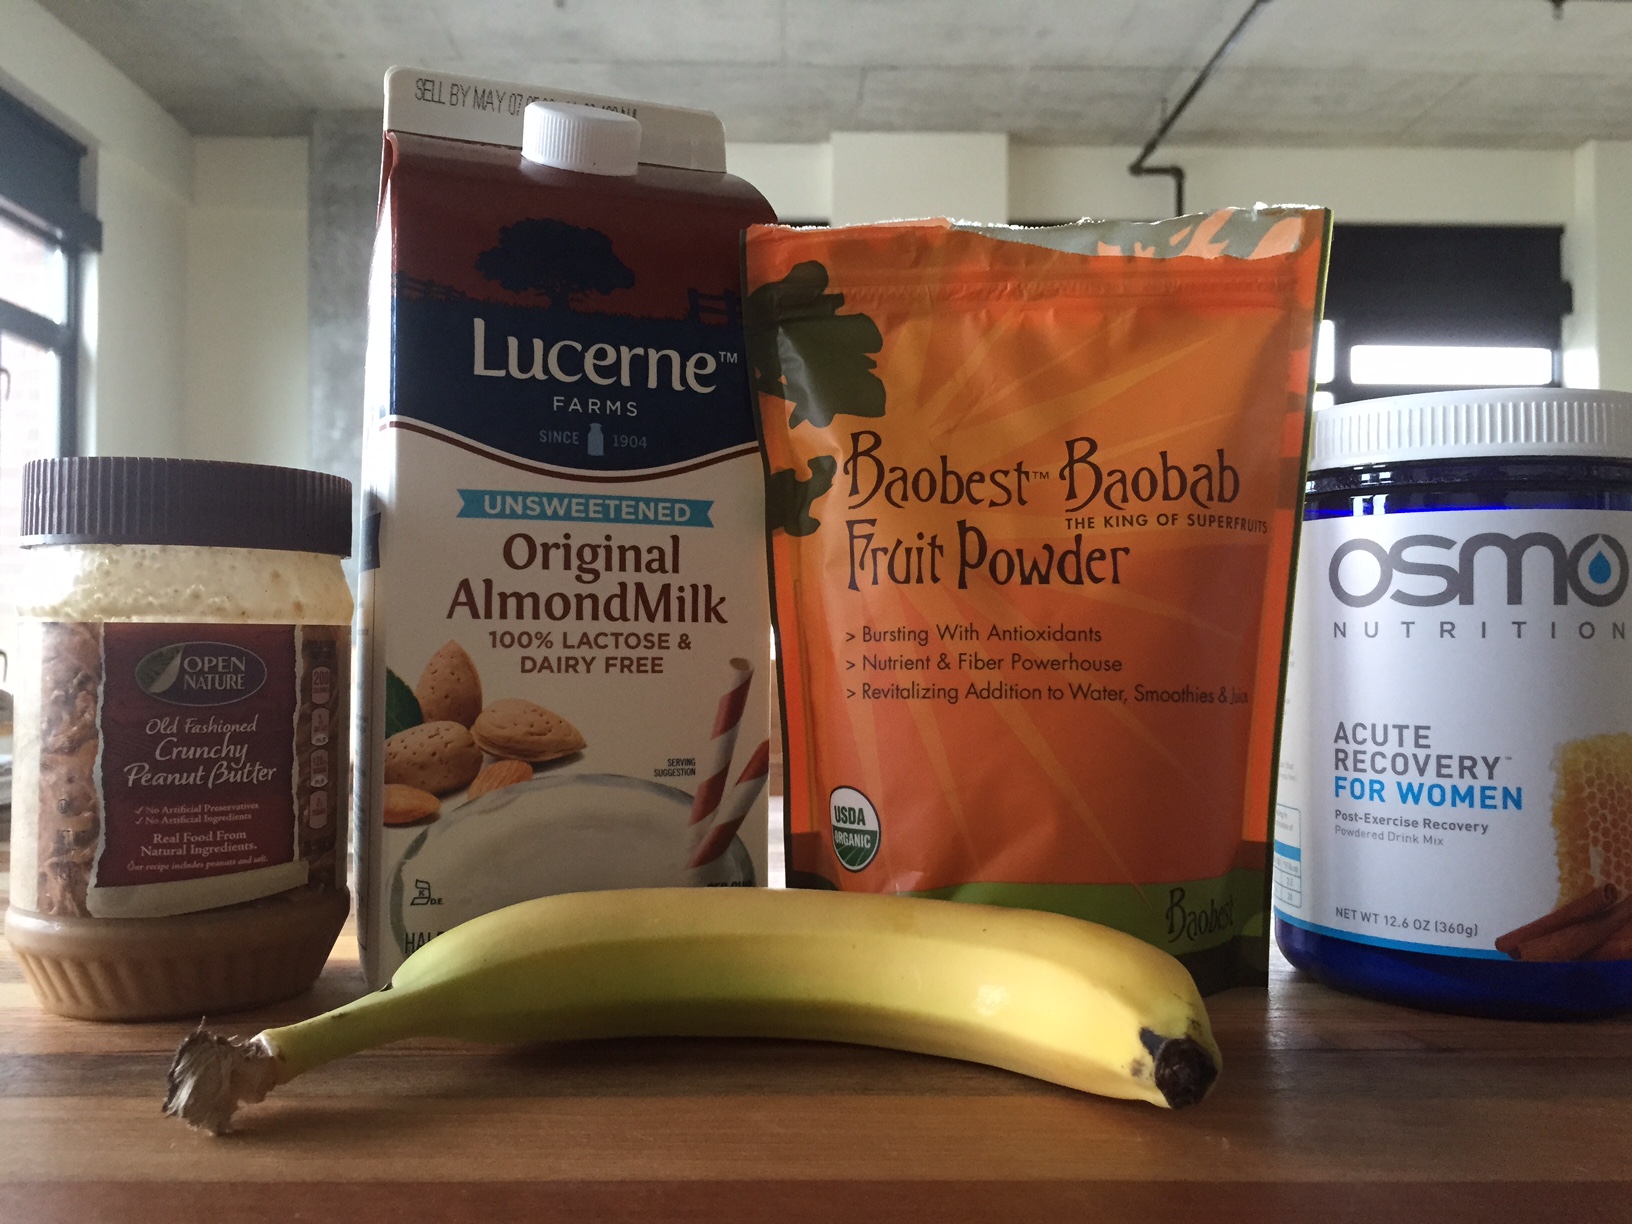
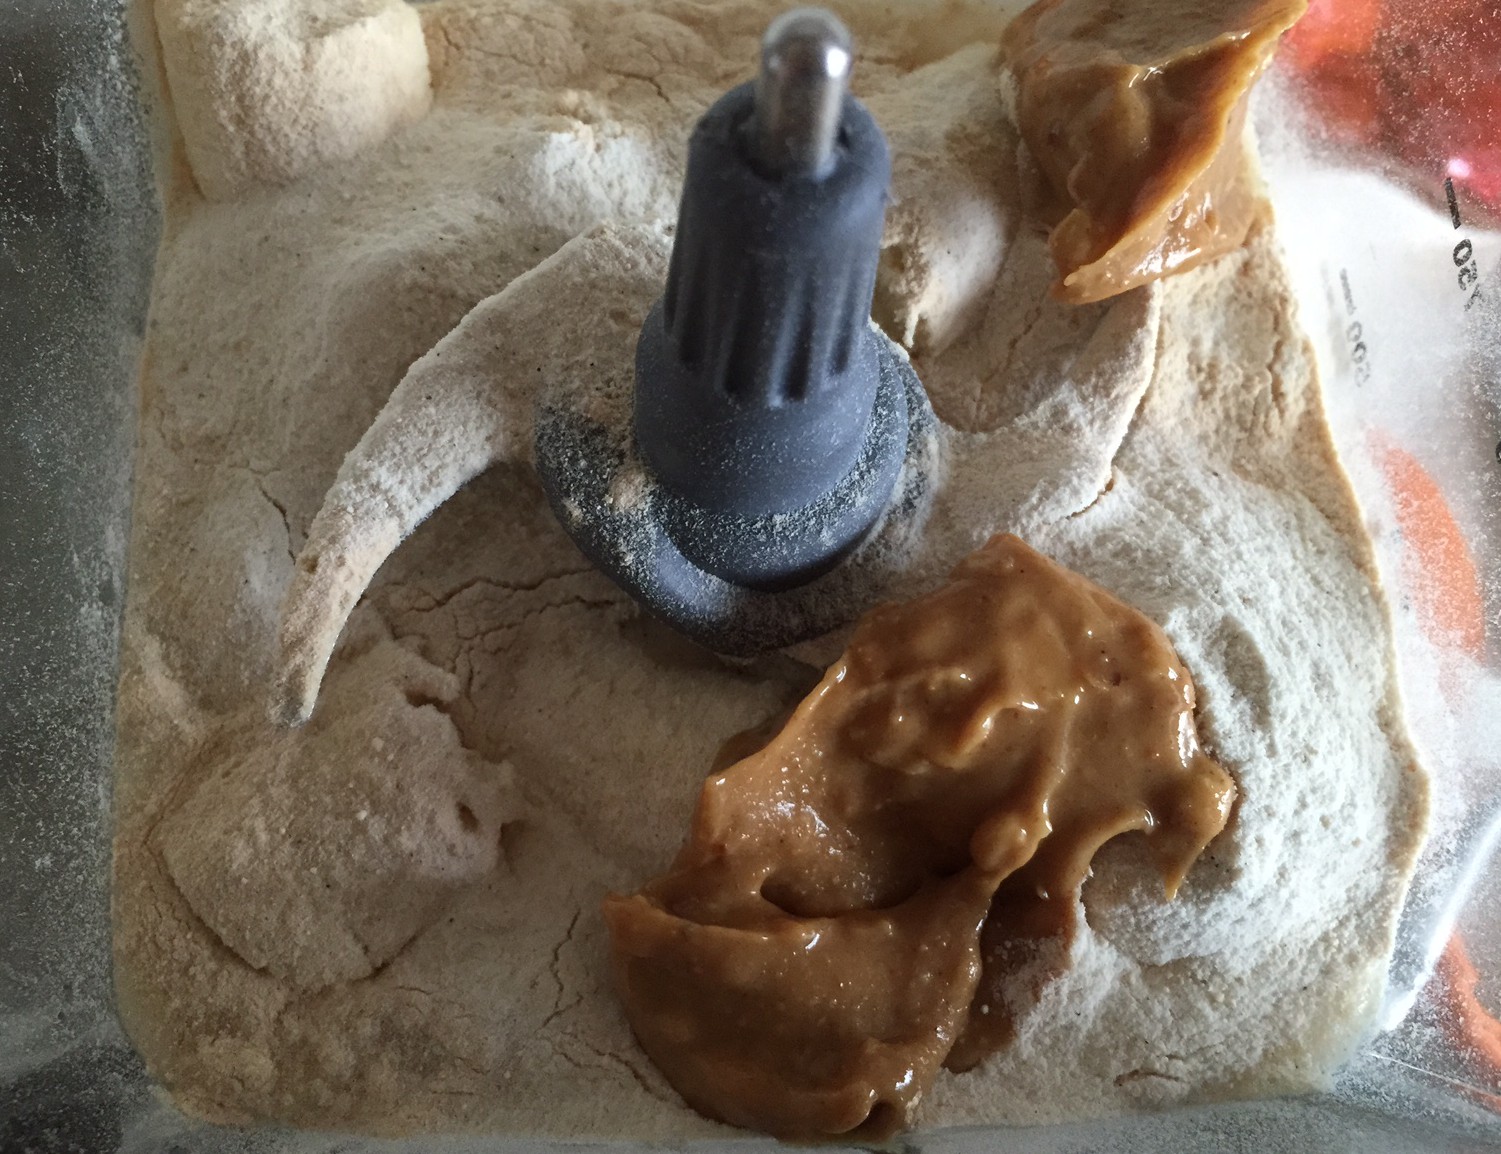
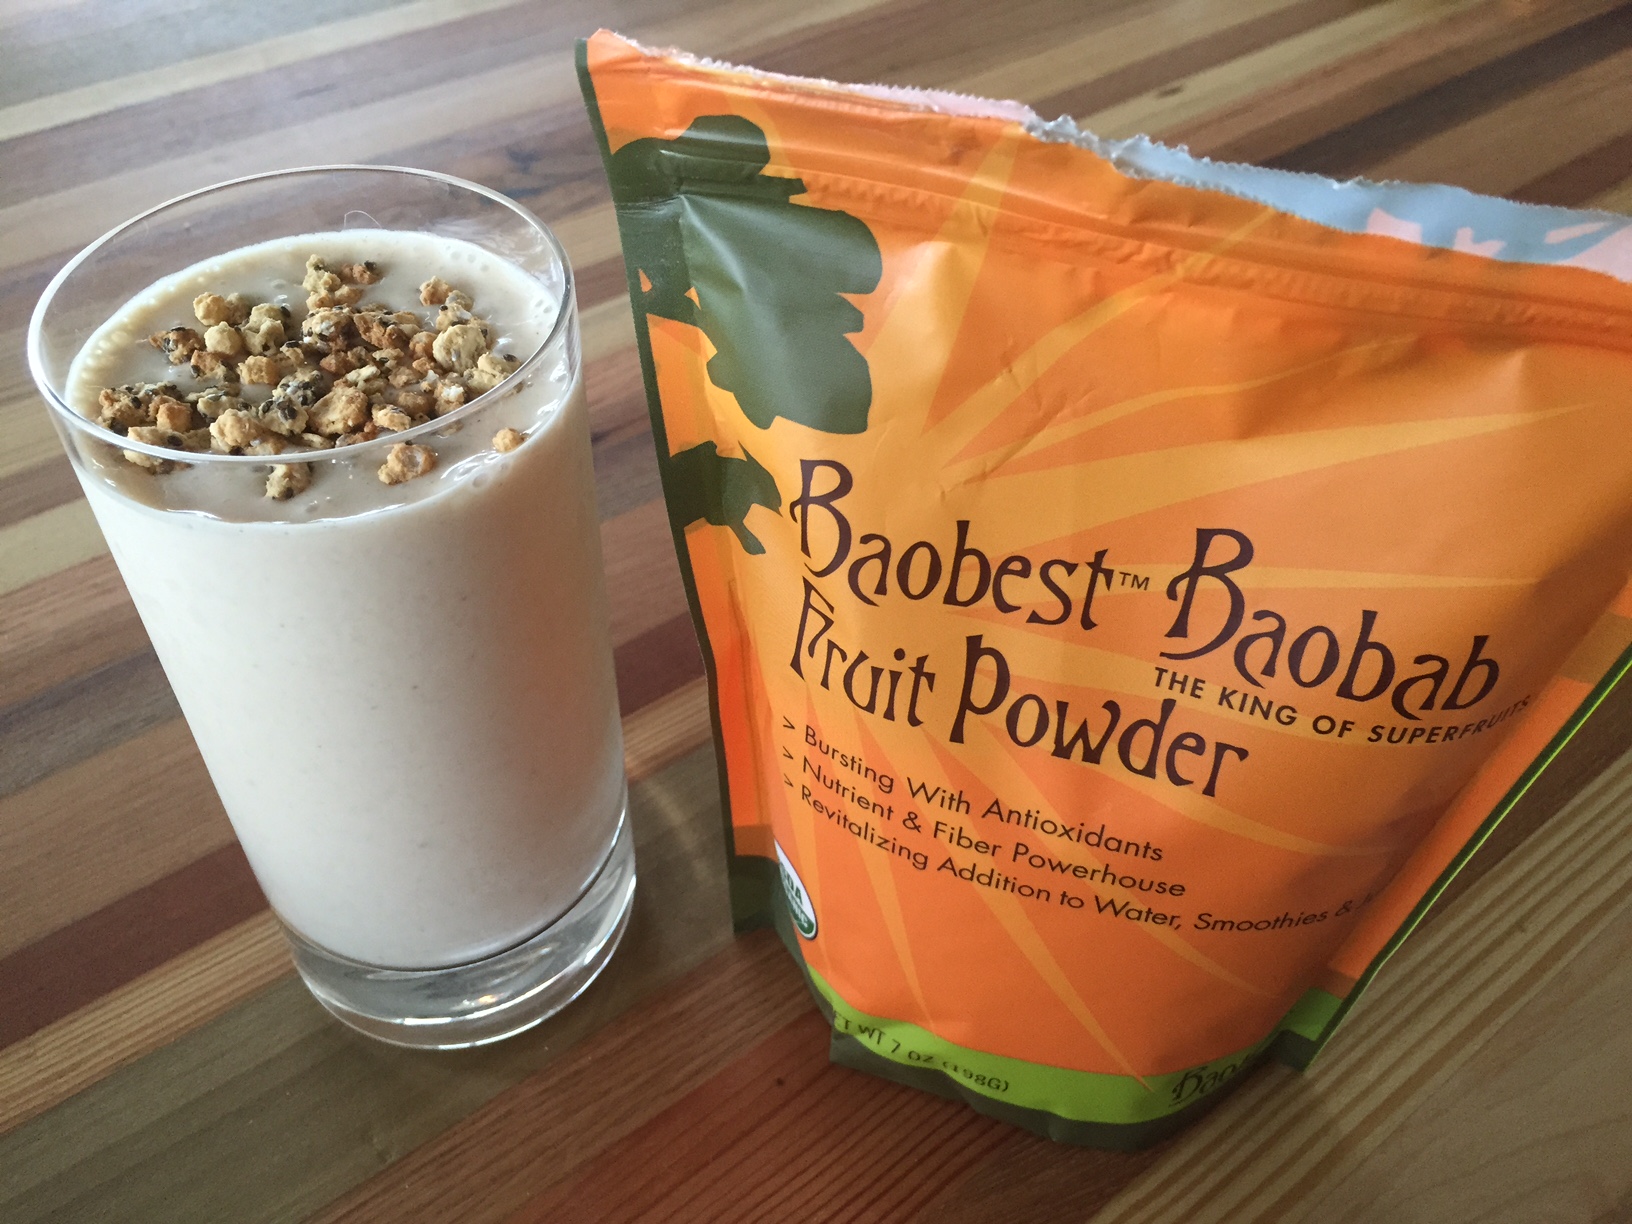
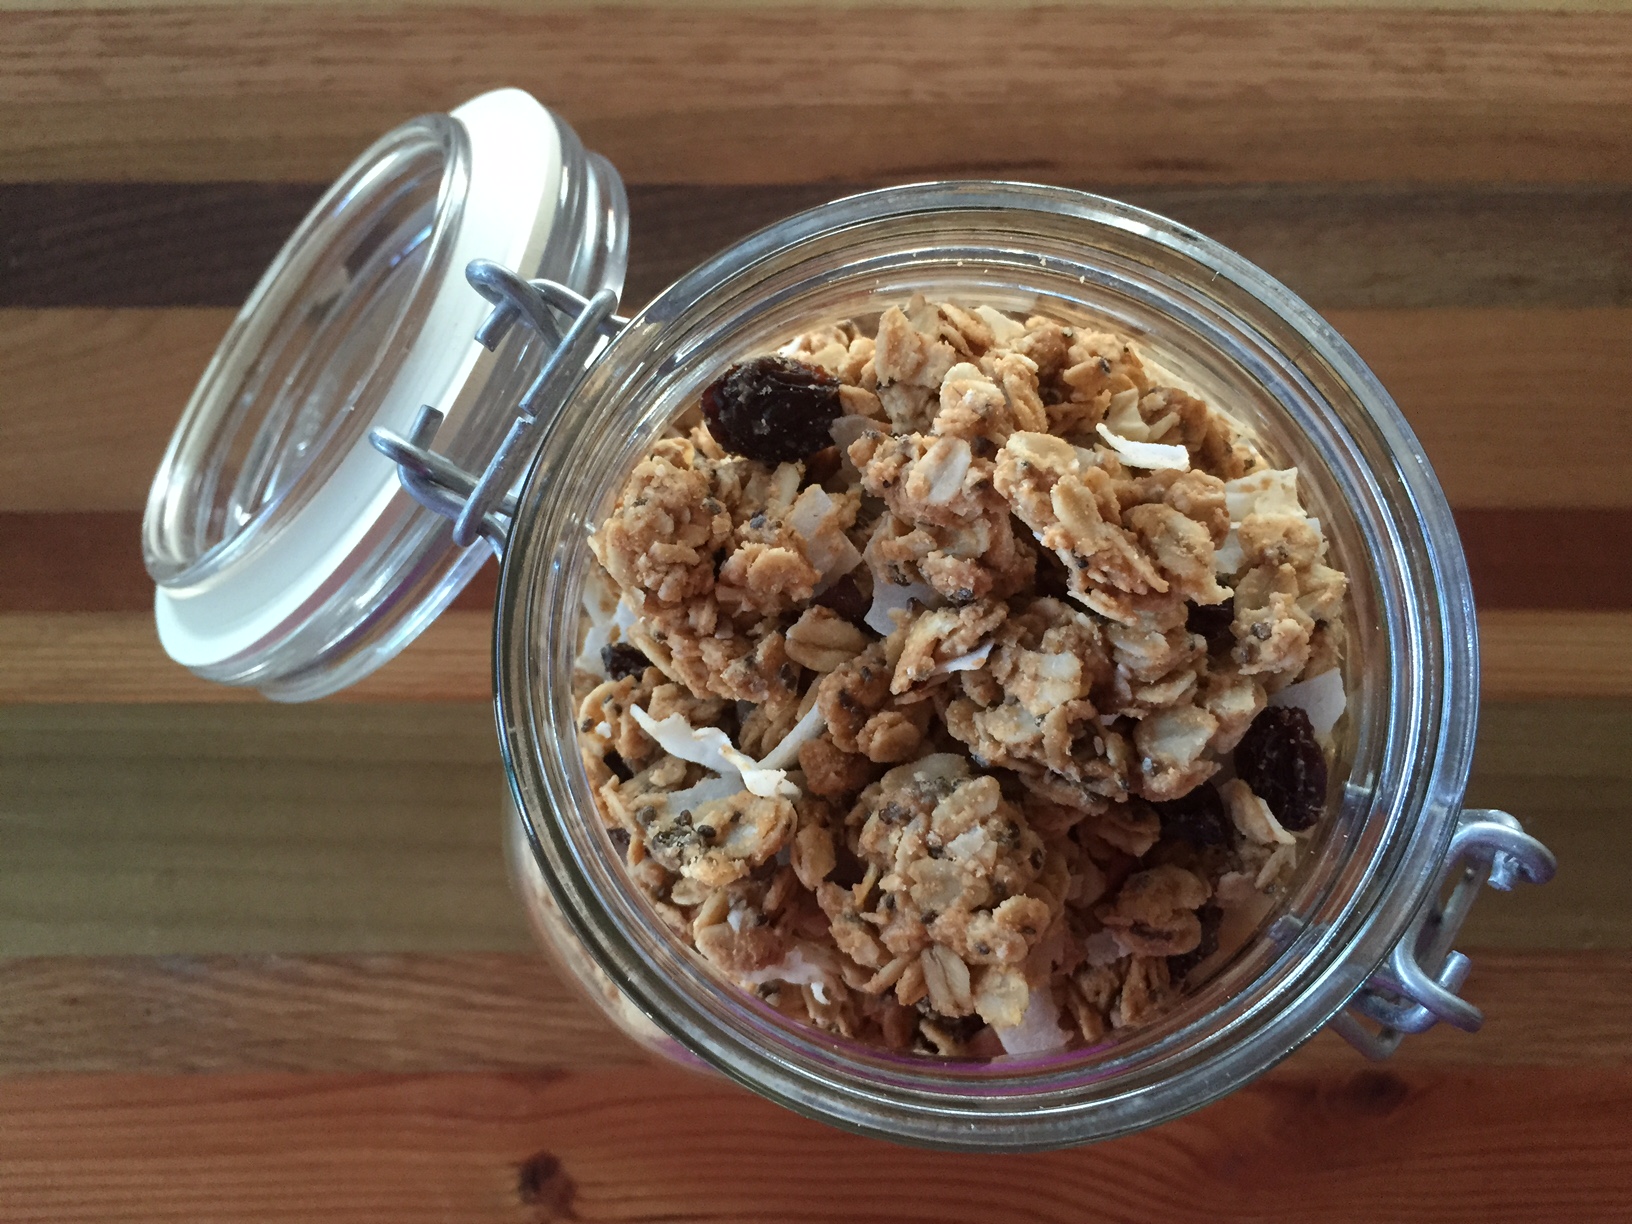
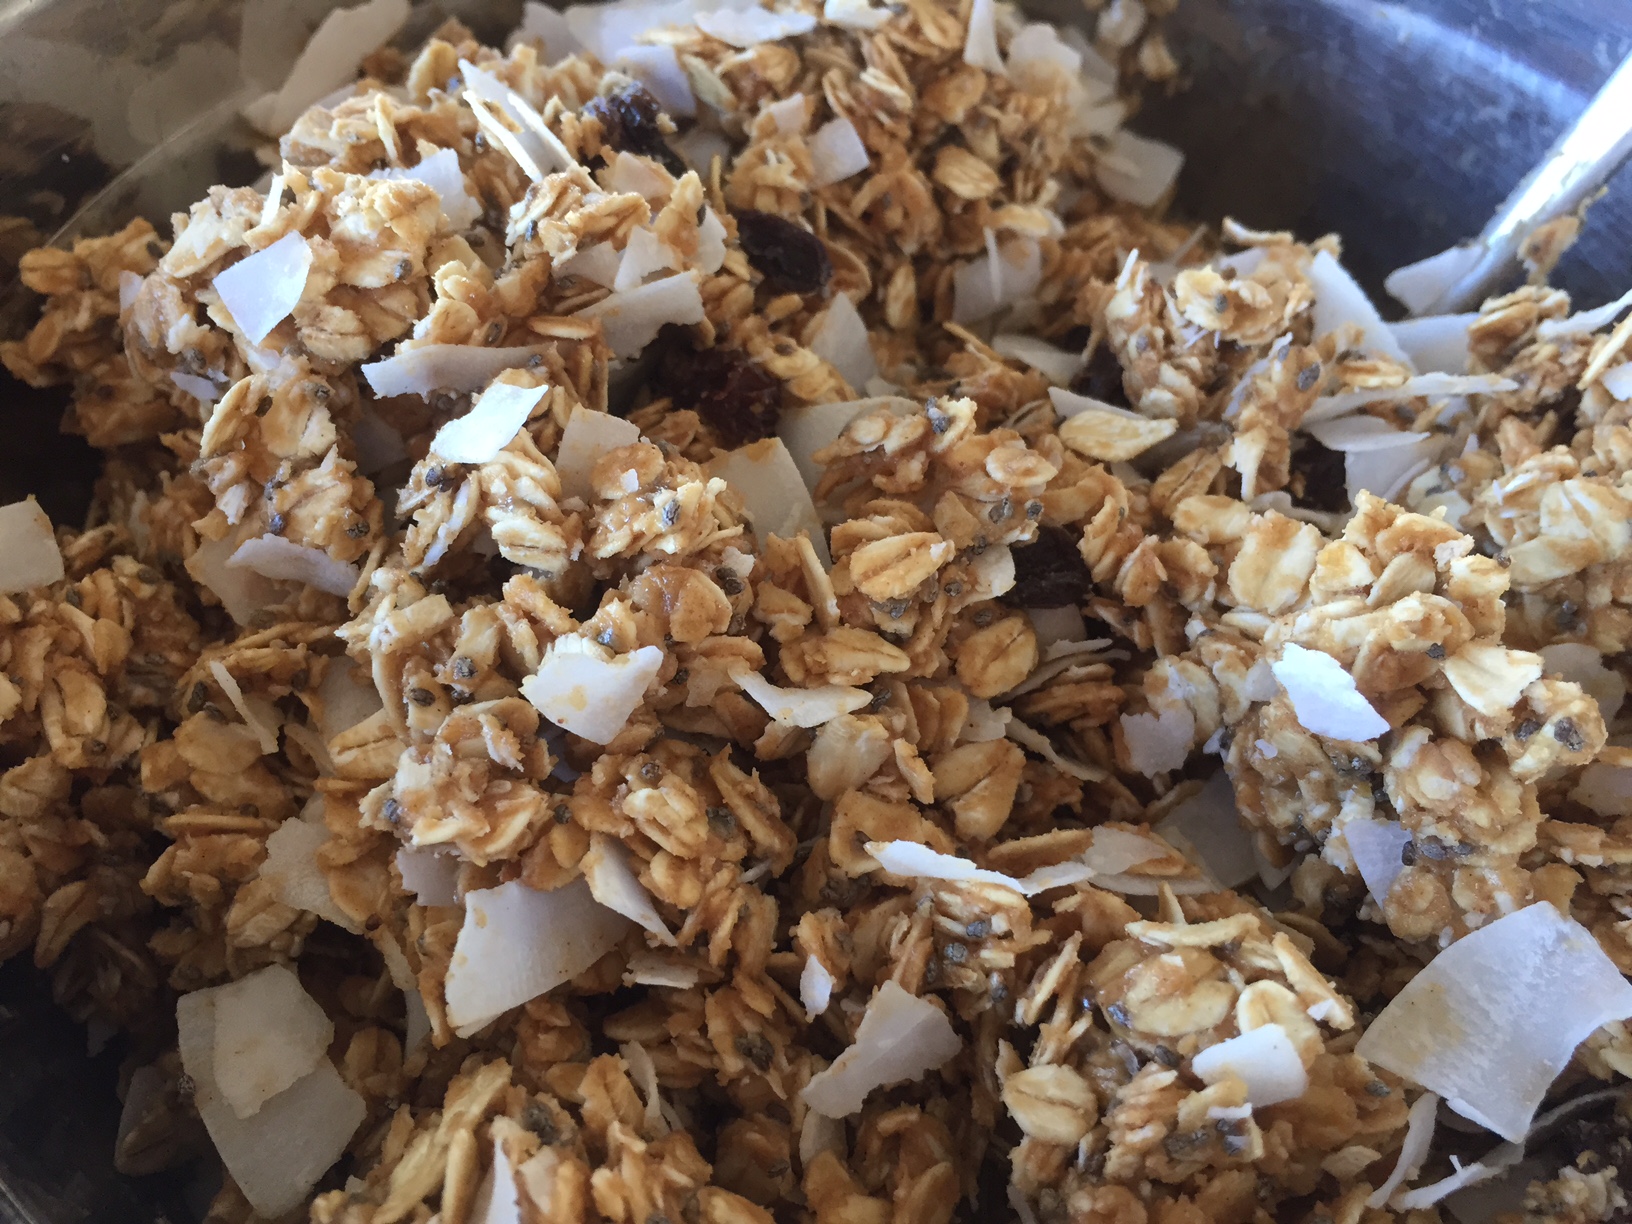
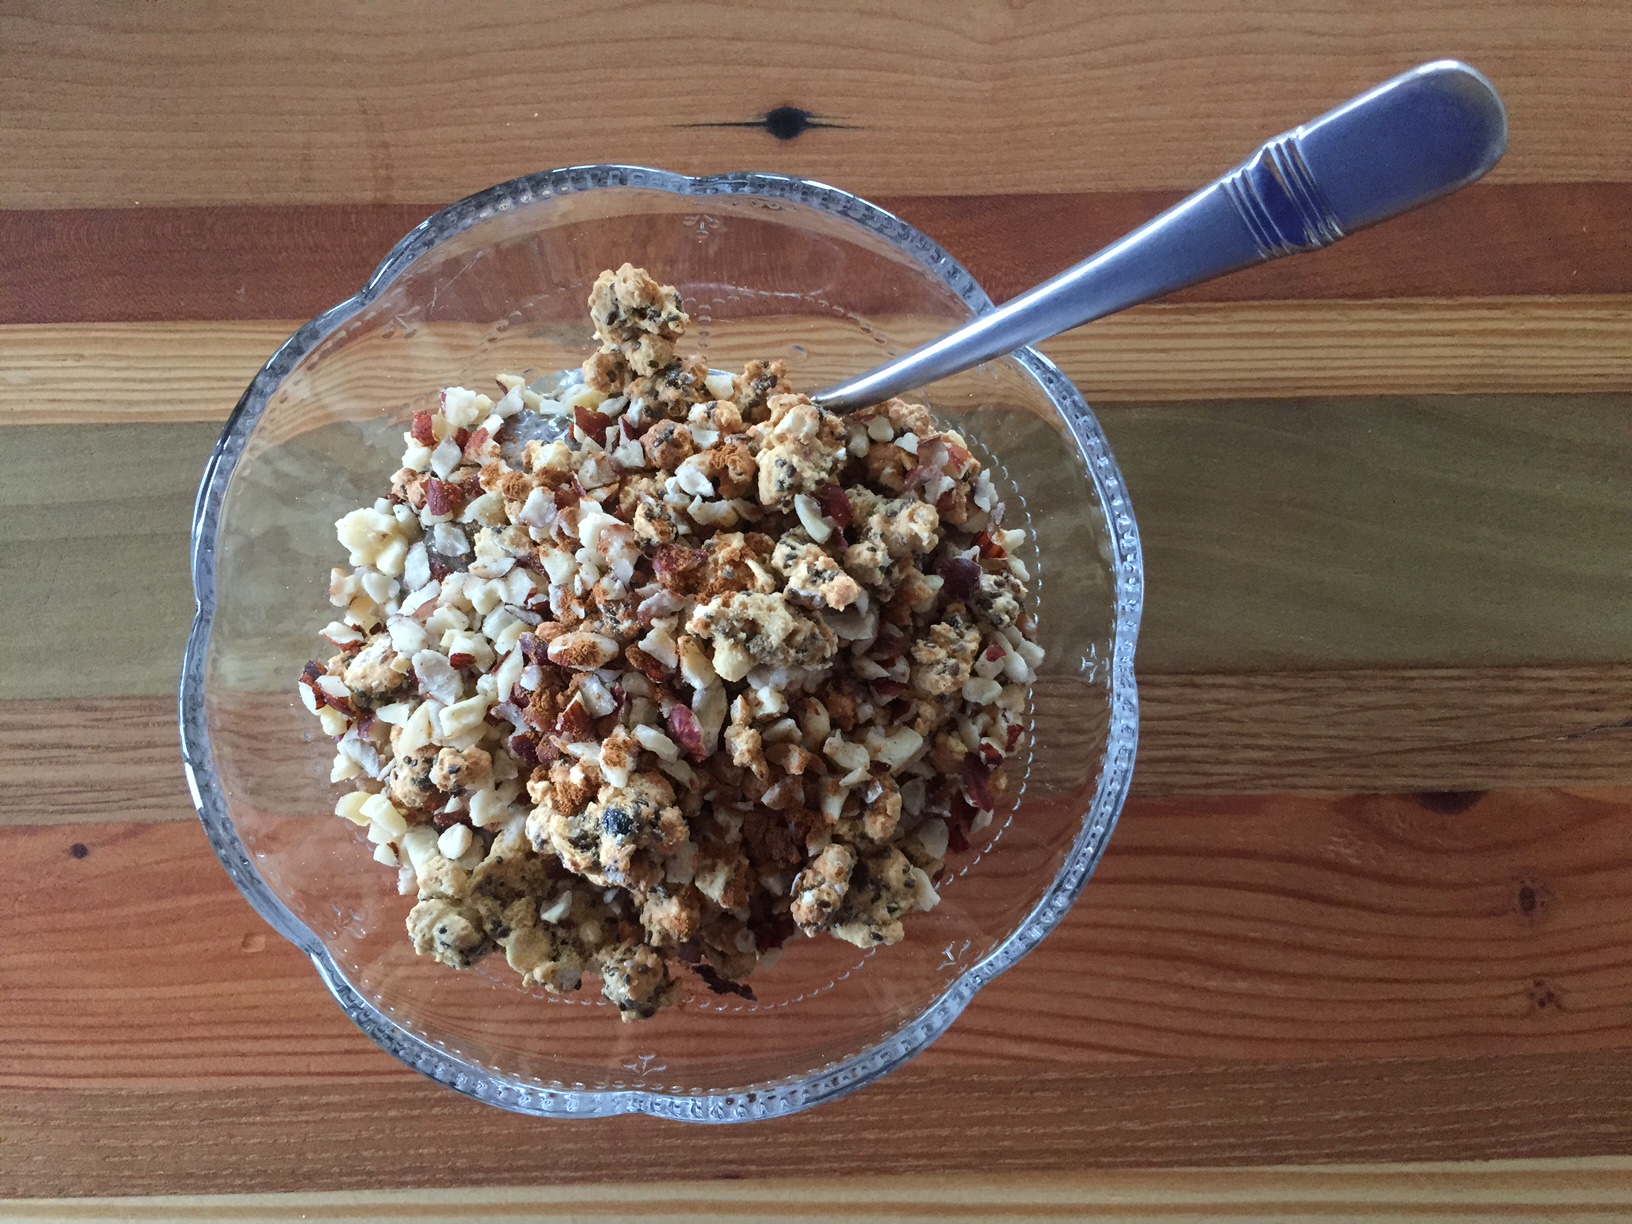
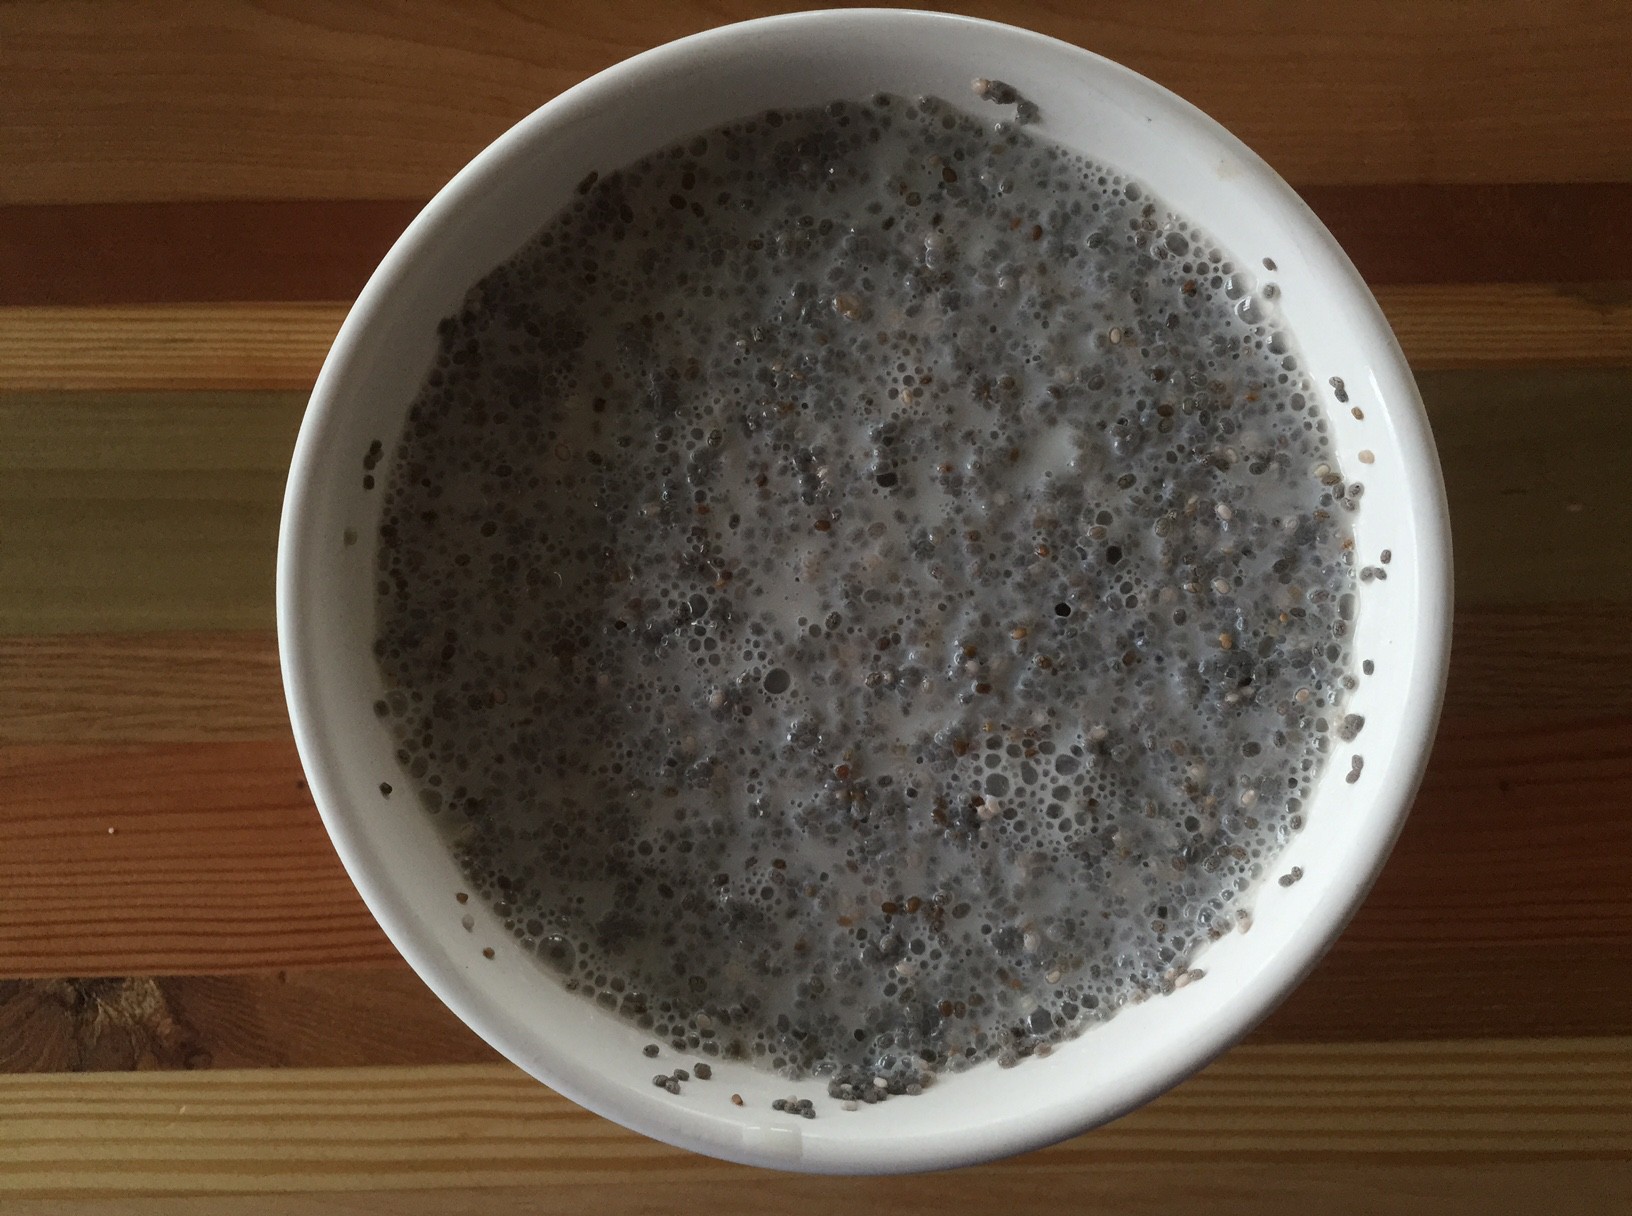
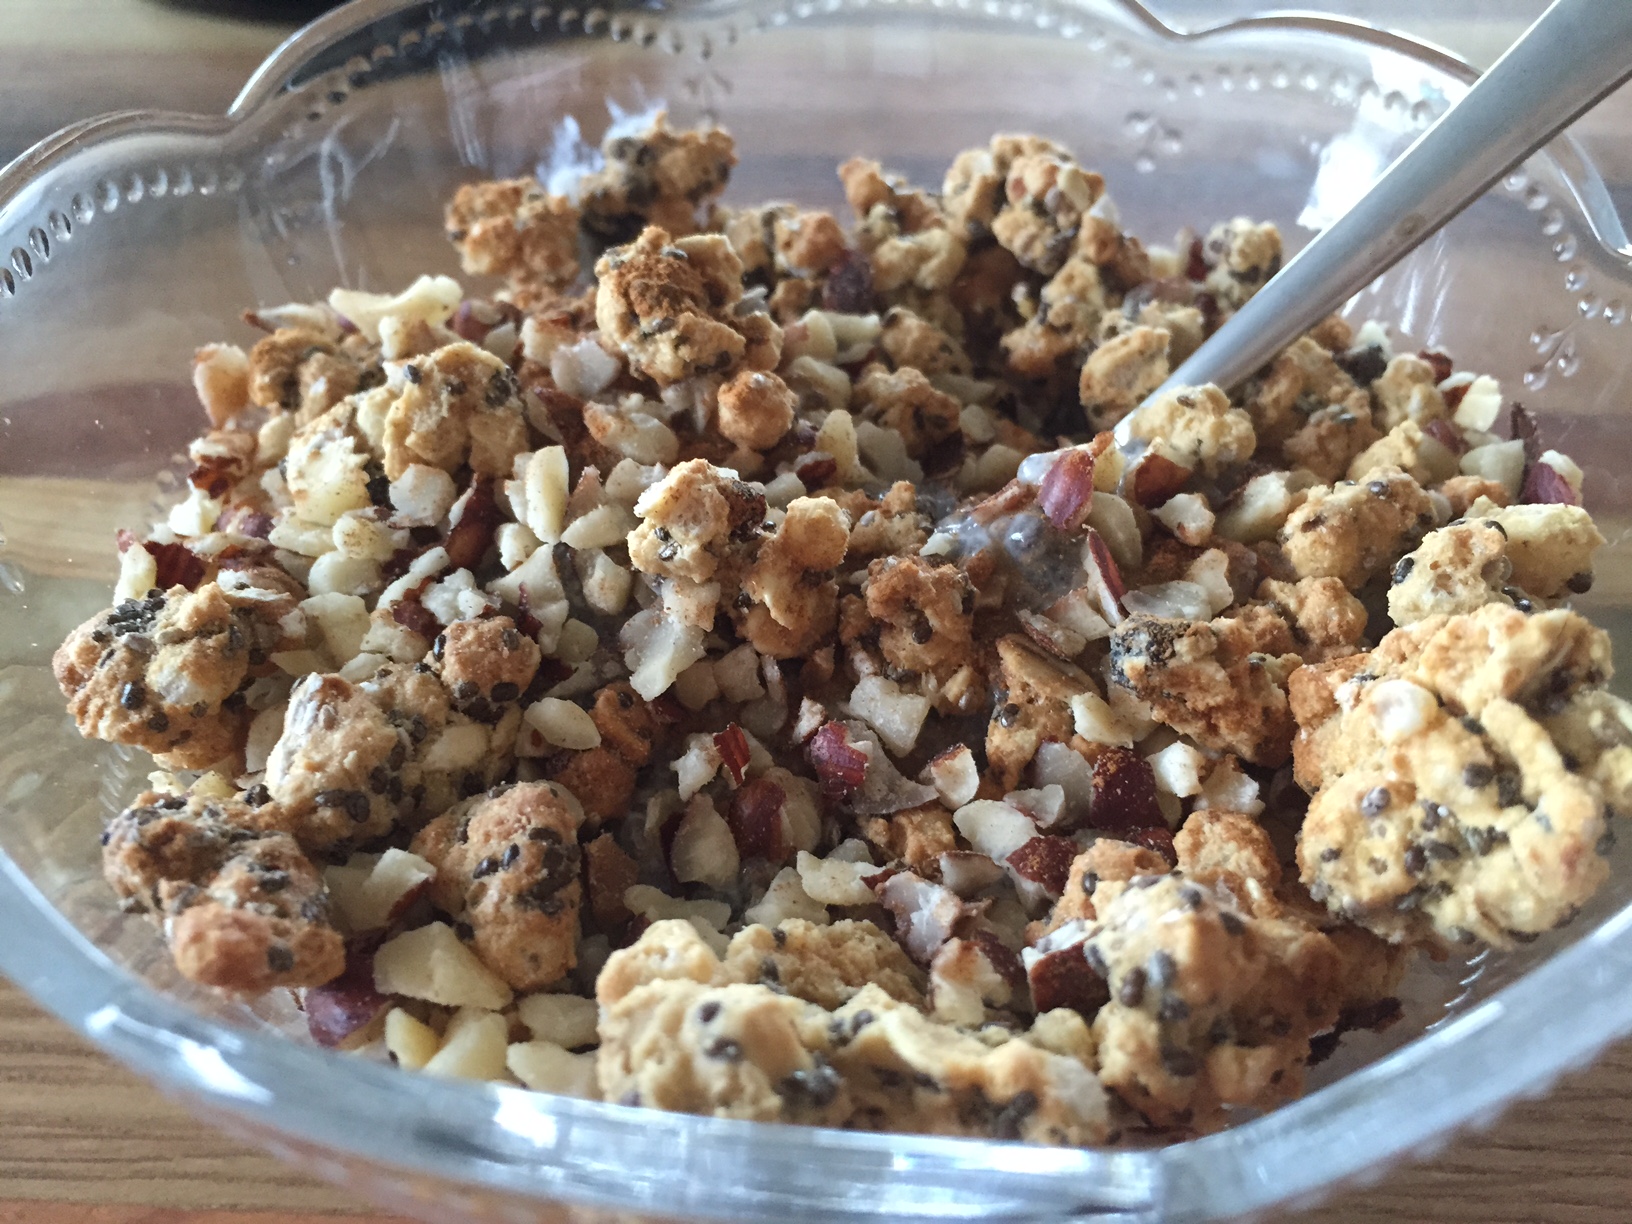
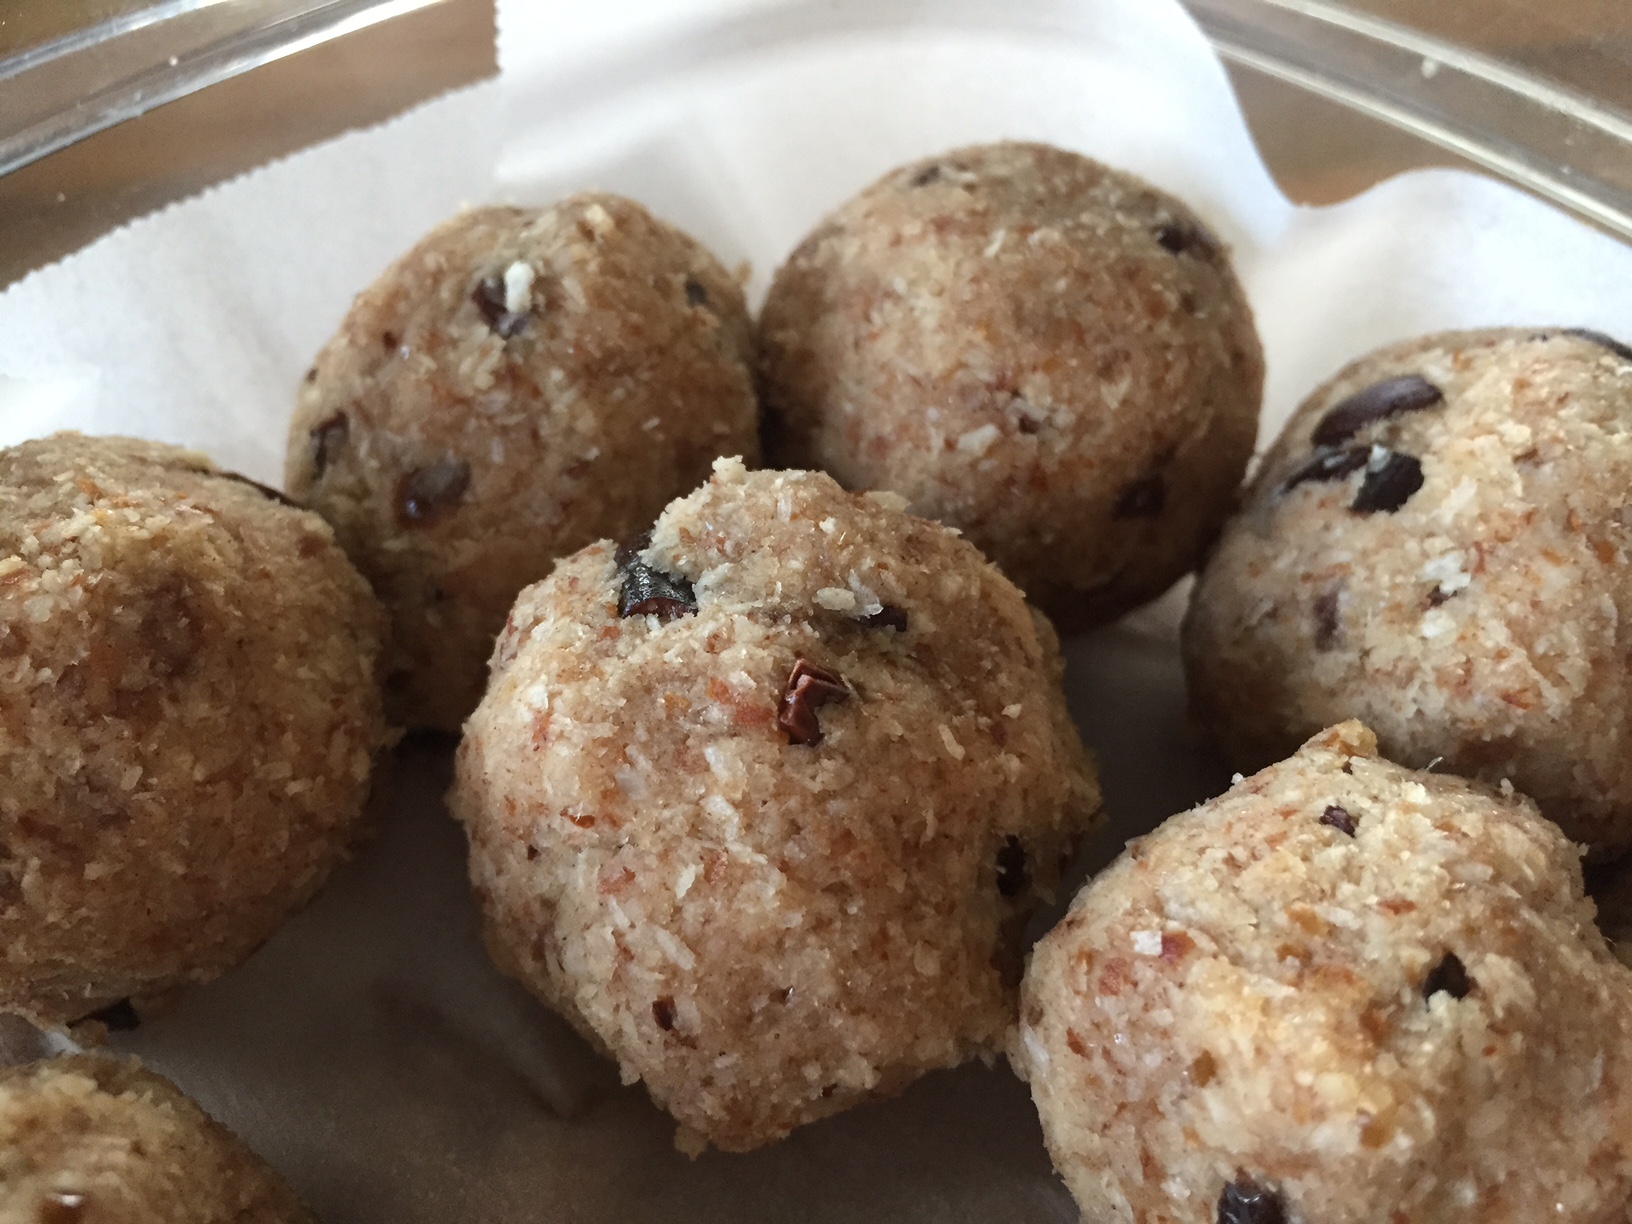
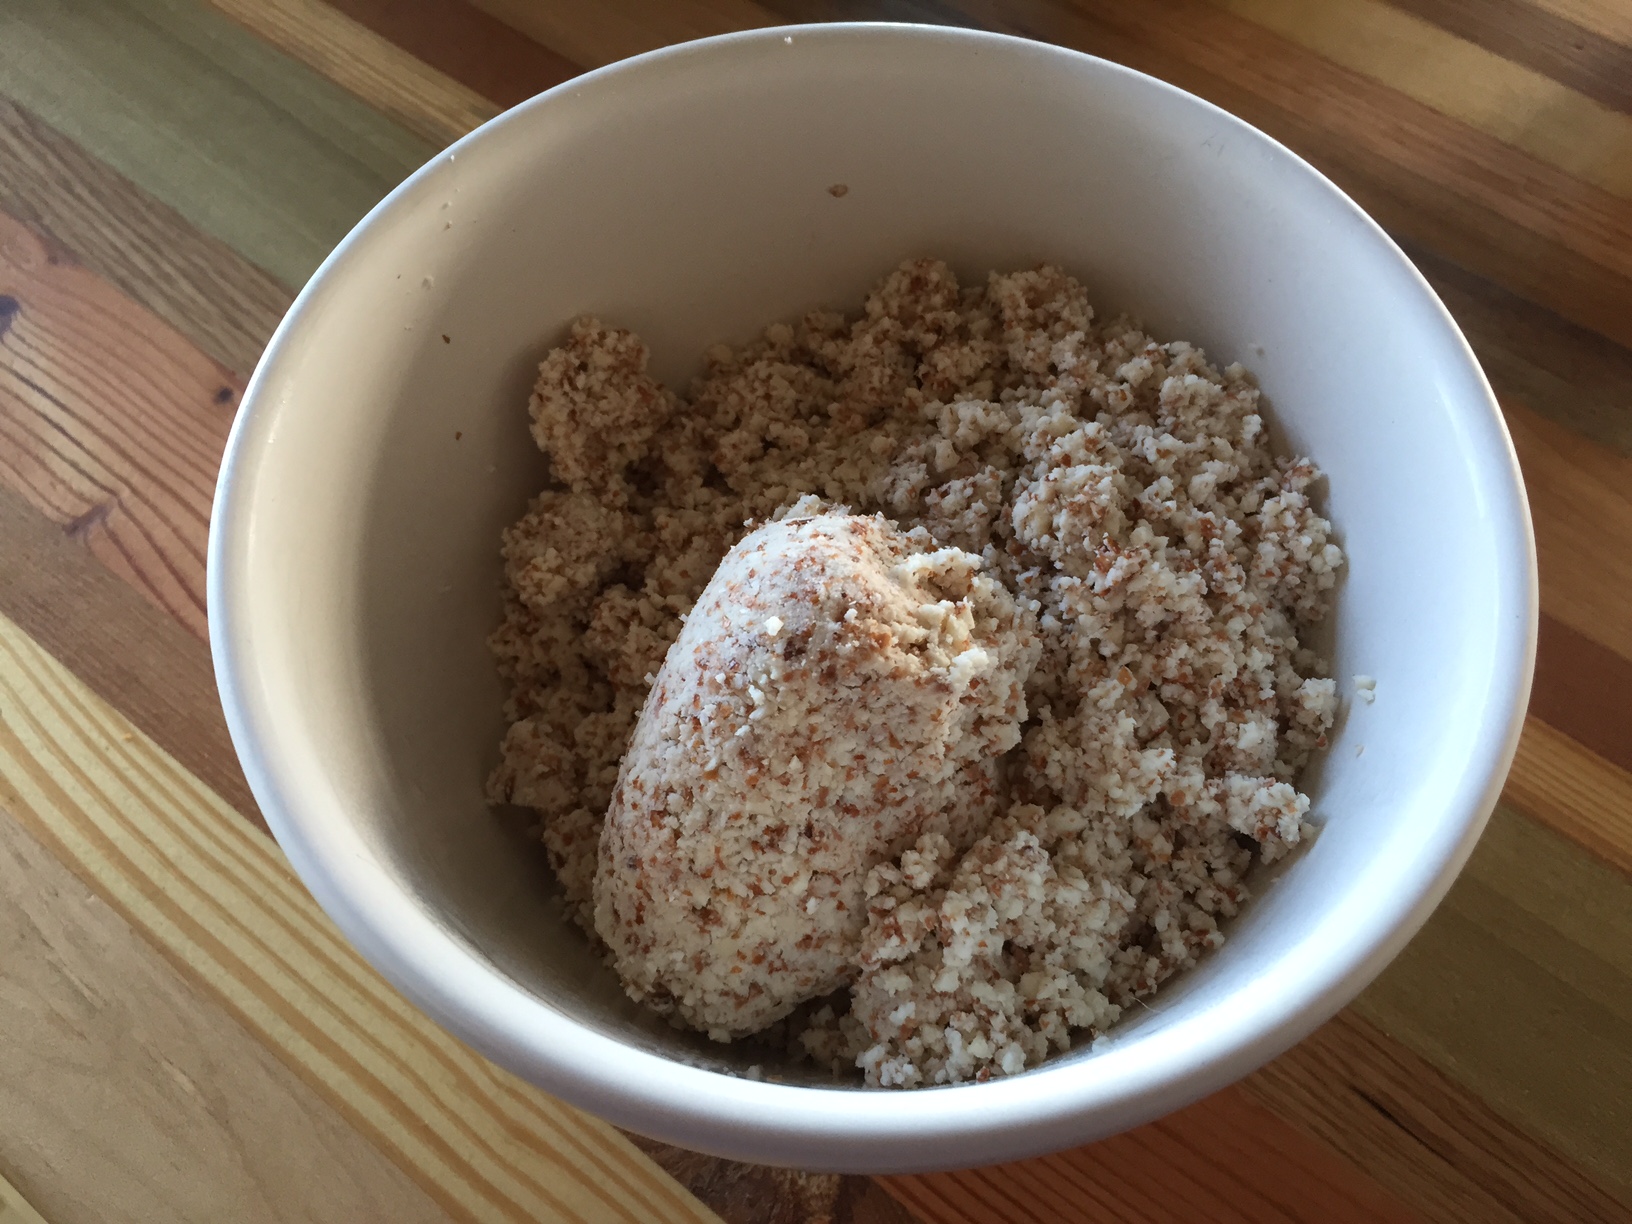
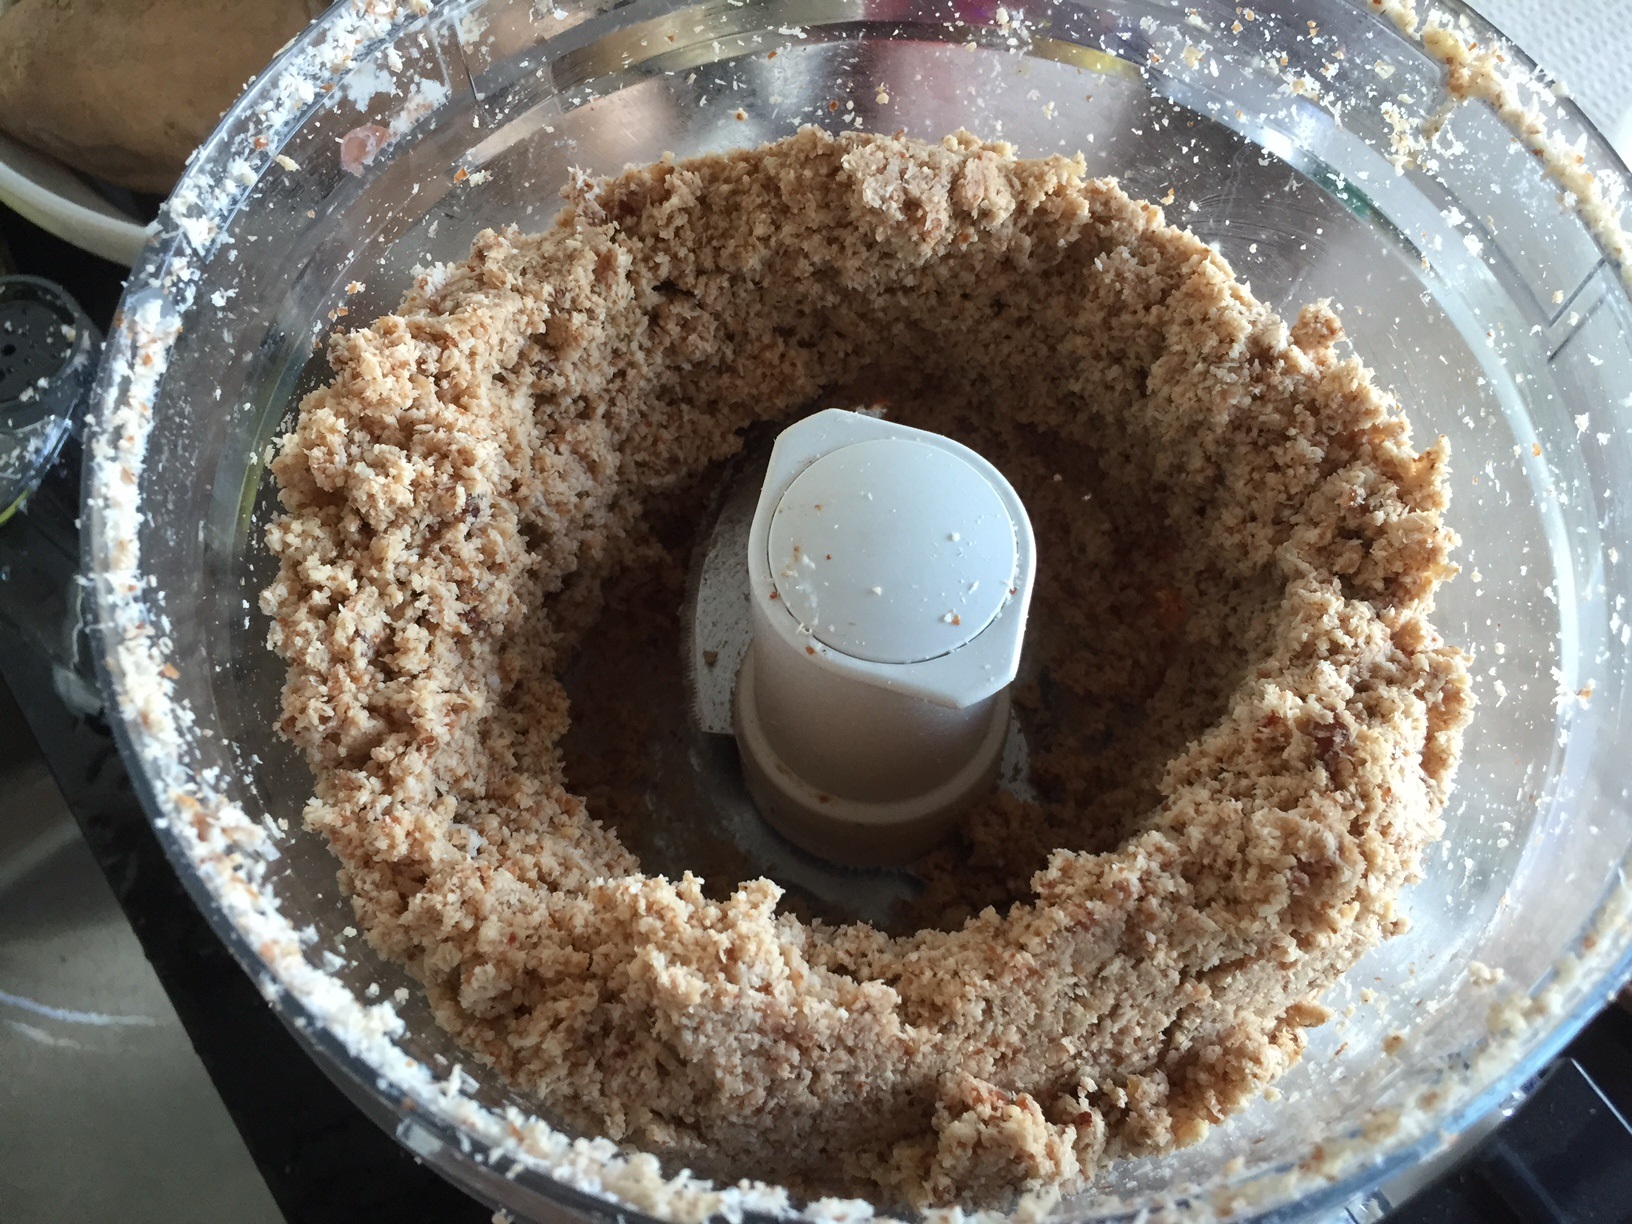
8. What are your recovery & sleep routines like? Sometimes I have some tummy troubles after long runs, so my recovery planning starts pre-run by keeping my pre-run fuel simple. My favorite pre-run breakfast is a cup of coffee and banana with a little Chia Seed Peanut Butter Bliss (if you love peanut butter – you’re going to love this stuff!).

After my run, I like to put my legs up, re-hydrate and then re-fuel with something easy to digest. I am working hard to get more sleep, especially now that I am training for my race, but it’s still something that I struggle with because I am a total night owl. I definitely notice an improvement in my performance (and in everything) when I get a full seven or eight hours.

Natasha4

9. What’s the best running advice you’ve ever received? Very recently on an especially hilly nine-miler, my good friend Jackie told me to take five quick steps after I got to the top of every hill. It kept me from pooping out at the top and helped me keep my pace steady.

10. What’s your favorite running-related memory? In junior high school, I had an especially great performance during a race at an away track meet. I was sitting in the bleachers after the race — not feeling very well — when some cute guys came up to talk to me. One of them said something like “great race,” and as soon as the words were spoken I proceeded to puke all over the place.

I still vividly remember the look of horror and disgust on their faces before they walked away. At the time, I was horrified but looking back as an adult, I find a lot of humor in the whole situation. Plus, after relaying the story to my mom, she felt so bad for me that she bought me a brand new two-piece swim suit!

11. Fill in the blank: I’d love to go on a run with ______. Lauren Fleshman.

Natasha5

12. Anything else you want to add? Check out my blog, Tasha’s Dish, for recipes, meal prep ideas and my musings on running and working out!

Thanks, Tasha! Can’t wait to hit the roads, the track and the trails with you this season, along with other sweaty endeavors, I’m sure 🙂 

Runner friends, shoot me a note — info (at) kineticfix.com — so I can feature you, too!

Recipe: Baobab Recovery Smoothie

IMG_5722

After spending too many hours passed out on the couch after long runs, I finally perfected a formula for being able to salvage afternoons after intense training sessions:

Hot shower + Smoothie (*consumed in shower) = Ticket to feeling like a million bucks

And the more nutrient-dense the smoothie the better, so my body can start repairing itself as I go about my day.

Which is where Baobab comes in: I just heard of this most “super” of the superfruits recently and decided to give it a whirl after learning about its almost-too-good-to-believe benefits…

  • More antioxidants than any other superfruit, even acai, blueberries and pomegranate
  • High soluble fiber content (50% by weight)
  • A raw, whole, organic food
  • Ethically and sustainably harvested, even helping impoverished African communities
  • The planet’s highest plant source of calcium
  • More iron, potassium and magnesium than most other superfoods
  • Six times the Vitamin C of oranges
  • Rich in electrolytes and has a very high bioavailability
  • Contains no fillers or added sugar, sodium or preservatives

With a sweet, tangy and pear-like flavor profile, it’s an ideal addition to recovery smoothies to help boost your immune system, minimize inflammation and enhance digestion after tough workouts.

I think it’d work best for enhancing the flavor of berry-based smoothies, but I put it to the test in my standard peanut-butter-and-banana protein shake and was pleasantly surprised by the light taste and slight tang.

It did the trick post-run, but it’s also an excellent option for a quick grab-and-go breakfast!

Baobab Recovery Smoothie

Ingredients: 

Directions:

  1. Add first six ingredients to blender, and blend until desired consistency.
  2. Top with sprinkle of granola. Relax, sit back, and enjoy!

Fun fact: Since Baobab has a high pectin content (around 25%), it offers the benefit of being a natural thickening and binding agent for a nice, rich texture in recovery shakes.

IMG_5719

Harvesting baobab provides a cash crop for women in southern Africa and encourages protection of ancient Baobab trees, so it’s an ingredient you can actually feel good about using.

IMG_5720

Plus, the flavor’s also light enough where it’ll blend in seamlessly with pretty much anything — from smoothies and other drinks to oatmeal, baked goods, yogurt and sauces. Cheers to that!

IMG_5724

Got any other good tricks for post-workout recovery?

Recipe: Erica Stenz’s Healthiest Whole30-Approved Tuna Salad

IMG_5739

I’ll be honest: The first time I saw this recipe from my fit friend Erica Stenz (aka SF’s hottest trainer), I wrinkled my nose in disgust.

Now, you know I love healthy, nutrient-dense foods as much as the next person, but there was just no way that this combination of ingredients — pickles, apples, dates and tuna — could taste good…right?!

Well, Erica, I stand corrected…which is precisely why I’m sharing it here.

A word to the wise: Don’t over-think the ingredients. Just assemble, and enjoy (I promise).

Erica’s Healthiest Whole30 Approved Tuna Salad

(via TheSimpleFare.com)

Ingredients:

For Salad:

  • 2 cans of albacore tuna, no salt added and in water
  • 1 diced apple (I used Gala)
  • 1 diced kosher dill pickle
  • 2 diced Medjool dates, pitted
  • 1 diced avocado
  • 1 diced bell pepper (I used red)
  • 1 diced cucumber

For Dressing:

  • 2 tbsp spicy brown mustard (no white wine vinegar for Whole30)
  • 2 tbsp olive oil (or fish oil)
  • 1 teaspoon smoked paprika
  • 1 teaspoon dried dill
  • 1 teaspoon freshly ground black pepper
  • 1 teaspoon salt
  • Dash of curry powder, optional

Directions: 

  1. Add salad ingredients to a large bowl.
  2. In a small bowl, add dressing ingredients and whisk together using a fork.
  3. Pour dressing over salad and toss to coat evenly. Serve immediately or refrigerate.

If using these ingredients together is wrong, then I don’t want to be right.

IMG_5736

Don’t ask me how, but they work so well together to create a wonderfully fresh, tangy, sweet, savory combo.

IMG_5741

And for some additional nutrients — gotta get those greens! — I layer it in a bed of kale for a light, yet satisfying, lunch.

IMG_5743

How daring are you when experimenting with new recipes? 

Recipe: Zest Nutrition’s Gluten-Free Lemon Chia Seed Muffins

IMG_5364

Despite whatever the weather’s doing near you, the calendar says it’s spring. And one of my favorite ways to celebrate is with a sweet treat, preferably something light, bright and lemon-y.

Ever since my friend (Zest Nutrition co-founder & fellow Team LUNA Chix Portland Run memberMegan Fuetterer posted this recipe, I’d been dying to try it. The only problem? Our oven was broken for almost a week.

So as soon as we were up and running again on what happened to be a rainy weekend afternoon, baking these little rays of sunshine was first on my to-do list. They’re everything you love about lemon muffins — and more — because they’re super healthy.

Gluten-Free Lemon Chia Seed Muffins

Adapted from Zest Nutriton

Ingredients: 

  • 4 cups almond meal/flour
  • 4 Tbsp chia seeds
  • 1 tsp salt
  • 1 tsp baking soda
  • Zest of 2 lemons
  • Juice of 1 lemon
  • 4 eggs
  • 3/4 cup lemon-flavored Greek yogurt
  • 1/4 cup olive oil
  • 1/4 cup agave nectar

Directions:

  1. Preheat oven to 350F.
  2. Mix together dry ingredients. In a separate bowl, whisk together wet ingredients.
  3. Combine wet and dry ingredients, then pour into lined muffin tins.
  4. Bake for 25-30 minutes. Let cool, and enjoy!

Here’s a look at the process:

I just bought a great new grater from GoodCook, which made zesting the two lemons a breeze (and spared my poor knuckles).

IMG_5357

They’re pretty dense, thanks to the almond flour, so be generous when you’re filling the cups; these muffins will rise only slightly.

IMG_5360

Bake until the edges are a nice golden-brown and a toothpick inserted into the center of the muffins comes out clean.

IMG_5362

Since I used agave nectar, which is 1.4 times sweeter than sugar, I halved the amount of honey the original recipe called for.

But if you like them on the sweeter side, you may want to experiment with the type and amount of sweetener used.

IMG_5363

The lemon yogurt, which I added instead of applesauce, also added another layer of flavor and kept the muffins nice and moist.

IMG_5365

Enjoy, and here’s hoping they bring a little ray of sunshine into your spring!

Is your baking influenced by the change of seasons? 

How I Run: Team LUNA Chix PDX’s Megan Fuetterer

Megan3

In honor of our inaugural Team LUNA Chix Portland Run season, I’ll be introducing my teammates via this interview series throughout the next few months…get to know these impressive ladies, and come join us for a run Monday nights from 6:30-7:30 pm in Portland (click here for details)! 

Have you ever met someone and immediately just hit it off? That was Megan Fuetterer and me over coffee a few months back.

We were introduced by a mutual friend and quickly bonded over a shared love for food and an active lifestyle. Fast-forward to the present, and I’m not only taking weekly spin classes from her at Revocycle, but we’re also running together Monday nights with other LUNA Chix gals.

What I love about Megan, though, is that her awesomeness is outweighed only by her humbleness. Not only has she recently launched a successful company (Zest Nutrition), but she has also made a professional home at OHSU’s Doernbecher Children’s Hospital where she enjoys working with kiddos and their families as a pediatric dietitian.

Oh, and did I mention she’s also a certified personal trainer through the National Academy of Sports Medicine, a certified spin instructor and an Ironman triathlete whose healthy pumpkin pie recipe was featured on the TODAY Show? There’s nothing this lady can’t do, and I’m excited to learn more about smart fueling as we tackle our first LUNA Chix run team season together.

Megan6

1. What’s your favorite route? Forest Park, but when it’s sunny out, there’s nothing quite like running on the PDX waterfront. My morning loop along the waterfront was featured in Runner’s World last year as the Rave Run!

2. What shoes do you wear? I am currently running in Nike Fly Knit Lunar 3s. Prior to these, I wore Newtons for years and loved them! They have lugs under the ball of your foot, which prevents heel striking and ultimately leads to a more efficient stride. They definitely helped improve my form.

3. What other run gear can’t you live without? My iPod shuffle. It clips onto my shorts and is weightless. Good tunes can energize me even on my most unmotivated days.

Megan1

4. What’s your best time-saver or “runhack?” In high school I got in the habit of wearing my running clothes to bed for early morning practices. That way I could literally set my alarm three minutes before I needed to leave the house. I still do this on nights I want to squeeze in as many minutes of sleep as possible.

5. What running-related thing are you better at than anyone else? Listening to my body. If I’m pushing and my body is pushing back, I ease up and honor that. Our body gives us signs for a reason. I think yoga has been the biggest help in teaching me self-awareness.

6. What do you listen to while running? Anything with a good beat and an uplifting message. The key for me is constantly finding new music to keep it fresh.

7. What are you currently training for? For the first time in eight years I can happily say I am not training for anything! Wow! I am getting married in September, and I want to fully embrace the months leading up to the wedding. My fiancé and I still run for fun together in the mornings before work. It actually is a great time to talk about wedding plans.

Megan2

8. What are your recovery & sleep routines like? Sleep, sleep, sleep! I aim for eight hours per night. If waking up early to run means less than seven hours of sleep, I skip the early workout and get the Z’s instead. Recovery, for me, comes in the form of food. I always eat an adequate meal of carbs, protein and fat within 30 minutes of a run, then continue to stay properly fueled and hydrated throughout the day.

9. What’s the best running advice you’ve ever received? Smile. Even if it hurts, smiling tricks your brain into having a good time. If you aren’t having fun, what’s the point?

10. What’s your favorite running-related memory? My senior year of high school Track & Field, my 4×4 team made it to the finals at the state meet. Right before the starting gun went off, someone started shooting fireworks off nearby. My last ever lap around the track in an organized meet was with fireworks lighting up the night sky overhead. I ran my fastest split time and my team took 3rd in state. It was unforgettable.

Megan5

11. Fill in the blank: I’d love to go on a run with ________.  Chrissie Wellington.

12. Anything else you want to add? For tips on fueling for fitness and everyday life, visit ZestfulNutrition.com 🙂

Thanks, Megan! I’m hungry (see what I did there?!) for making more memories during our adventures together this season. 

Runner friends, shoot me a note — info (at) kineticfix.com — so I can feature you, too!

Recipe: Peanut Butter Chia Seed Granola

IMG_5305

Peanut butter lovers, have I got a recipe for you!

It was developed by Jen, a yoga teacher, personal trainer and fitness instructor in Charlotte, N.C., who blogs over at Peanut Butter Runner. If you get a chance, check it out; not only does she have an inspirational fitness journey, but she also shares deliciously-healthy recipes — and this might be one of her all-time best.

Of course, I played around with it by doubling up on the ingredients and adding a few extras (coconut, raisins, hazelnuts and cinnamon), but it’s just as she described, “sweet, a little salty and very peanut buttery.”

Peanut Butter Chia Seed Granola

(Adapted from Peanut Butter Runner)

Ingredients: 

  • 1 cup peanut butter
  • 2/3 cup maple syrup
  • 3 tbsp coconut oil, melted
  • 2 tsp vanilla
  • 2 tsp cinnamon
  • 6 cups oatmeal
  • 1 tsp coarse sea salt
  • 4 tbsp chia seeds
  • 1 cup unsweetened, sliced coconut
  • 1/2 cup raisins
  • 2 oz chopped hazelnuts

Directions: 

  1. Preheat oven to 300 degrees. Line two large cookie sheets with parchment paper.
  2. In a large bowl, mix together peanut butter, maple syrup, coconut oil and vanilla.
  3. Stir in cinnamon, oats, salt and chia seeds, mixing well until oats are evenly coated with peanut butter mixture.
  4. Gently fold in coconut and raisins until distributed evenly throughout oat mixture.
  5. Divide in half between the baking sheets, spreading into a thin layer on each sheet.
  6. Bake for 20 minutes or until oats and coconut begin to turn a light golden brown.
  7. Let cool completely before storing in an airtight container at room temperature.

Here’s a peek at the process:

Coconut oil is solid at room temperature, so I warmed it gently (until liquid) in the microwave for about 20 seconds before mixing with the first few ingredients.

FullSizeRender (1)

The heat actually helped to soften the peanut butter, which allowed the wet ingredients to melt together nicely.

IMG_5297

Once your peanut butter mixture is blended, it’s time to add all the dry ingredients and stir until evenly combined.

IMG_5299

I had the oven pre-heating while I prepared the baking sheets, but realized right when I was about to pop them in to bake that it was broken (i.e. fan blowing, but no heat)!

IMG_5300

No oven? No problem. I decided to improvise with sheets of foil in the toaster oven. Time consuming, yes, but it worked nonetheless.

IMG_5303

The granola may seem soft when you remove it from the oven, but remember that it will set and harden up as it cools…if it even lasts that long.

IMG_5304

What else would you add in your version of home-made granola? 

This Spud’s For You: Health Benefits of the Humble Potato

11041718_10206006379141634_3895849945146121144_n

I used to avoid potatoes like the plague because, well…chips, fries and vodka. But then Ben and I did our Whole30 experiment at the beginning of the year and developed an entirely new appreciation for the tasty little tubers (particularly the sweet variety).

Their association with famine and high starch content aside, potatoes don’t deserve such a bad rap. Sure, when fried to a crisp or drowned in butter they can be less than healthy, but when eaten in their whole, unprocessed form they’re actually quite the nutritional powerhouses.

And popular, too — according to the U.S. Department of Agriculture, potatoes are the leading vegetable crop in the United States and the fourth most-consumed crop in the world (behind rice, wheat and corn).

Yup, we each consume an average of 55 lbs. of frozen potatoes per year, 42 lbs. of fresh potatoes, 17 lbs. of potato chips and 14 lbs. of dehydrated potato products.

So whether you’ve always been a proponent of the potato or you’re learning to love them all over again, I found a handy little guide (below) to help you make the most of this versatile veggie.

You say poh-tay-to; I say bring on the phytonutrients and fiber!

Reasons to Love the Humble Potato
“Reasons to Love the Humble Potato” on Health Perch

What’s your take on taters? 

Recipe: Vanilla-Almond Chia Pudding

IMG_5179

Thanks to our Whole30 experience, I’ve traded in my longtime breakfast parfait habit (yogurt, granola and fruit) in exchange for morning meals that are more nutrient-dense and less inflammatory. But old habits die hard, and I soon found myself in a Green Eggs & Ham Scramble rut.

Luckily my sister came to the rescue, sending me this recipe for Vanilla-Almond Chia Breakfast Pudding from Daily Burn. I’m a chia fan, not only because they’re packed with omega-3 fatty acids, antioxidants, calcium, fiber and protein, but also because they’re super-hydrating, absorbing up to 10 times their weight in water — or in this case, almond milk!

And as an added bonus, this make-ahead recipe works great for weeks when you know you’ll be pressed for time. Just mix together the ingredients on Sunday night, pour into separate containers, pop ’em in the fridge, and top with a different combo of fruits, nuts and granola each day for a hearty breakfast, filling snack or textured dessert.

Vanilla-Almond Chia Pudding 

Adapted from Daily Burn

Ingredients: 

  • 2/3 cup chia seeds
  • 2 1/2 cup almond milk
  • 1 tsp vanilla
  • 1 tsp agave nectar
  • 1/2 tsp cinnamon
  • Optional add-ins: nuts, berries, shredded coconut, granola, etc.

Directions: 

  1. Combine chia seeds, almond milk, vanilla and agave nectar in a bowl. Stir well until combined.
  2. Cover bowl, and store in the refrigerator overnight or for at least an hour (until mixture thickens).
  3. Stir again before serving, adding more almond milk if pudding’s consistency is too thick.
  4. Top with add-ins of your choice — from fresh fruit and nuts to spices, granola or coconut.

I happened to have these ingredients on hand, but if you don’t use agave nectar, feel free to swap in maple syrup or honey to help sweeten the pudding instead.

IMG_5149

Before the pudding has time to set, the consistency will be super runny; if you’re finding that the chia seeds are sticking together, try using a whisk to separate them before storing your mixture in the fridge.

IMG_5151

This bowl sat overnight, and you can see how the seeds swell up when they absorb the almond milk. They also give the pudding a lovely tapioca-like texture.

IMG_5155

Stir again before serving to  break up any clumps of seeds before adding your favorite toppings. Again, I just worked with what we had in our pantry — Mamma Chia protein granola, cinnamon and hazelnuts.

IMG_5178

The pudding will store in refrigerator for up to five days, so with a little planning you can quickly create a week’s worth of grab-and-go meals!

IMG_5180

What’s your favorite way to incorporate chia into meals and snacks? 

Recipe: Raw Coconut Macaroons with Cacao Nibs

IMG_3845

Remember when I wrote about my recent almond milk experiment?

Well, when all was said and done, I was left with a bowl of expensive delicious almond meal that I couldn’t bear to throw out. And since the food processor was already dirty, I figured I might as well take a stab at this recipe from the lovely Jessica Mishra, a friend who is a health coach and yoga teacher in San Francisco.

Mishra made these decadent little nibbles for one of our SweatGuru events, and no one could believe that they were all-natural, packed with nutrients and brimming with healthy fats. I made a few tweaks — like using dates instead of maple syrup — and am excited to share what has become a favorite after-dinner treat in our house!

Raw Coconut Macaroons with Cacao Nibs

Ingredients: 

  • 6oz almond meal (I use leftovers after making almond milk)
  • 2 cups unsweetened, finely-shredded coconut
  • 2 tsp cinnamon
  • 2 tsp vanilla
  • 2 tsp water
  • 5 pinches sea salt
  • 8 dates, pitted
  • 1/4 cup coconut oil
  • 1/4 cup cacao nibs

Directions: 

  1. Combine almond meal, coconut, cinnamon, vanilla, water, salt and dates in food processor, blending until mixture has a uniform consistency.
  2. As the food processor is running, gradually add in coconut oil until fully incorporated.
  3. Transfer mixture to a bowl, and stir in cacao nibs.
  4. Using a spoon, scoop mixture into hands and press to form into small balls.
  5. Store in an airtight container in the refrigerator for up to a week.

Here’s a look at the process, starting with the inspiration for this recipe: what’s left in nut milk bag after I make a batch of almond milk.

IMG_3838

The coconut oil helps bind all the ingredients together, so you’ll want to scrape the food processor once or twice to make sure everything’s evenly distributed.

IMG_3839

And don’t worry — it’ll be pretty crumbly. Here’s what it looks like after transferring the mixture to a bowl and adding the cacao nibs.

IMG_3841

If you try to roll them, you’ll end up with a crumbled mess — so gently “pack” scoops of the mixture between your palms to form into balls.

IMG_3844

Two more tips: Sprinkle with a dash of coarse sea salt if you like that sweet-salty mix, and separate balls between layers of parchment paper when storing.

How do you make use of your almond-milk remnants?

The Almond Milk Experiment

IMG_3826

Our recent Whole30 experience left Ben and I between a rock and a hard place when it came to morning coffee: Either drink it black or pay a hefty $1 or so per ounce for the deliciousness from Portland Juice Company.

Now wanting to blow through our grocery budget, I knew there had to be another way. Sure, we could fudge our way through with store-bought almond milk, which even when it’s organic and free of lactose, soy, gluten can have some nasty additives (just Google “carrageenan,” for example).

So that left us (read: me) with one, final option: Making it home-made, which I was trying to avoid at all costs — literally and figuratively.

A little math:

  • Nut-milk bag: $10.99
  • 6 oz package of raw almonds: $4.99
  • 12 oz package of dates: $6.99
  • Finally getting over the fear of using my food processor: Priceless

Is it worth it? Well, I might not be the best person to ask since I love my dairy and have since added it back into my diet — in moderation, of course (#BecauseIceCream). But almond milk is a delicious alternative for people with dietary restrictions — especially with the addition of dates as a natural sweetener and pumpkin pie spice for an extra kick.

Making it on my own not only was a learning experience, but it also got me thinking about all the extra gunk I’m consuming in my usual store-bought, sugar- and chemical-laden creamers, so although I don’t expect to make it regularly, I will add it into my repertoire of “every-now-and-then” recipes.

Here’s a look at the process:

Step one: Purchase nut-milk bag. Get mocked by husband when you tell him you’re “going to the store to buy a nut bag.”

IMG_3819

Step two: Soak almonds. Overnight, ideally, but for at least a few hours or until the nuts plump up.

IMG_3820

Step three: Rinse almonds and place in food processor with 3-4 pitted dates and a few cups of fresh water. Blend.

IMG_3821

Step four: Clean up explosion of water from said food processor. Locate manual and read instructions about not filling above “fill line.” Oops.

IMG_3822

Step five: Repeat step four. Clean up second mess, and wonder if you assembled it incorrectly. Nope — just too much liquid. Again.

Step six: Finally blend (for 1-2 minutes) until white and frothy. Smells lovely.

IMG_3823

Step seven: Hold open nut-milk bag over a large bowl and pour mixture into bag to strain. Gently squeeze to get excess liquid out.

IMG_3825

Step eight: Store in airtight container. Preferably a mason jar, particularly if you live in Portland, to cement neo-hippie status.

IMG_3827

Now…what do do with the almond remnants? I’ve got a recipe for that, too! Stay tuned…

Have you made home-made almond milk?