Photo credit: Fitday.com
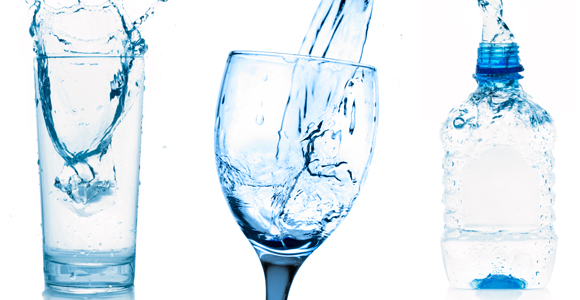
If your usual routine of gels, powders, bars and chews isn’t helping you power through tough workouts, you may be missing a critical component of a successful exercise regimen: Water.
Not only does it help your body efficiently convert food into energy, but it also wards off dehydration, which can accelerate the onset of fatigue.
Contrary to popular belief, however, thirst is not a good indicator of hydration; by the time your brain senses it, you’ve already lost about one percent of your body weight in water.
That doesn’t sound like much, but exercise performance decreases with as little as a two percent loss (or less than three pounds in a 150-pound athlete).
Factor in the statistic that some athletes can lose up to five pounds of sweat (or more!) during practice and competition, and it’s a no-brainer to start all exercise sessions in a hydrated state.
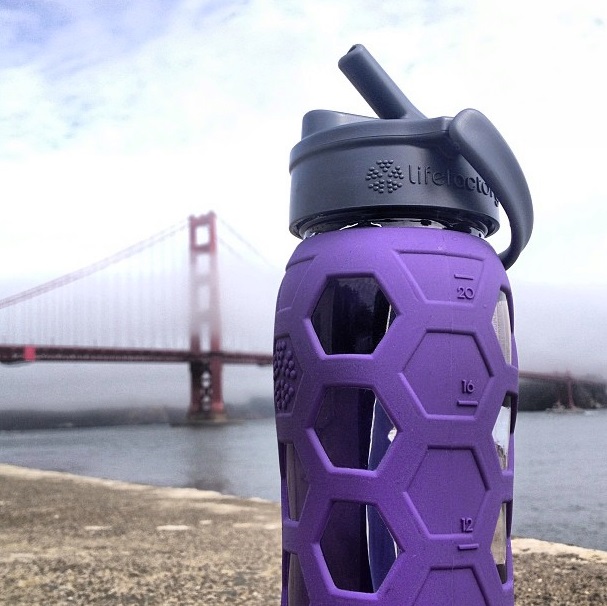
Photo credit: Lifefactory
Here’s a good rule of thumb for ensuring proper hydration:
- Drink about 16 ounces of water two hours before any endurance event
- Consume a cup or two 10 to 15 minutes immediately prior to activity
- Aim for four to six ounces of fluid every 15 minutes during the event
- Remember that it’s just as important to re-hydrate afterward, as well
If your sweat session will last more than 90 minutes, consider swapping in a sports drink or electrolyte tablets, which help bring your system into balance more quickly by helping you to retain more liquid.
And now that I’m in the throes of marathon training, my must-have accessory is a reusable water bottle. I’m loving this new straw-cap glass bottle with silicon sleeve ($25) from Lifefactory. Isn’t the design great? And now I can keep track of exactly how much I’m drinking throughout the day, thanks to the helpful marks on the grip.
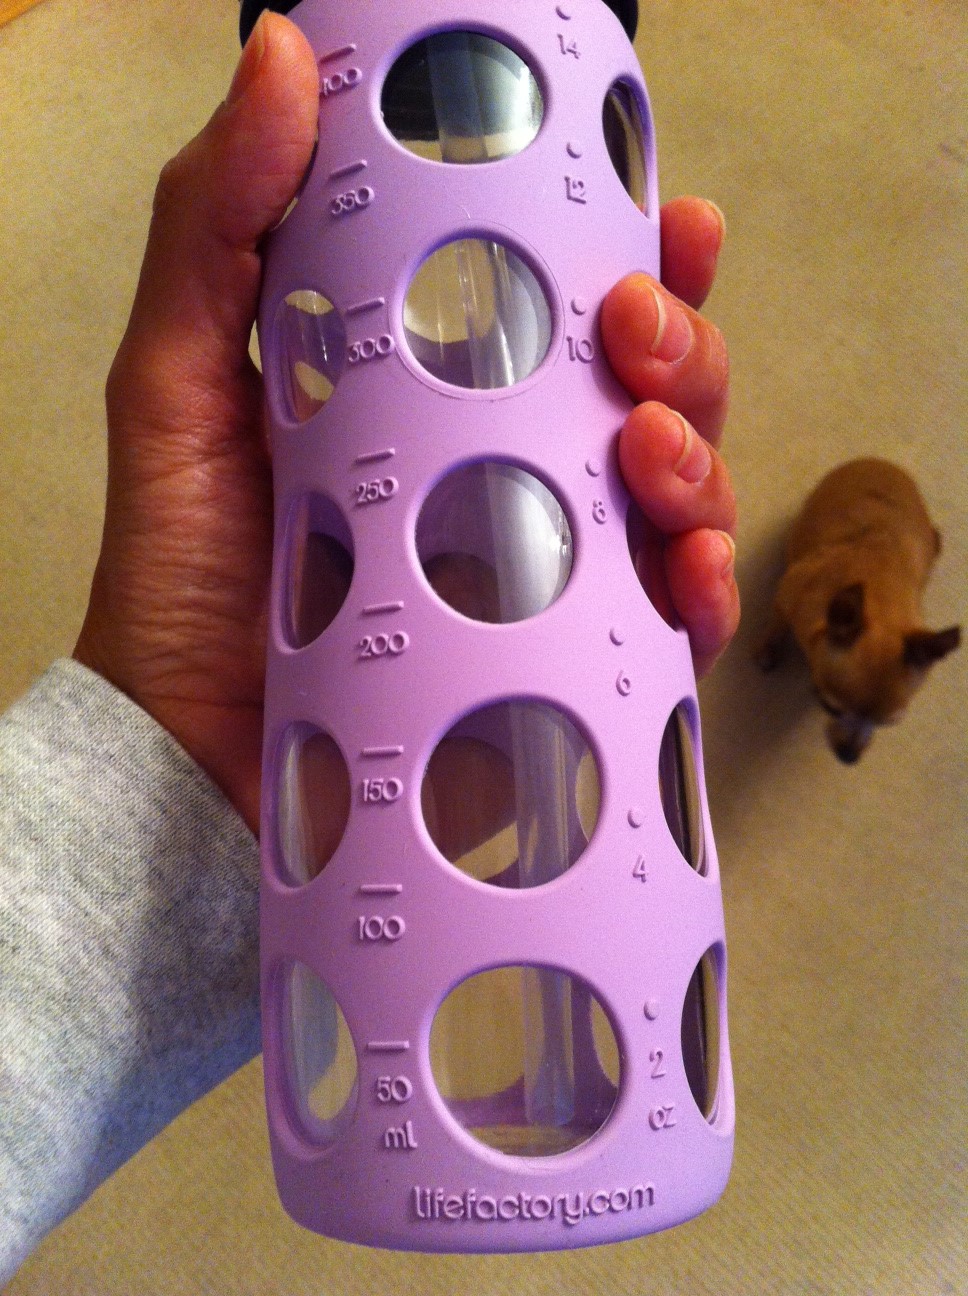
My dog clearly wanted in on the action here
It’s the first glass water bottle I’ve tried, and I’ll gladly take a little extra weight in exchange for peace of mind (it contains no BPA, BPS, PVC or phthalates). After all, we work so hard on the outside of our bodies, we may as well keep them healthy on the inside, too, right?
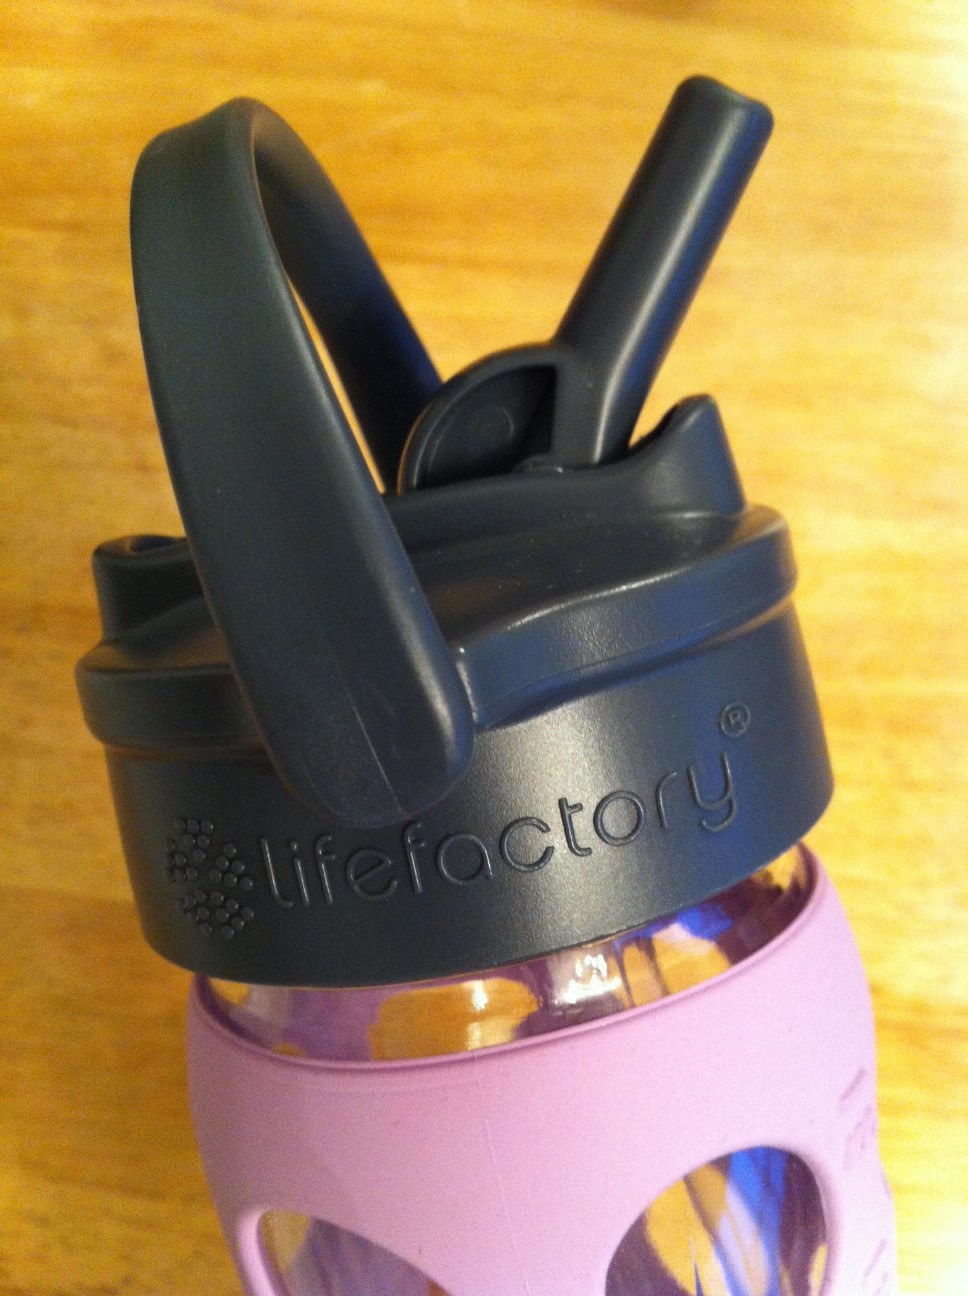
Handy built-in straw and pivoting handle
For mid-run hydration, I recently bought this QuickDraw Plus ($25) hand-held water bottle from Nathan.
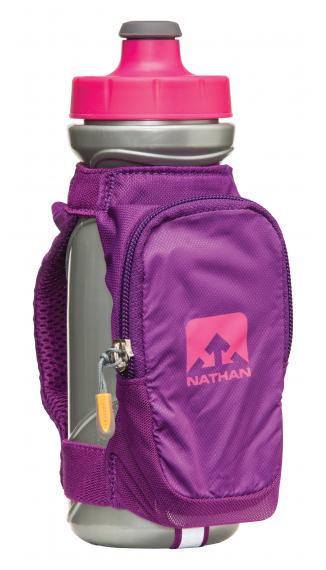
Photo credit: Nathan
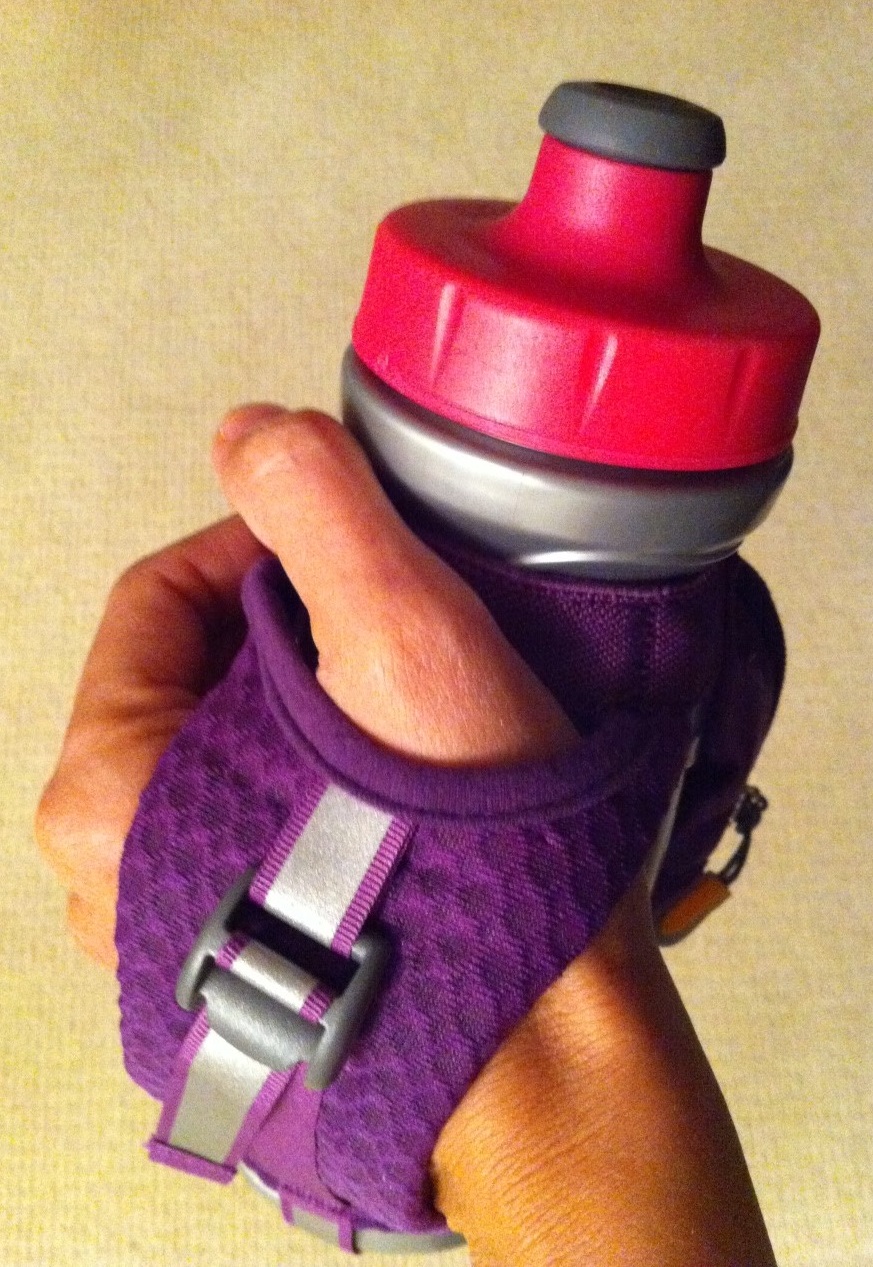
I’ve tried hydration belts without much success (ugh, they ride up), so I figured I’d give this style a shot. It’s also BPA-free, but I was more excited about the iPhone pocket and thumb hole for grip-free running.
It worked just ok on my recent 10-mile trial run, but I’m going to give it a few more tries before I make my final judgment.
How do you stay hydrated during those intense workouts?
Thanks to the folks at Lifefactory for providing a sample for review; all opinions are my own.