Recipe: Peach Pecan Baked Oatmeal

IMG_7639

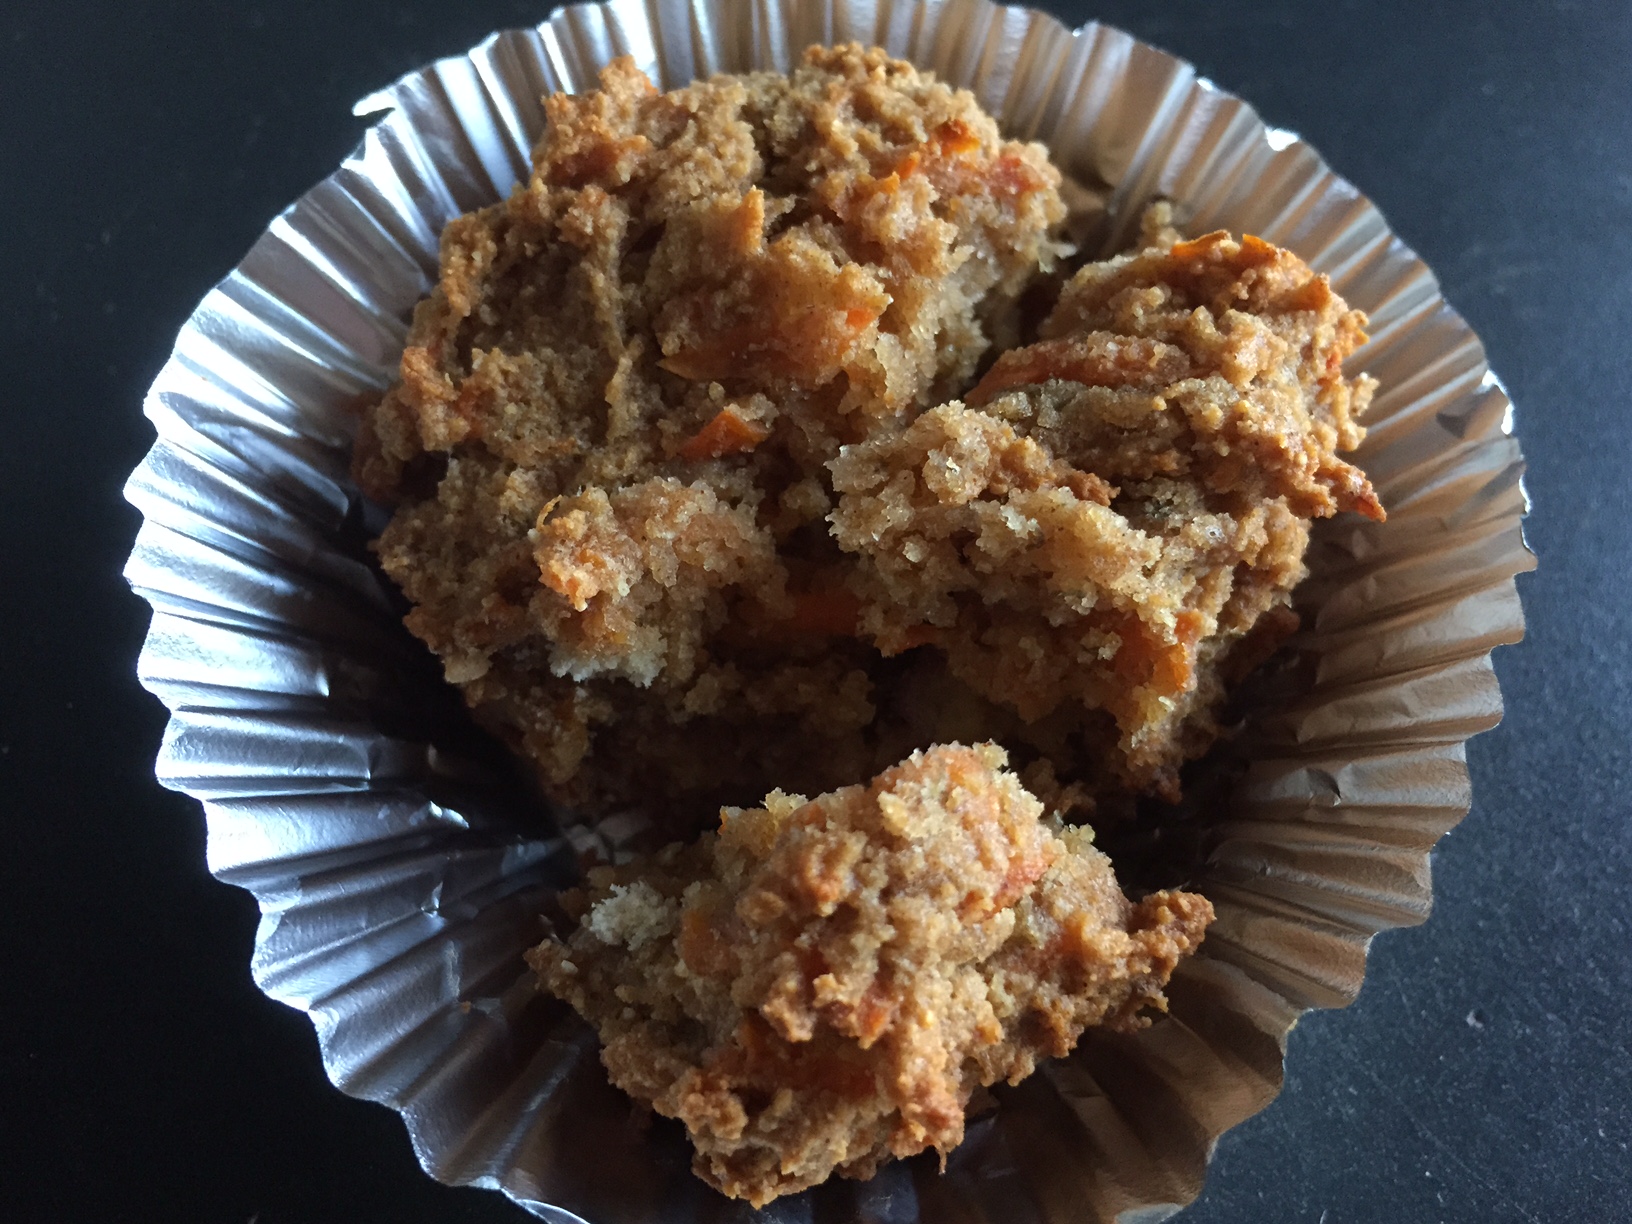
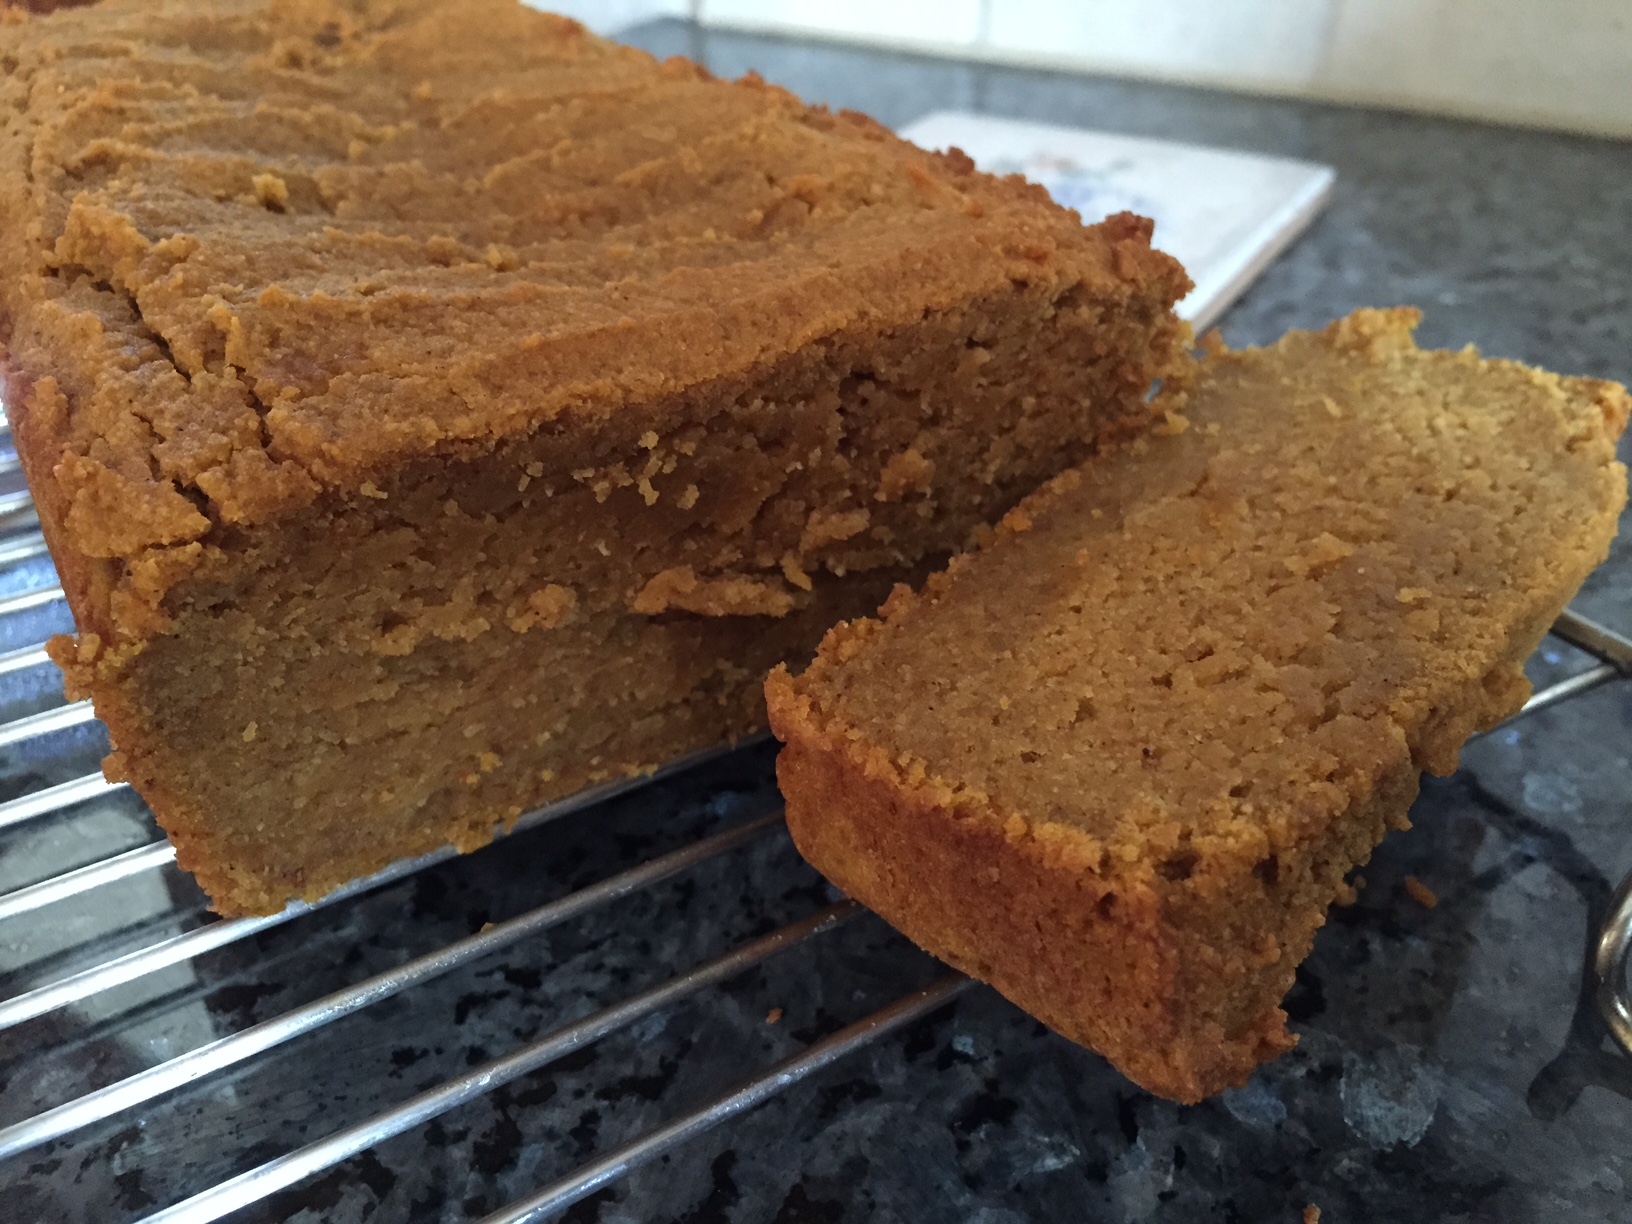
Now that the cat’s out of the bag about the bun in the oven, I’m excited to share some of my go-to recipes from over the past few months. The only non-negotiables have been that whatever we’re making is A) nutrient dense (because: brain food) and B) quick, easy and able to last a few days (because: exhaustion).

The good news? Those very same guidelines apply to anyone who is busy, active and health-conscious (i.e. you). So you don’t have to be expecting to enjoy these eats; you’ve just gotta want to put good stuff in your body and not spend too much time preparing to do so (because: hangry preggo).

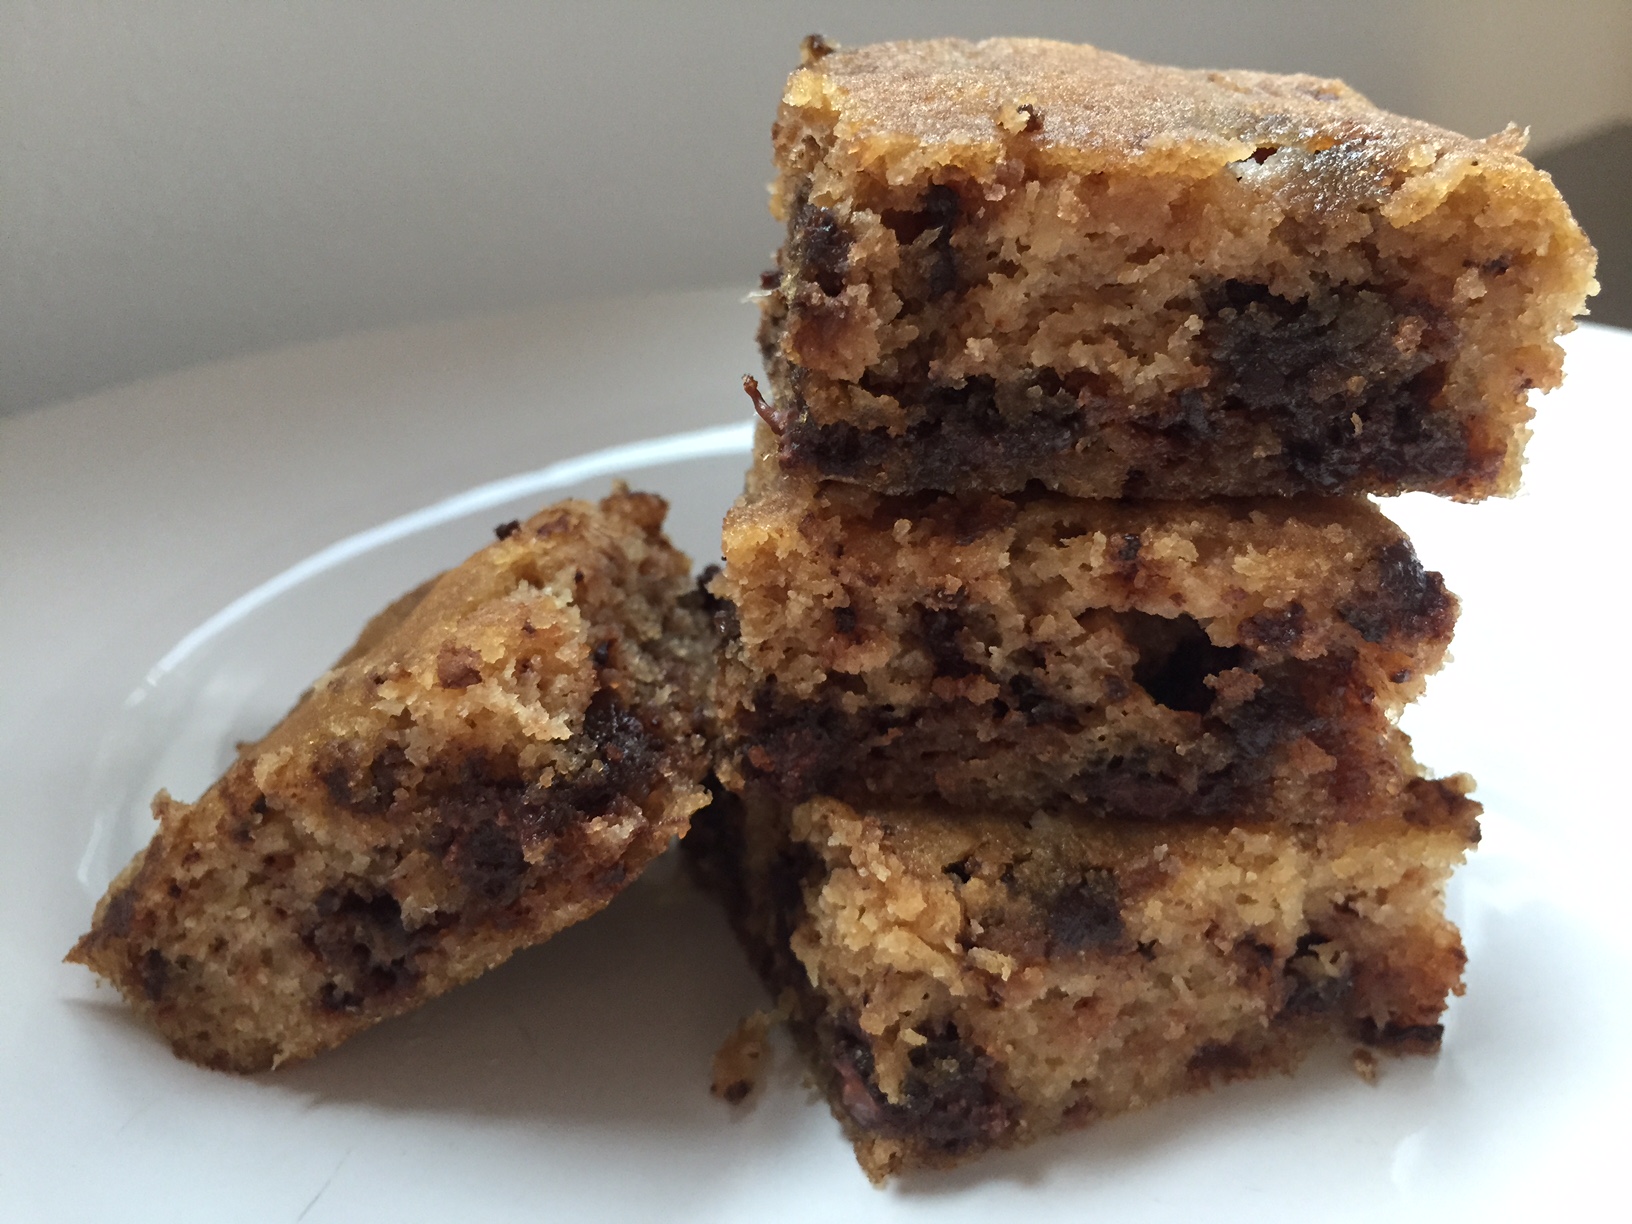
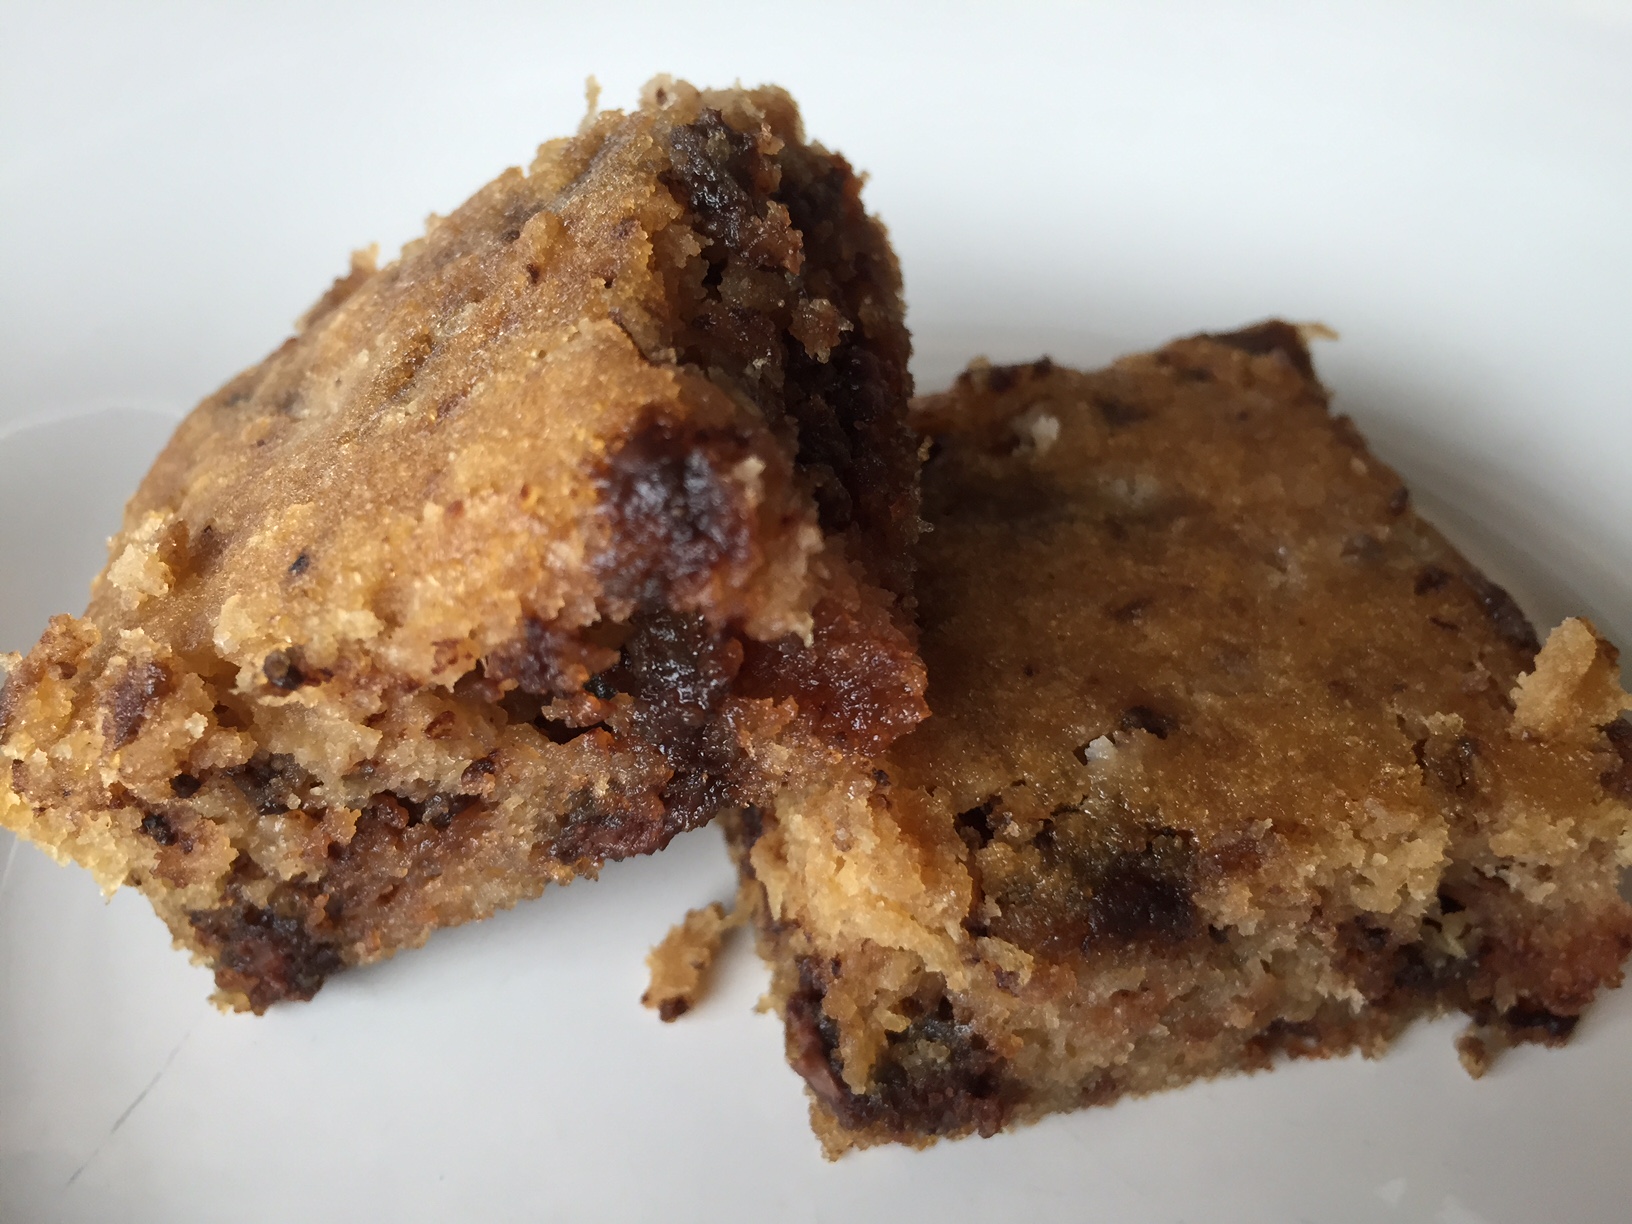
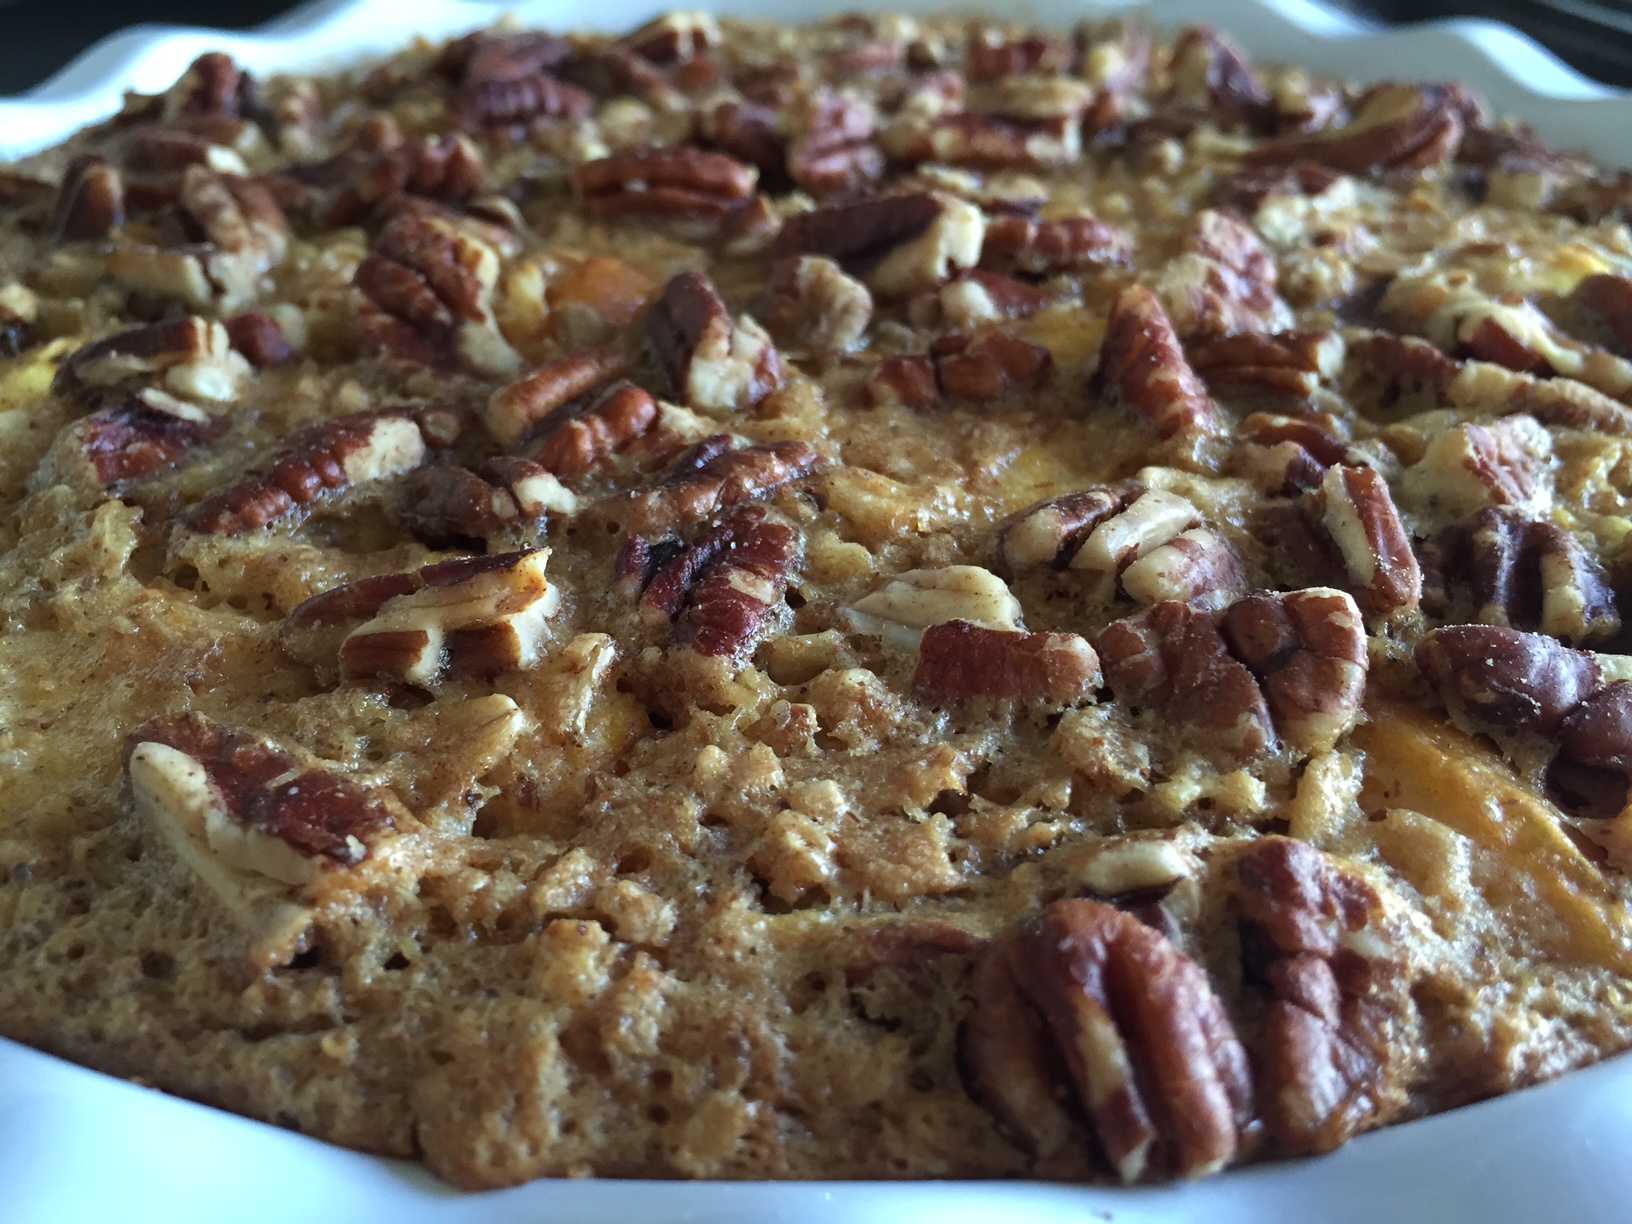
My swaps included peaches instead of the original recipe’s nectarines, and I added a second egg and some nutmeg to up the ante on the protein and flavor. Not only does it smell fantastic while baking, but it’s even more delicious tasting — like a decadent peach cobbler!

Peach Pecan Baked Oatmeal

(recipe adapted from Full Belly)

Ingredients:

  • 2 cups old fashioned oats
  • 1/4 cup dark brown sugar
  • 1 tsp baking powder
  • 3/4 tsp fine sea salt
  • 1/2 tsp ground cinnamon
  • 1/4 tsp ground nutmeg
  • 1 1/2 cups milk (I used almond)
  • 1/2 cup plain yogurt
  • 2 eggs
  • 2 Tbsp coconut oil (melted, if solid, and cooled slightly)
  • 2 Tbsp maple syrup
  • 1 1/2 tsp vanilla extract
  • 2 medium ripe peaches, cut into 1/2-inch pieces
  • 1/2 cup chopped pecans
  • 1 tsp turbinado sugar

Directions:

  1. Preheat the oven to 375 degrees. Coat a 9-inch pie plate with about a teaspoon of the coconut oil.
  2. In a large mixing bowl, stir to combine the oats, brown sugar, baking powder, salt, cinnamon and nutmeg.
  3. In a separate medium bowl, whisk together the milk, yogurt, eggs, coconut oil, maple syrup and vanilla.
  4. Pour the liquid ingredients over the oat mixture and fold everything together with a large rubber spatula.
  5. Gently stir in peaches, and pour the oat batter into the pie plate. Scatter with pecans and sprinkle with turbinado sugar.
  6. Set the pie plate on a baking sheet and bake for about 50 minutes, or until it’s set in the middle (no wobble) and the top is crisp.
  7. Let sit for about 5 minutes after removing from heat to set before cutting into wedges and serving. Drizzle with extra maple syrup, if desired.
What are your must-haves when meal-planning? 

Recipe: Cinnamon Roasted Almonds

IMG_8179

Nuts are the quintessential portable snack with plenty of nutrients, good fats, fiber and staying power to hold you over ’til that next meal. When I’m in  training mode they’re a great option for keeping my energy up between workouts, but now that I’m training for two, so to speak, they’re a full-blown necessity for those moments when that panicked I-NEED-TO-EAT-NOW feeling hits.

Sometimes they need a little spicing up, though — particularly when we’re on the cusp of fall, and my thoughts are drifting toward cooler days filled with cider, pumpkins, apples and all kinds of comfort food. So after I devoured a packaged of the store-bought variety, I figured it was time to take matters into my own hands and make an all-natural version at home.

And bonus: It makes your entire house smell delicious!

Cinnamon Roasted Almonds

(adapted from Taste of Home)

Ingredients: 

  • 1 egg white
  • 3 teaspoons vanilla extract
  • 2 cups unblanched almonds
  • 1/6 cup sugar
  • 1/6 cup packed brown sugar
  • 1/2 teaspoon salt
  • 1 teaspoon ground cinnamon

Directions: 

  1. In large bowl, beat egg white until frothy; beat in vanilla. Fold in almonds; stir to coat.
  2. Combine sugars, salt and cinnamon in separate bowl; add to nut mixture and stir to coat.
  3. Spread evenly into a baking sheet lined with parchment paper. Bake at 300° for 25-30 minutes or until almonds are crisp, stirring once.
  4. Cool, and store in an airtight container. Yields about 2 cups.
What are you looking forward to this fall?

Recipe: Fully-Loaded Zucchini Banana Bread

IMG_8113

Ever have a moment when you see a shot of a baked good, and it looks so tantalizing that it literally stops you in your tracks?

Ok, maybe that’s just me. 

When blogger friend Carleeh Mulholland posted pics from her recent Banana Zucchini Chia Bread baking session, I suddenly found myself at the grocery store on my lunch break to gather the ingredients.

She had tweaked the original recipe, doubling it, along with adding a cup of zucchini, 1/4 cup of chia and a extra banana for oomph. I figured I could take it a step further by taking out some of the sugar, playing with some “healthier” flours and packing in some more fiber with wheat germ.

The result speaks — or rather, shows, in the image above — for itself: a super-moist, super delicious bread that had hubby sneaking seconds (and thirds!) as a late-night snack.

Loaded Zucchini Banana Bread

(adapted from LittleBitsOf.com & special thanks to Carleeh for the heads up!)

Ingredients:

  • 2 eggs
  • 1 cup sugar
  • 1/4 cup agave nectar
  • 2 teaspoons vanilla
  • 1 cup unsalted butter, at room temperature
  • 1 cup buttermilk
  • 4 overripe bananas, mashed
  • 1 small zucchini, finely grated
  • 2 cups wheat flour
  • 1/2 cup coconut flour
  • 1/2 cup all-purpose flour
  • 1 teaspoon salt
  • 1 teaspoon baking soda
  • 2 teaspoons baking powder
  • 2 teaspoons cinnamon
  • 1/4 cup wheat germ

Directions:

  1. In a large bowl, beat together the egg, sugar, agave nectar and vanilla until combined. Add the butter and beat until smooth and the butter is fully incorporated. Beat in the buttermilk, bananas and zucchini.
  2. In a separate bowl, mix together the flours, salt, baking soda, baking powder, cinnamon and wheat germ. Slowly stir the dry ingredients into the wet until all the flour is incorporated.
  3. Spray two loaf pans with non-stick spray, and pour half of the batter in each.
  4. Bake in a pre-heated 350 degree oven for about 60 minutes or until a toothpick comes out clean.
How do you sneak healthy ingredients into your favorite recipes?

Recipe: Zest Nutrition’s Lemon Yogurt Cream Pie

IMG_6502

When she’s not helping kiddos eat better by day as a registered dietitian or running around with Team LUNA Chix Portland Run on Monday evenings, Megan Fuetterer can often be found in her kitchen concocting some pretty amazing so-good-you-won’t-believe-they’re-actually-good-for-you recipes.

Case in point: this pumpkin pie, which landed her on the TODAY show in Joy Bauer’s “Too Good To Be Healthy” holiday pie competition.

Megan, along with her business partner Anna Rossinoff, founded Zest Nutrition, which is dedicated to helping women shed the guilt and overcome the struggle with food. Zest’s mission is to take a whole-foods approach to eating to support women in accomplishing health goals and truly loving their bodies, so they can spend less time in their heads and more time in their hearts.

This Lemon Yogurt Cream Pie that Megan created is one such example; she wanted a treat for breakfast one morning, so she whipped up something that’s sweetened with honey, nestled in a whole-wheat crust and packed with protein from a yogurt base. Go ahead, and indulge without guilt!

Zest Nutrition’s Lemon Yogurt Cream Pie

For the Crust

Ingredients:

  • 2 1/2 cups whole wheat flour
  • 1/2 tsp salt
  • 2/3 cup softened coconut oil
  • 1/4 cup cold water

Directions:

  1. Using a hand mixer, mix the flour, salt and oil together until you have good-looking crumbs.
  2. Add water and continue to mix. If your crust is too crumbly, continue to add water until you get the right consistency.
  3. Press crust into a the bottom and up the sides of a pie pan. You might have some leftover crust depending on how thin you make it.
  4. Bake your crust at 450F for 10 minutes. Let cool before adding pie filling.

For the Homemade Lemon Curd

Ingredients:

  • 3 eggs
  • Zest of 2 lemons
  • 1/4 cup coconut oil
  • 1/4 cup honey
  • 1/2 cup lemon juice

Directions:

  1. Mix together eggs, honey and lemon zest in a nonstick saucepan or pot.
  2. Heat over low heat, then add coconut oil and continue to stir.
  3. Once melted, stir in the lemon juice.
  4. Cook over low heat, stirring constantly for about 5 minutes until it thickens.
  5. Let cool before adding to pie filling.

For the Filling

Ingredients:

  • 2 cups Greek yogurt (Megan recommends 2%)
  • 1 1/2 cup homemade lemon curd (recipe above)
  • 1/4 cup honey
  • 1/2 tsp vanilla extract
  • 1 1/2 tsp powdered gelatin
  • 2 Tbsp water

Directions:

  1. Mix together yogurt, lemon curd, honey and vanilla.
  2. Put the water and gelatin in a microwave safe bowl and let sit for 5 minutes. Then microwave for 10 seconds until gelatin is dissolved and immediately whisk the hot gelatin into yogurt mixture.
  3. Pour into pie crust, cover with aluminum foil and refrigerate for at least 6 hours to allow pie to set up.
  4. Add any toppings or garnish as desired…enjoy!

Megan’s secret to making this pie pop is the addition of homemade lemon curd, which is actually much easier to make that you’d think (I even added a few key limes we had on hand to give it extra zip).

IMG_6500

Ben and I couldn’t wait the full six hours for the pie to set, so we dove in after about four, topping it with fresh berries and devouring it as dessert.

IMG_6505

Of course, by morning it was even better — not only did the filling fully set, but the lemon-lime flavor also mellowed out a tad. Start your morning off with a slice and a cup of coffee, and you’re pretty much guaranteed a good day!

IMG_6509

Pie for breakfast: Yay or nay? 

Recipe: Coconut Flour Chocolate Chunk Bars

IMG_5993

Finally — a no-fail coconut flour recipe!

I could wax poetic about how these bars are low in carbs, high in fiber, gluten-free (depending on the chocolate), blah blah blah…but all you need to know its that — holy crap — they’re good. And not too bad for you.

Next time you have a hankering for chocolate chip cookies, this isn’t just a healthier substitute; it’s about to become your new go-to recipe for chewy, cakey, chocolatey bars with that perfect balance of sweet-and-salty, thanks to a sprinkle of sea salt on top.

Coconut Flour Chocolate Chunk Bars

Courtesy of Ambitious Kitchen

Ingredients: 

  • 1/4 cup melted coconut oil
  • 1/3 cup honey, agave nectar or maple syrup
  • 2 teaspoons vanilla extract
  • 2 eggs, slightly beaten
  • ¼ cup unsweetened almond milk (I used cashew)
  • 1/2 cup coconut flour
  • ½ teaspoon baking soda
  • ¼ teaspoon salt
  • 3 oz your favorite dairy free dark chocolate bar, coarsely chopped
  • 1/2 cup coconut flakes, optional

Directions: 

  1. Preheat oven to 350 degrees. Spray 8×8 inch baking pan with nonstick cooking spray.
  2. In a large bowl, whisk together coconut oil, honey, vanilla, eggs, and almond milk. In a separate medium bowl whisk together coconut flour, baking soda and salt.
  3. Add dry ingredients to wet ingredients and mix until just combined and batter is smooth. Fold in chopped chocolate, reserving a few tablespoons for sprinkling on top, if desired.
  4. Bake for 20-22 minutes (mine took closer to 26) or until edges are golden brown and knife comes out with a few crumbs attached. The batter may look like it’s not all the way cooked, but it will be. DO NOT OVERBAKE.
  5. Cool bars on a wire rack for at least 10 minutes so they settle a bit, then cut into 16 squares. Enjoy!

As mentioned above, I also sprinkled some sea salt on top before baking to offset the sweetness just slightly.

IMG_5990

Have you struck gold with a coconut flour recipe? 

Recipe: Running on Veggies’ No-Bake Almond Butter Cookies

IMG_5767

As much as I try to fill my diet with whole, nutrient-dense foods, all bets are off when it comes to cookies.

It was by pure chance, though, that I saw a pic of this no-bake version on American long-distance runner Kara Goucher‘s Twitter feed just as a craving hit for my usual Toll House recipe.

And, just my luck, I had all the ingredients available, so my baking took a healthier turn that day.

KaraTweet

Now, let’s be honest, there’s no substitute for the real-deal, mega-butter-and-sugar variety (in fact, these reminded me more of my raw coconut macaroons)…but if it’s a sweet treat that you’re after, this one won’t completely derail your diet.

And if it’s good enough to keep Kara fueled, it’s good enough for me!

No-Bake Almond Butter Cookies

(Makes 14-15 cookies; recipe courtesy of Running on Veggies)

Ingredients: 

  • 1 cup almond flour
  • 1/2 cup coconut flour
  • 4 tablespoons almond butter
  • 5 tablespoons unsweetened apple sauce
  • 3/4 cup almond milk
  • 1/4 cup of dates
  • 1/2 cup shredded coconut (optional)
  • 1/2 cup cacao nibs (or chocolate chips)
  • Optional add in: 41 grams (1 serving) of your favorite protein powder, be sure to add more liquid. Around 1 cup total of almond milk (1/4 cup extra)

Directions: 

  1. In a medium size mixing bowl combine almond flour, coconut flour and almond butter until well combined.
  2. Blend almond milk and dates until smooth.
  3. Add almond milk date mixture and the remaining ingredients into your flour and almond butter mixture.
  4. Line a baking sheet with parchment paper. Using a spoon, form little balls and press them down gently using a fork.
  5. Place in the freezer or eat them as-is! Store in an airtight container in the freezer. You can also let them thaw for a few minutes to get a softer cookie feel.

IMG_5763

How do you feel about healthy “baking” when it comes to curing those cravings? 

Recipe: Zest Nutrition’s Gluten-Free Lemon Chia Seed Muffins

IMG_5364

Despite whatever the weather’s doing near you, the calendar says it’s spring. And one of my favorite ways to celebrate is with a sweet treat, preferably something light, bright and lemon-y.

Ever since my friend (Zest Nutrition co-founder & fellow Team LUNA Chix Portland Run memberMegan Fuetterer posted this recipe, I’d been dying to try it. The only problem? Our oven was broken for almost a week.

So as soon as we were up and running again on what happened to be a rainy weekend afternoon, baking these little rays of sunshine was first on my to-do list. They’re everything you love about lemon muffins — and more — because they’re super healthy.

Gluten-Free Lemon Chia Seed Muffins

Adapted from Zest Nutriton

Ingredients: 

  • 4 cups almond meal/flour
  • 4 Tbsp chia seeds
  • 1 tsp salt
  • 1 tsp baking soda
  • Zest of 2 lemons
  • Juice of 1 lemon
  • 4 eggs
  • 3/4 cup lemon-flavored Greek yogurt
  • 1/4 cup olive oil
  • 1/4 cup agave nectar

Directions:

  1. Preheat oven to 350F.
  2. Mix together dry ingredients. In a separate bowl, whisk together wet ingredients.
  3. Combine wet and dry ingredients, then pour into lined muffin tins.
  4. Bake for 25-30 minutes. Let cool, and enjoy!

Here’s a look at the process:

I just bought a great new grater from GoodCook, which made zesting the two lemons a breeze (and spared my poor knuckles).

IMG_5357

They’re pretty dense, thanks to the almond flour, so be generous when you’re filling the cups; these muffins will rise only slightly.

IMG_5360

Bake until the edges are a nice golden-brown and a toothpick inserted into the center of the muffins comes out clean.

IMG_5362

Since I used agave nectar, which is 1.4 times sweeter than sugar, I halved the amount of honey the original recipe called for.

But if you like them on the sweeter side, you may want to experiment with the type and amount of sweetener used.

IMG_5363

The lemon yogurt, which I added instead of applesauce, also added another layer of flavor and kept the muffins nice and moist.

IMG_5365

Enjoy, and here’s hoping they bring a little ray of sunshine into your spring!

Is your baking influenced by the change of seasons? 

Recipe: Peanut Butter Chia Seed Granola

IMG_5305

Peanut butter lovers, have I got a recipe for you!

It was developed by Jen, a yoga teacher, personal trainer and fitness instructor in Charlotte, N.C., who blogs over at Peanut Butter Runner. If you get a chance, check it out; not only does she have an inspirational fitness journey, but she also shares deliciously-healthy recipes — and this might be one of her all-time best.

Of course, I played around with it by doubling up on the ingredients and adding a few extras (coconut, raisins, hazelnuts and cinnamon), but it’s just as she described, “sweet, a little salty and very peanut buttery.”

Peanut Butter Chia Seed Granola

(Adapted from Peanut Butter Runner)

Ingredients: 

  • 1 cup peanut butter
  • 2/3 cup maple syrup
  • 3 tbsp coconut oil, melted
  • 2 tsp vanilla
  • 2 tsp cinnamon
  • 6 cups oatmeal
  • 1 tsp coarse sea salt
  • 4 tbsp chia seeds
  • 1 cup unsweetened, sliced coconut
  • 1/2 cup raisins
  • 2 oz chopped hazelnuts

Directions: 

  1. Preheat oven to 300 degrees. Line two large cookie sheets with parchment paper.
  2. In a large bowl, mix together peanut butter, maple syrup, coconut oil and vanilla.
  3. Stir in cinnamon, oats, salt and chia seeds, mixing well until oats are evenly coated with peanut butter mixture.
  4. Gently fold in coconut and raisins until distributed evenly throughout oat mixture.
  5. Divide in half between the baking sheets, spreading into a thin layer on each sheet.
  6. Bake for 20 minutes or until oats and coconut begin to turn a light golden brown.
  7. Let cool completely before storing in an airtight container at room temperature.

Here’s a peek at the process:

Coconut oil is solid at room temperature, so I warmed it gently (until liquid) in the microwave for about 20 seconds before mixing with the first few ingredients.

FullSizeRender (1)

The heat actually helped to soften the peanut butter, which allowed the wet ingredients to melt together nicely.

IMG_5297

Once your peanut butter mixture is blended, it’s time to add all the dry ingredients and stir until evenly combined.

IMG_5299

I had the oven pre-heating while I prepared the baking sheets, but realized right when I was about to pop them in to bake that it was broken (i.e. fan blowing, but no heat)!

IMG_5300

No oven? No problem. I decided to improvise with sheets of foil in the toaster oven. Time consuming, yes, but it worked nonetheless.

IMG_5303

The granola may seem soft when you remove it from the oven, but remember that it will set and harden up as it cools…if it even lasts that long.

IMG_5304

What else would you add in your version of home-made granola? 

Recipe: Banana Carrot Muffins

IMG_2573

I don’t know about you, but rainy weather and cold temperatures always put me in the mood for baking. That can get out of hand pretty quickly in a wet climate like Portland, though, so I’m making an effort to incorporate more nutrients into my sweet treats this season.

Case in point: I adapted the following recipe from Wassner Twins’ delicious Chocolate Chip Banana Bread, making some substitutions based on ingredients we happened to have on hand. The result is a perfect little pick-me-up for enjoying with your morning coffee — and it won’t leave you feeling sluggish for hours after.

Banana Carrot Muffins

Ingredients:

  • 3 bananas
  • 3 teaspoons cinnamon
  • 1/4 cup Agave syrup
  • 1/2 cup coconut oil
  • 2 eggs
  • 1/2 teaspoon vanilla
  • 3/4 cup all-purpose flour
  • 3/4 cup coconut flour
  • 1 1/2 teaspoons baking powder
  • 1 1/2 teaspoons baking soda
  • 1 tsp salt
  • 3 medium carrots, grated with a box grater (about 1 cup)

Directions:

  1. Preheat oven to 350 degrees.
  2. In a small mixing bowl, use a fork to mash bananas with cinnamon.
  3. Add Agave, oil, eggs and vanilla. Beat with a hand mixer on medium (or rigorously by hand) until combined.
  4. Stir in carrots until they’re evenly dispersed throughout the batter.
  5. Add flours, baking powder, baking soda and salt, mixing by hand until the dry ingredients are incorporated.
  6. Divide mixture into lined muffin pans, filling each one about three-quarters to full (batter won’t rise much).
  7. Bake 20-30 minutes or until edges are golden and a tooth pick inserted into the middle of each muffin comes out clean.

The Wassners recommend using bananas that aren’t over-ripe so the recipe doesn’t get too sweet, but you may want to adjust accordingly if you find that this recipe isn’t sweet enough to your taste.

IMG_2565

You can also play around with the amount of Agave to get the batter to your desired level of sweetness.

IMG_2566

And who would have thought to add carrot into banana bread?

But it’s a great way to get some good vitamin A, as well as a host of other powerful health benefits, including beautiful skin, cancer prevention and anti-aging properties.

IMG_2567

Another area in which you can experiment is the flours: If you’re gluten-free, feel free to swap out the all-purpose flour for your favorite alternative.

But I like to retain some of the white stuff to keep the muffins from getting too dense.

IMG_2568

One word of warning: The batter will be dry and thick, but don’t worry! Simply scoop it into your muffin cups instead of pouring it in.

IMG_2569

Because it is so thick, you’ll also want to smush it down in the cups to make sure they’re filled evenly.

IMG_2570

As you can see, they won’t rise much — if at all — so the best way to tell whether or not they’re done is to make sure to do the toothpick test.

Not only do oven temperatures vary, but these tend to take a bit longer to cook than traditional muffins, so don’t be surprised if their cooking time is on the higher end.

IMG_2574

I promise, though, they’re worth the wait. Your house will smell lovely, and you can eat as many as you’d like, guilt-free…well, within reason.

IMG_2576

What’s your go-to activity when the weather is crummy?

Recipe: Paleo(ish) Pumpkin Bread

IMG_2001

Blogger pal LiteraryLydi requested a pumpkin bread recipe after seeing my recent post with Paleo-friendly banana bread. Ask, and you shall receive!

Since I was home in October for the marathon, I decided to tweak our family-favorite pumpkin bread recipe. It’s not completely Paleo since I wanted to retain more of the taste and texture of the original recipe, but it’s a step in a healthier direction that still got rave reviews.

Paleo(ish) Pumpkin Bread

Ingredients: 

  • 2 eggs
  • 1 can pureed pumpkin
  • 1/2 cup coconut oil
  • 1/4 cup water
  • 1 cup sugar
  • 1 tsp baking soda
  • 1 tsp baking powder
  • 1/2 tsp clove
  • 1/2 tsp cinnamon
  • 1 tsp salt
  • 1 cup coconut flour
  • 2/3 cup regular flour

Directions: 

  1. Preheat oven to 350. Grease or line a loaf pan with parchment paper.
  2. In a large bowl, mix all wet ingredients together. Add sugar, and stir.
  3. In a medium bowl, mix all remaining dry ingredients together.
  4. Slowly incorporate dry mixture into wet mixture in large bowl.
  5. Pour batter into loaf pan. Bake for ~60 minutes or until toothpick inserted into the center of loaf comes out clean.
  6. Remove from loaf pan and allow to cool before cutting.

Step one: Gather all your ingredients. As you can see, we were low on vegetable oil, so I just substituted coconut oil instead.

IMG_1993

Mix your wet and dry ingredients in separate bowls to make sure everything gets evenly combined.

IMG_1994

Don’t worry; the batter will be pretty thick. In fact, it had more of a cookie dough consistency at first, which is why I upped the original cup of pumpkin to the whole can.

IMG_1995

Because of the consistency of the batter, you may have to scoop (rather than pour) it into the pan. Smooth out the top with a spatula.

IMG_1997

Not sure if it’s done? First, the edges will brown. But make sure that toothpick comes out clean when you poke the center!

IMG_1998

Next time I’ll probably bake it a few more minutes because the center was just slightly under-done. But still delicious!

IMG_1999

What’s your family-favorite fall recipe?