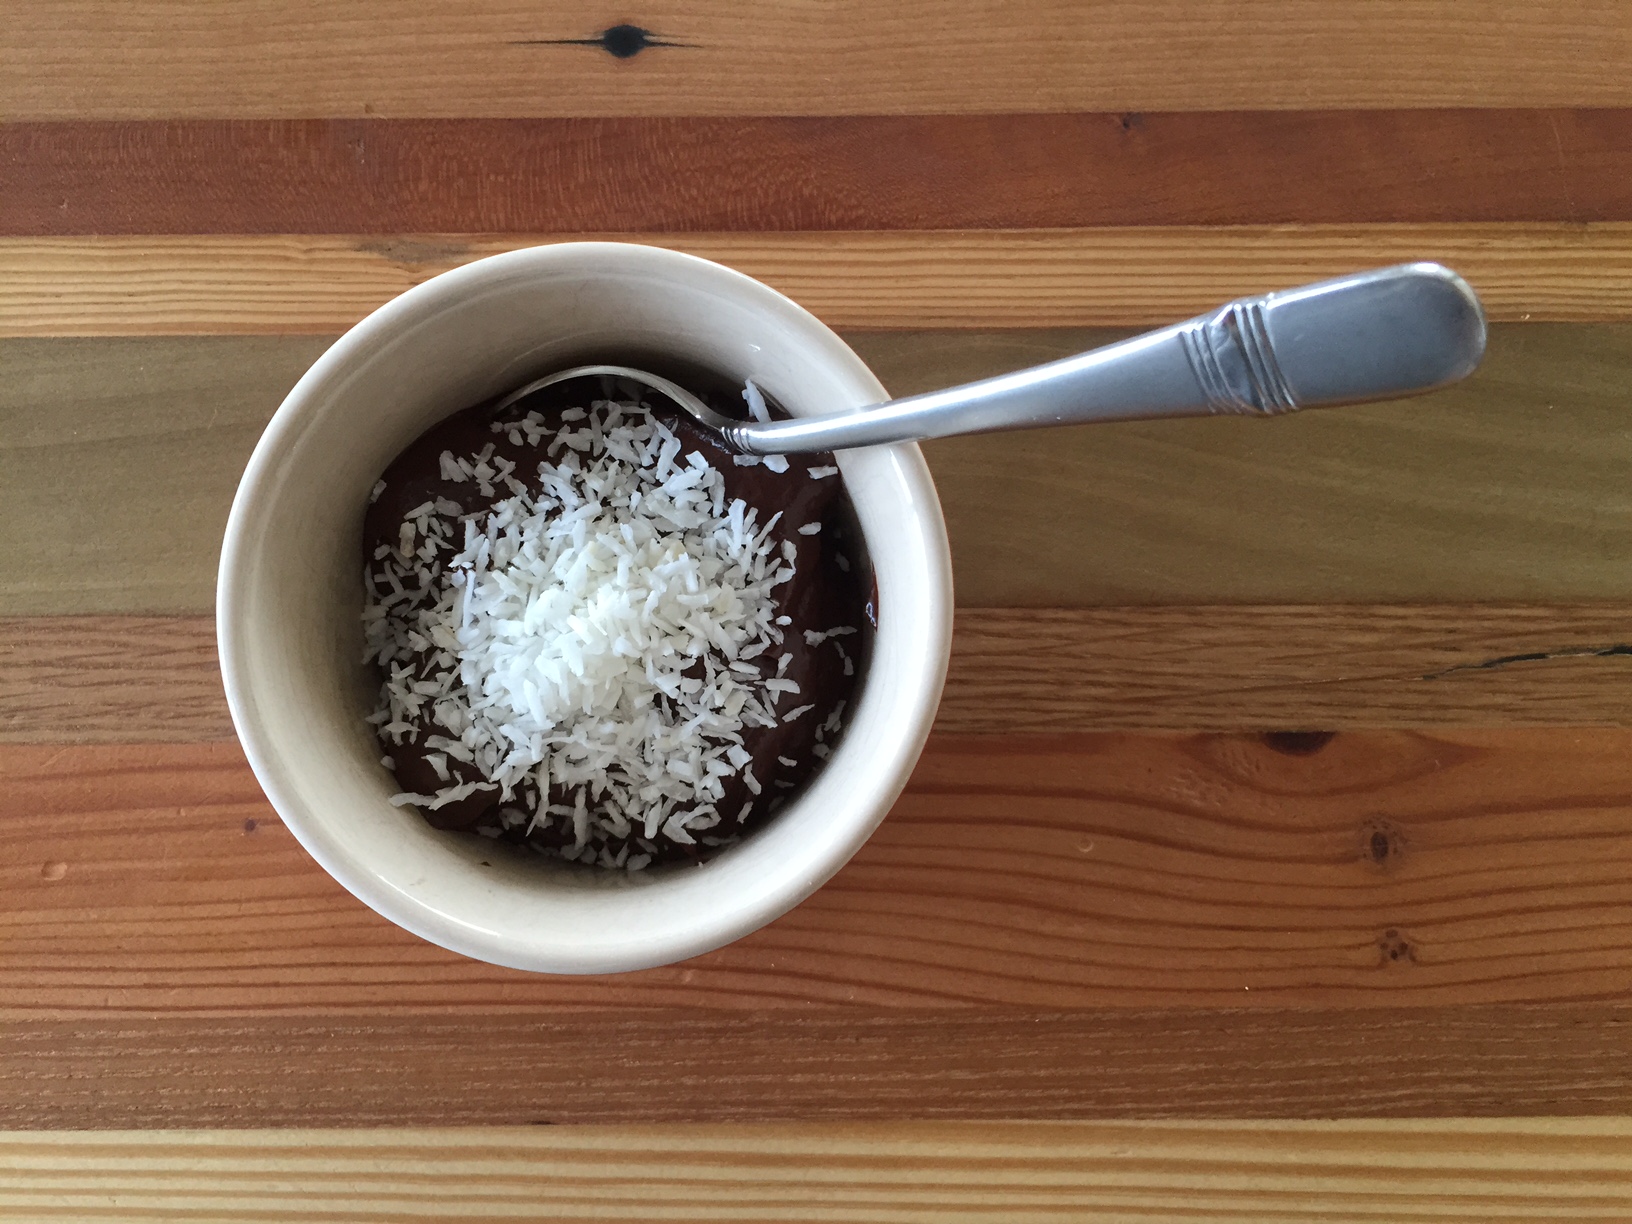
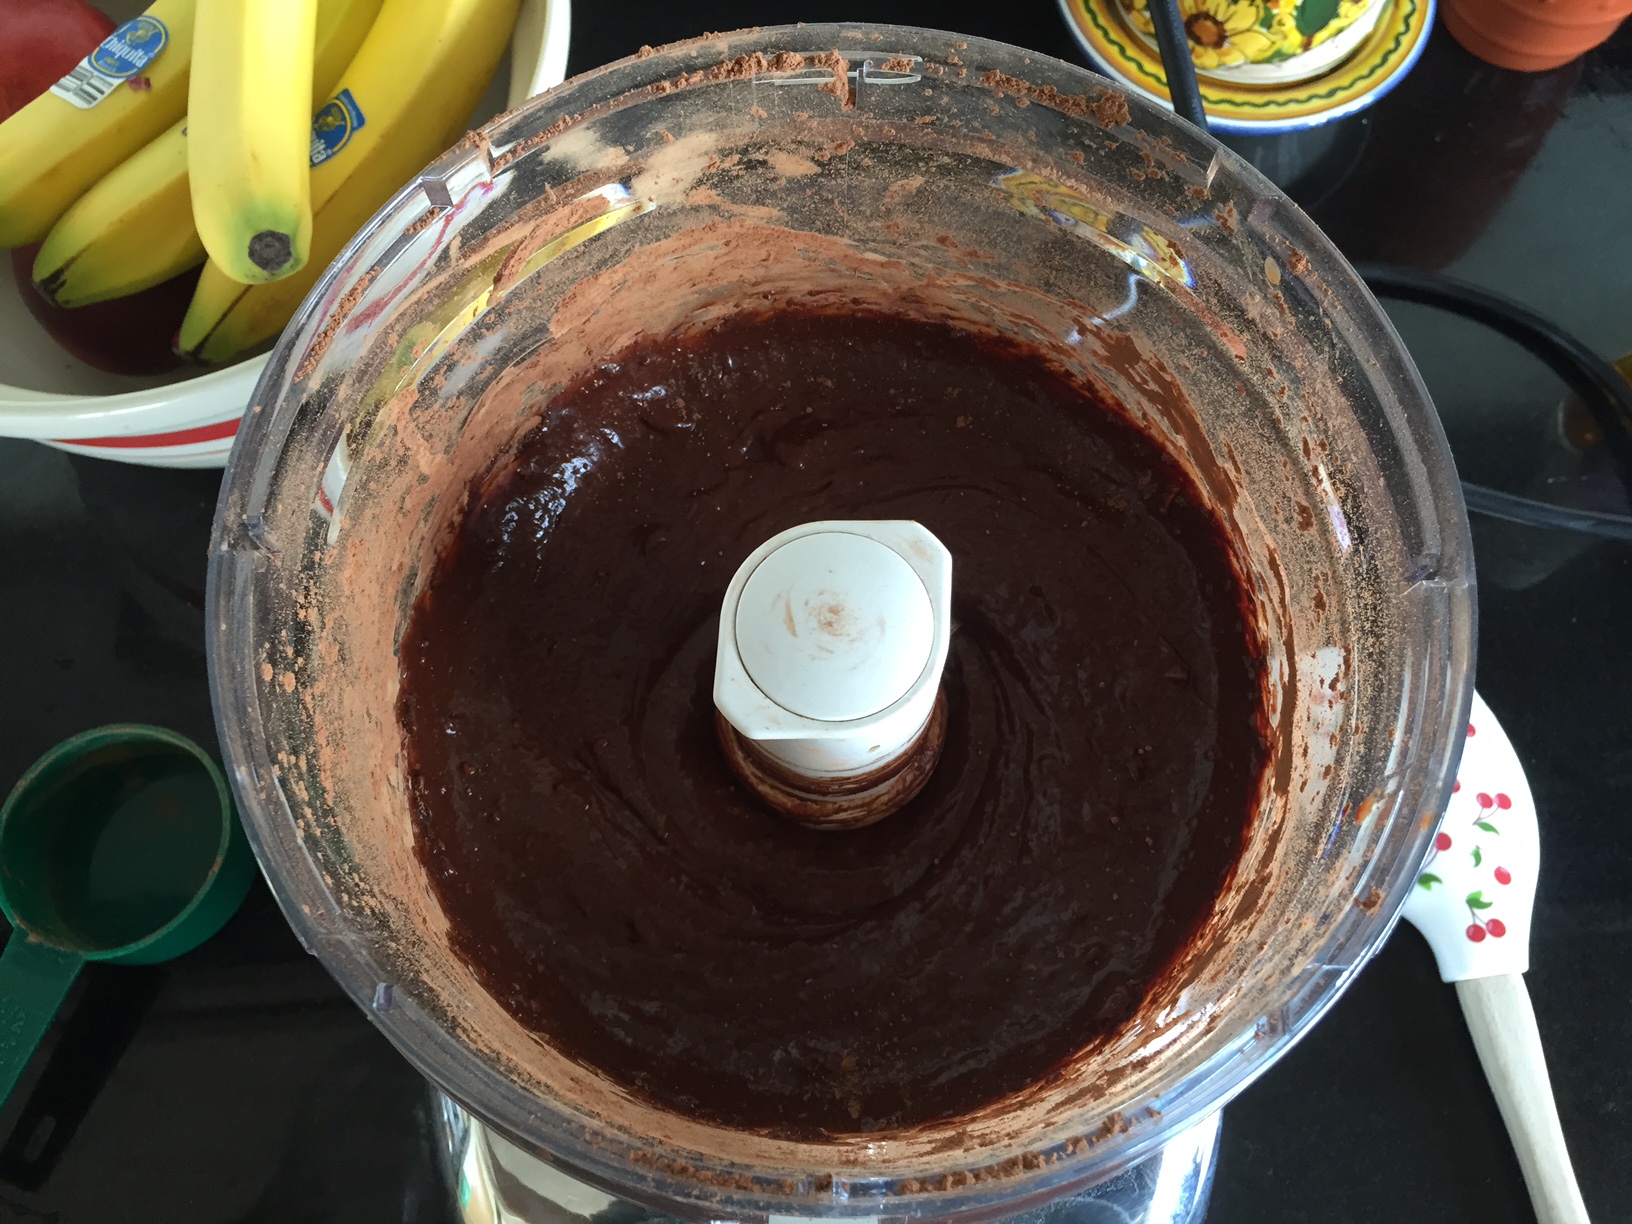
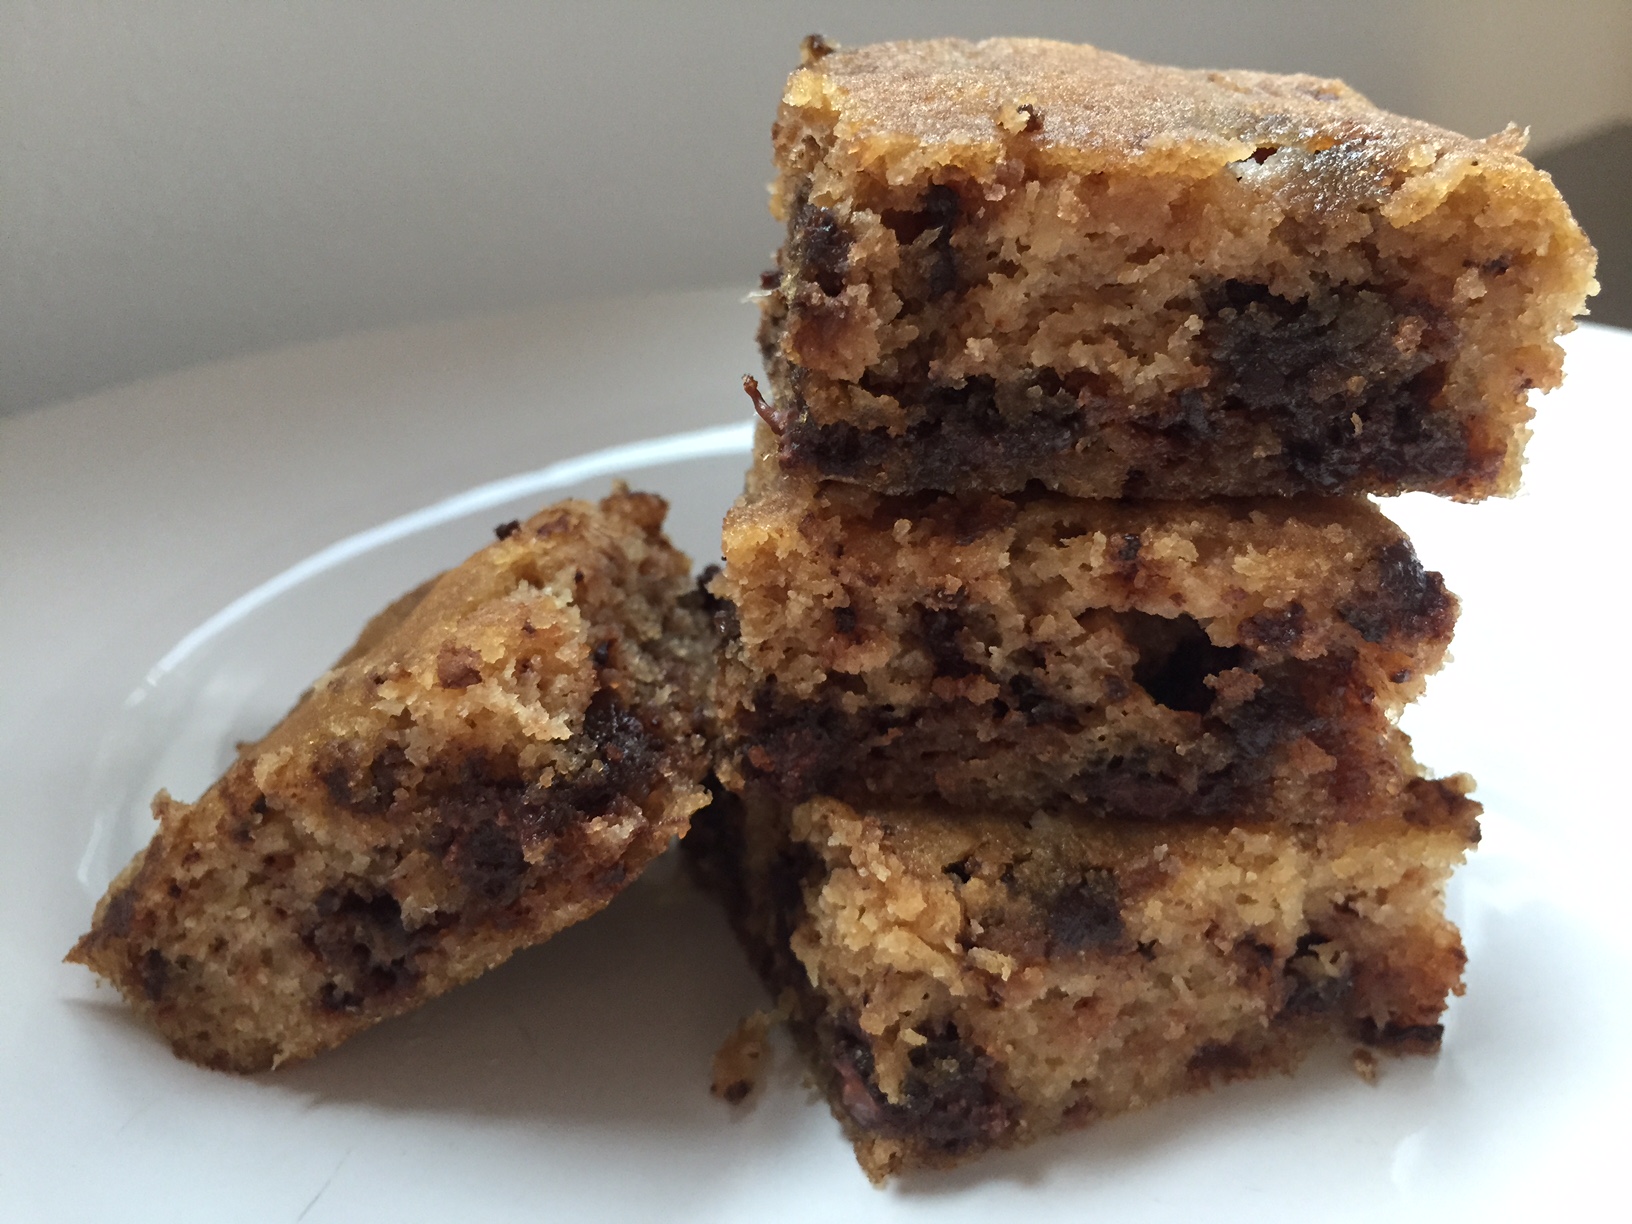
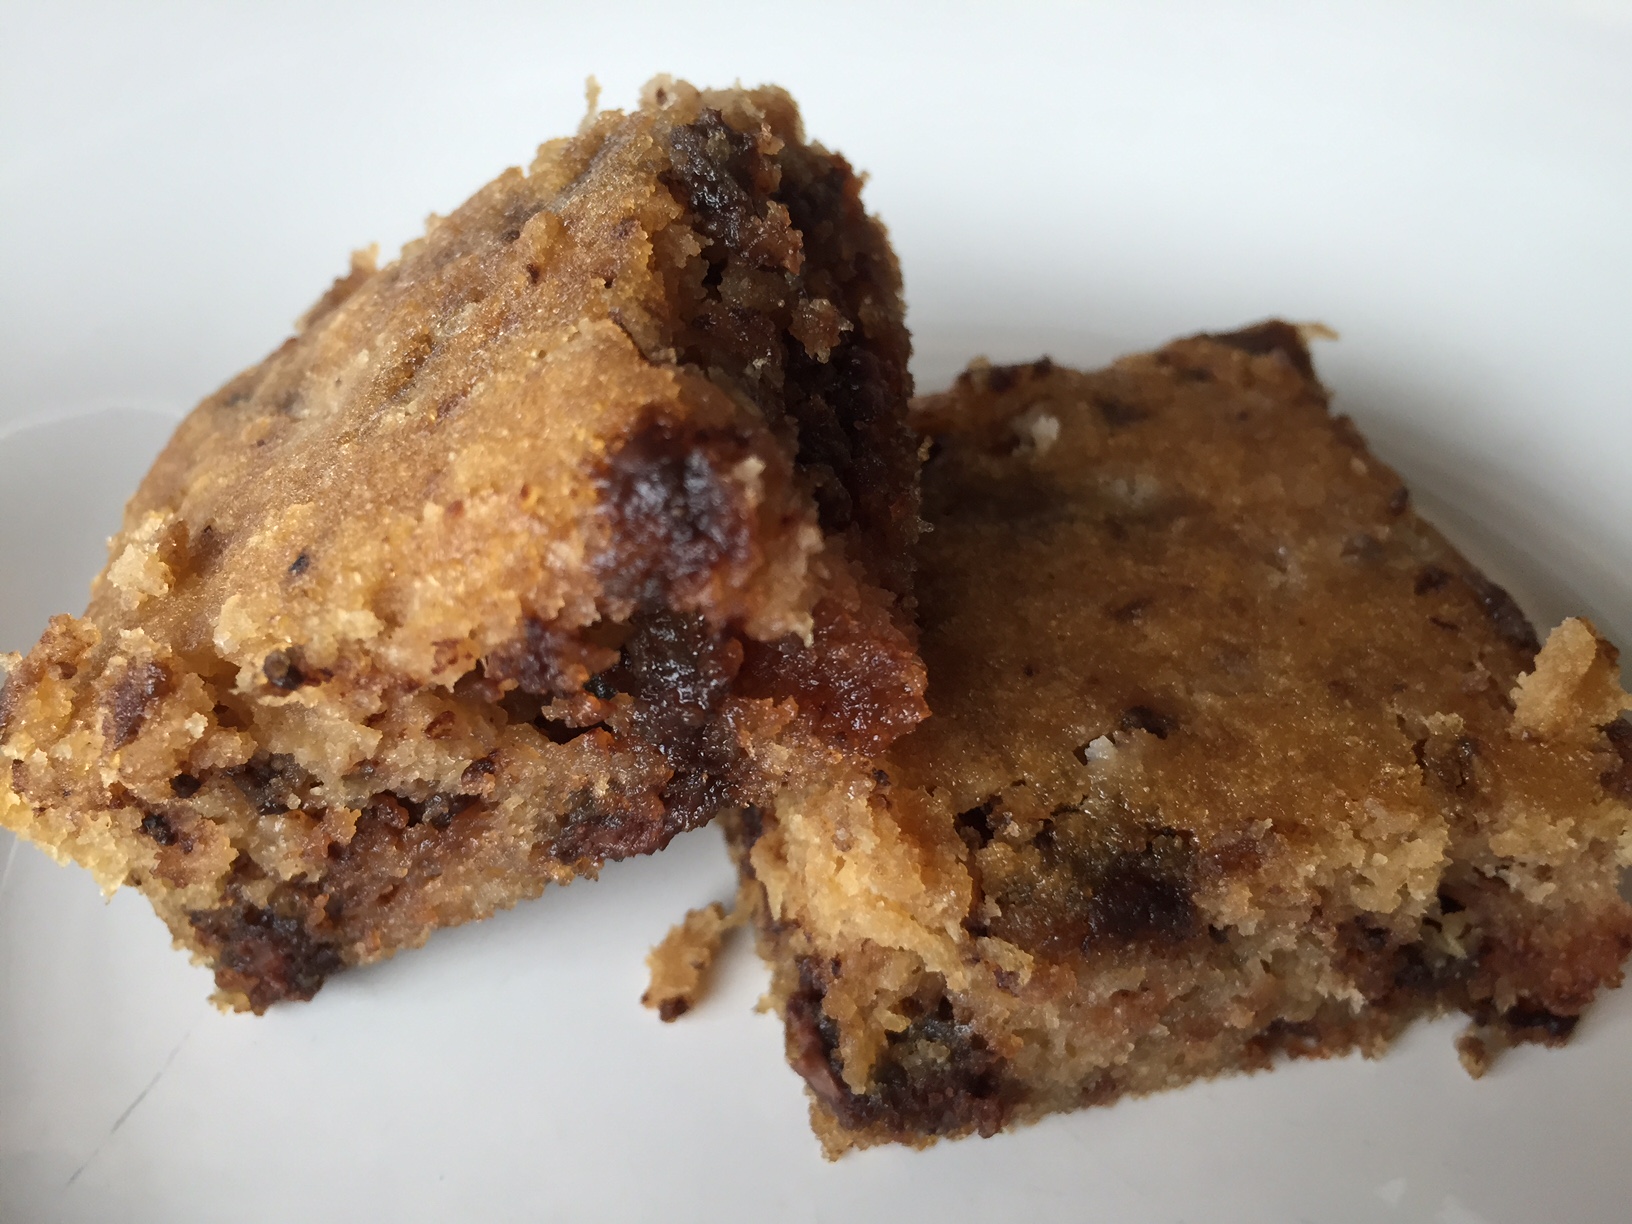
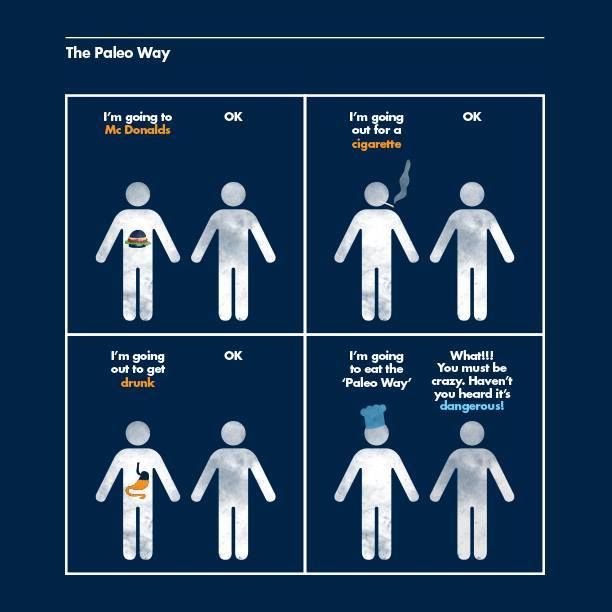
Credit: Chef Pete Evans
In mid-January, Ben and I started Whole30, which we viewed as a 30-day “experiment,” a fresh start for the new year. If you’re not familiar with the program, it’s a “short-term nutritional reset,” designed to help you put an end to unhealthy cravings and habits, restore a healthy metabolism, heal your digestive tract and balance your immune system.
Sounds awesome, right? Well, where the rubber hits the road is in the rules: Eat real food. Avoid added sugar, alcohol, grains, legumes, soy, dairy, carrageenan, MSG, sulfites…or any food product with a hint of anything like that in it.
Easy, in theory. We eat fairly healthy. We exercise. We expected it to be difficult at times (him: peanut butter and flavored coffee creamer; me: cereal and dessert after dinner). But what we didn’t expect was an experience that will forever change the way in which we view our food.
So, what’s it’s like to eat “clean” for 30 days? Truthfully, it’s hard. Not only are we used to grabbing whatever we want off the grocery store shelves, but our bodies are, sadly, so accustomed to being jacked up on sugar and artificial stuff that there’s even a timeline of what you can expect — both mentally and physically — as the month unfolds.
Full disclosure: Neither of us experienced anything as drastic as the “carb flu,” although we did blow through five jars of almond butter in the process. And there may have been a few nights at the beginning when I put myself to bed early in order to escape from the after-dinner dessert cravings…

But, reflecting back on the experience, we learned some valuable lessons:
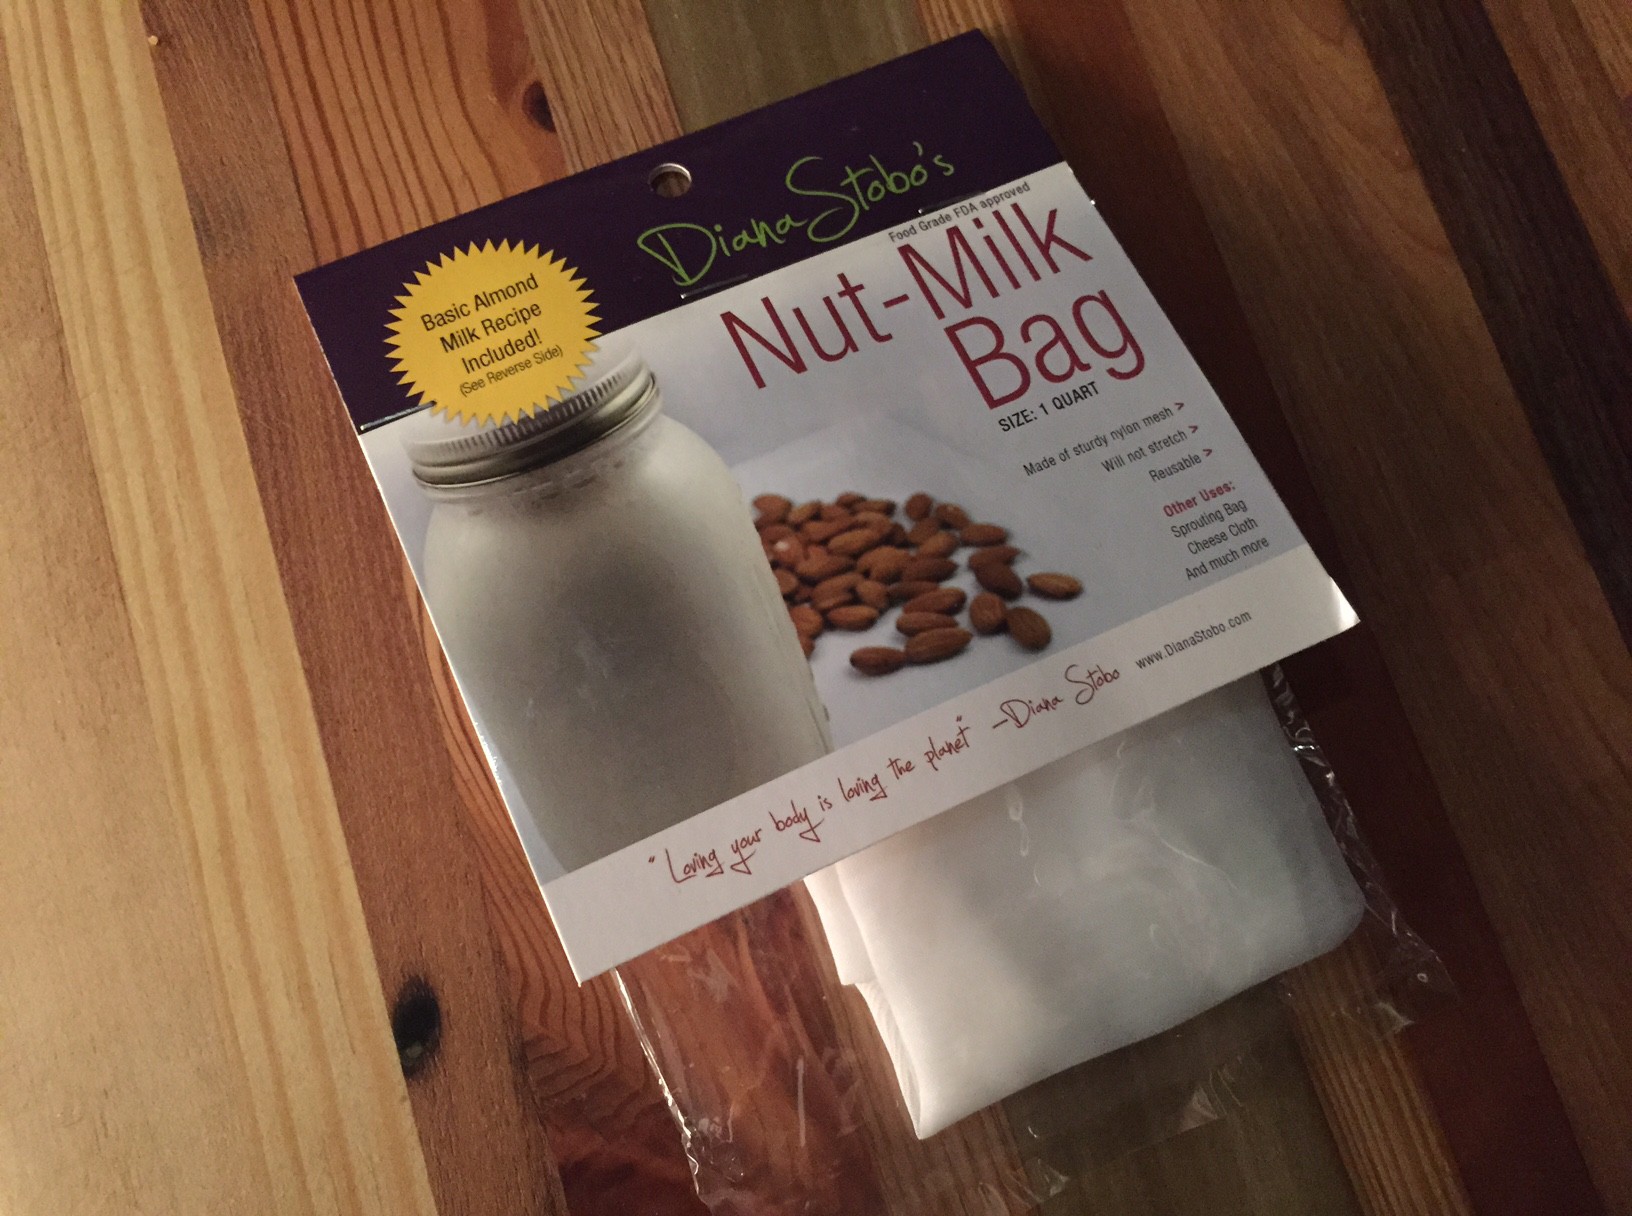
1. I’m not in the habit of reading food labels. I learned this the hard way after using what I thought were W30-approved almond milk and hot sauce on day one, only to realize later that both products had a bunch of additives in ’em. #Whole30Fail
2. There’s a lot in our food that isn’t “food.” As we perused the grocery aisles, Ben and I had bust out our phones and Google ingredients in things, most of which we couldn’t pronounce.
3. It’s tough to find whole-food products. They’re out there and are becoming more popular, as you’ll see below, but they’re not the default; you’ve got to make an effort to seek them out.
4. It’s not a diet. Don’t necessarily expect to lose weight. My number on the scale stayed the same, although my jeans do feel a little looser, so that’s a bonus!
5. There is sugar and soy in every.thing. If it’s not listed in the ingredients outright, it’s hiding behind a pseudonym. Do your research, and read those labels!
6. Food is very social. We didn’t realize this until we made a double-date for dinner the first Friday night. Two glasses of water and bun-less burgers, please. Wah-wah.
7. There’s a difference between stuffed and satiated. Well, duh. But no, really — bread baskets, apps and desserts used to be a free-for-all. Making better decisions about food has means no more nights riddled with regret — and heartburn.
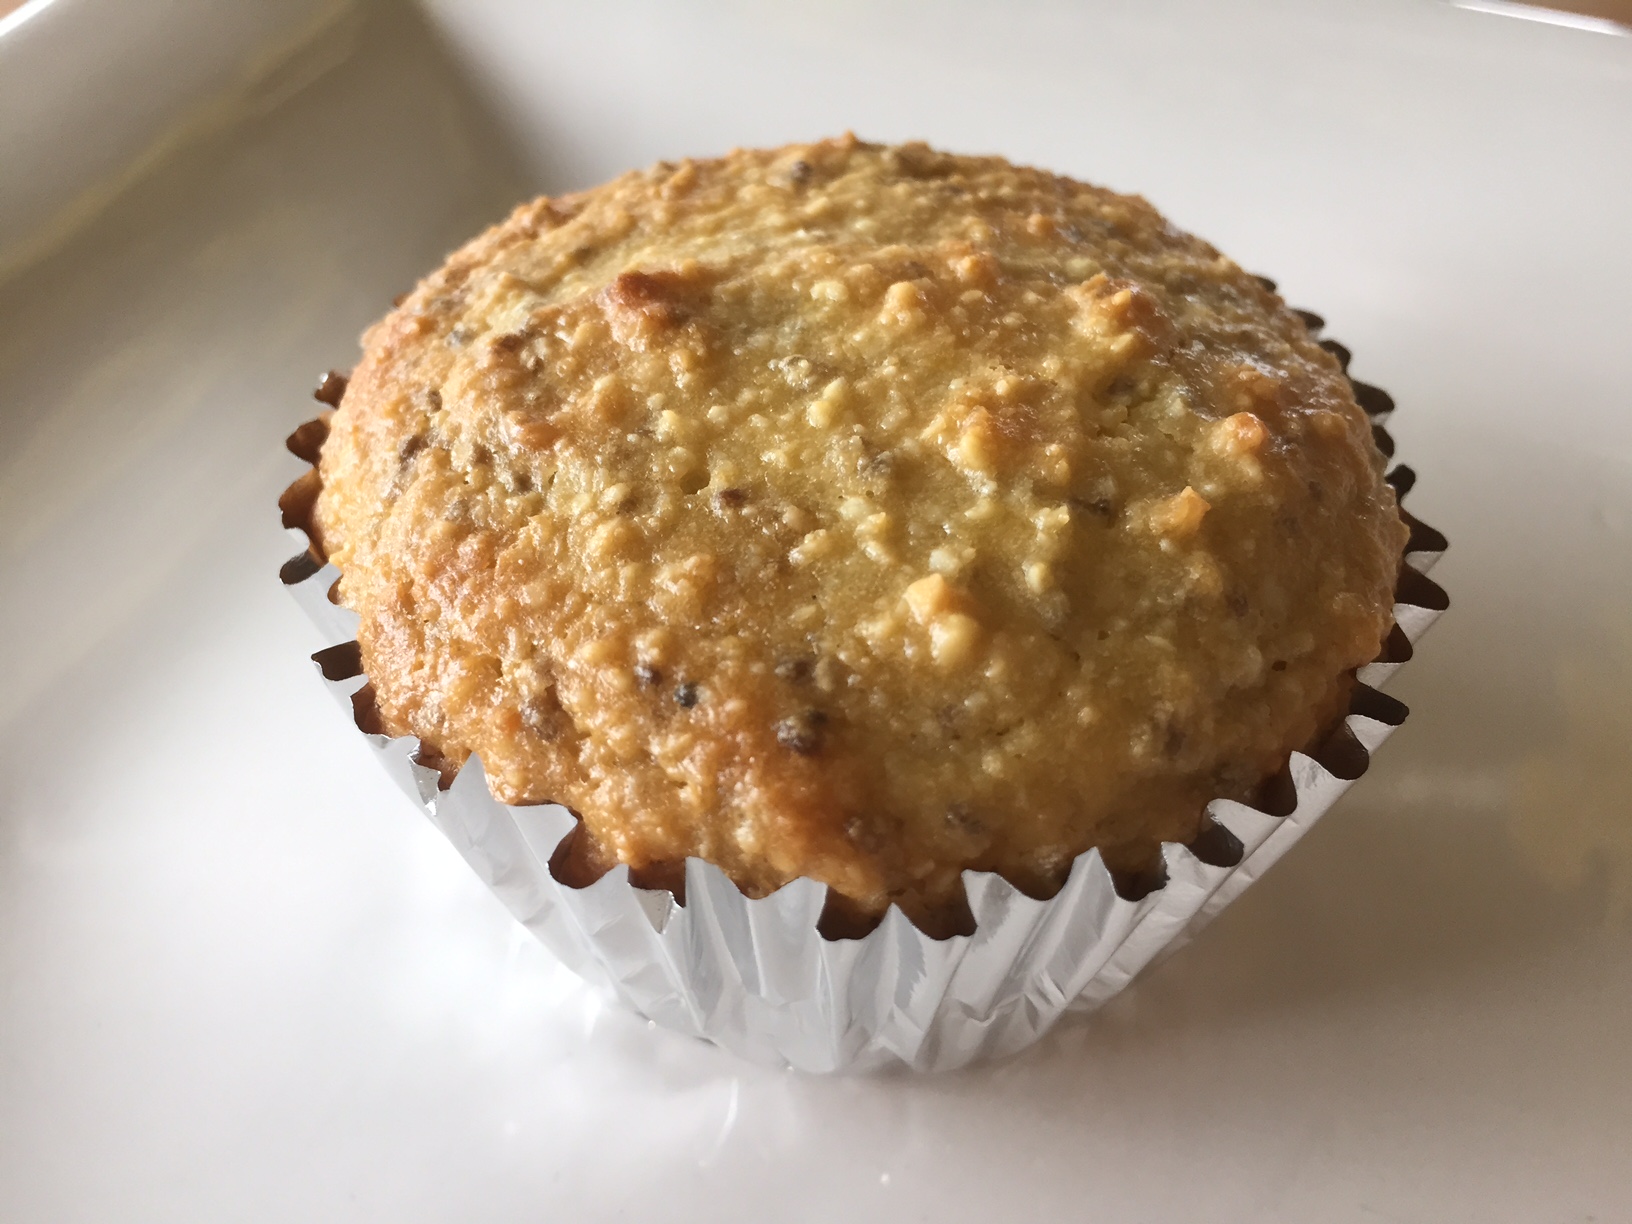
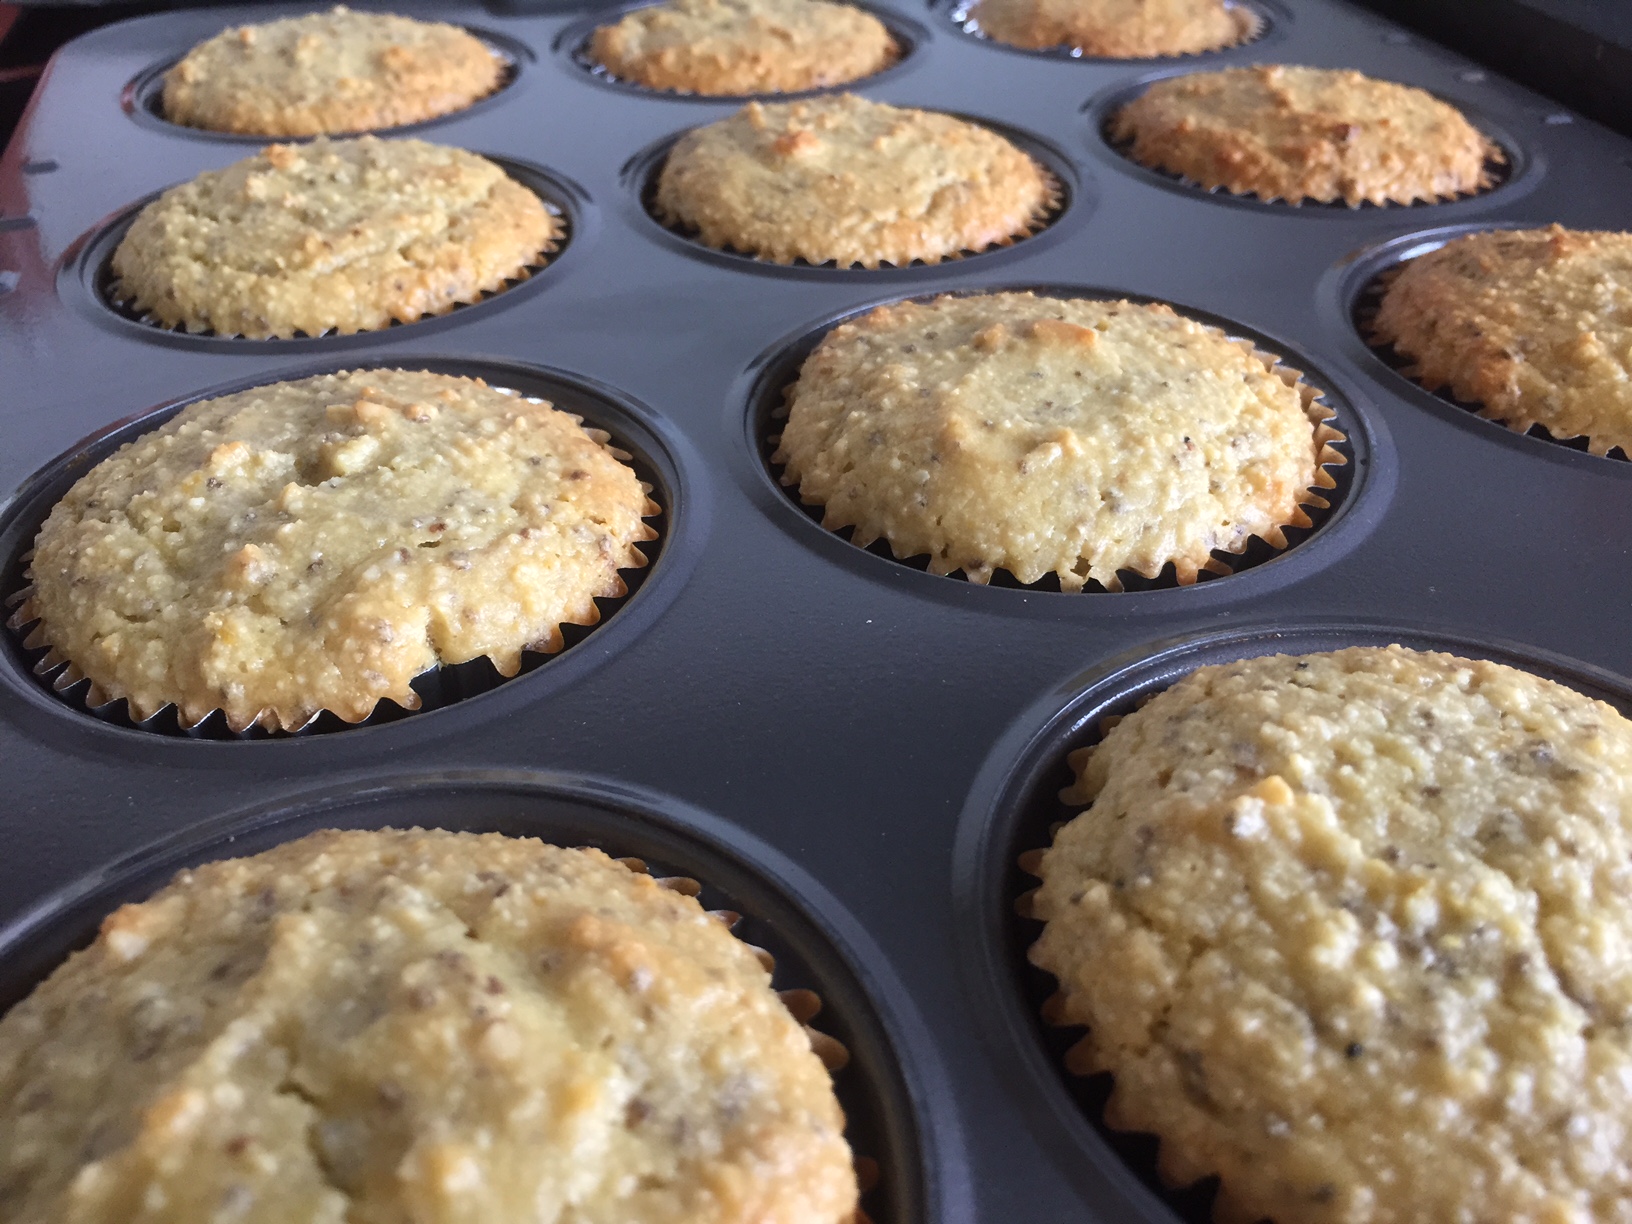
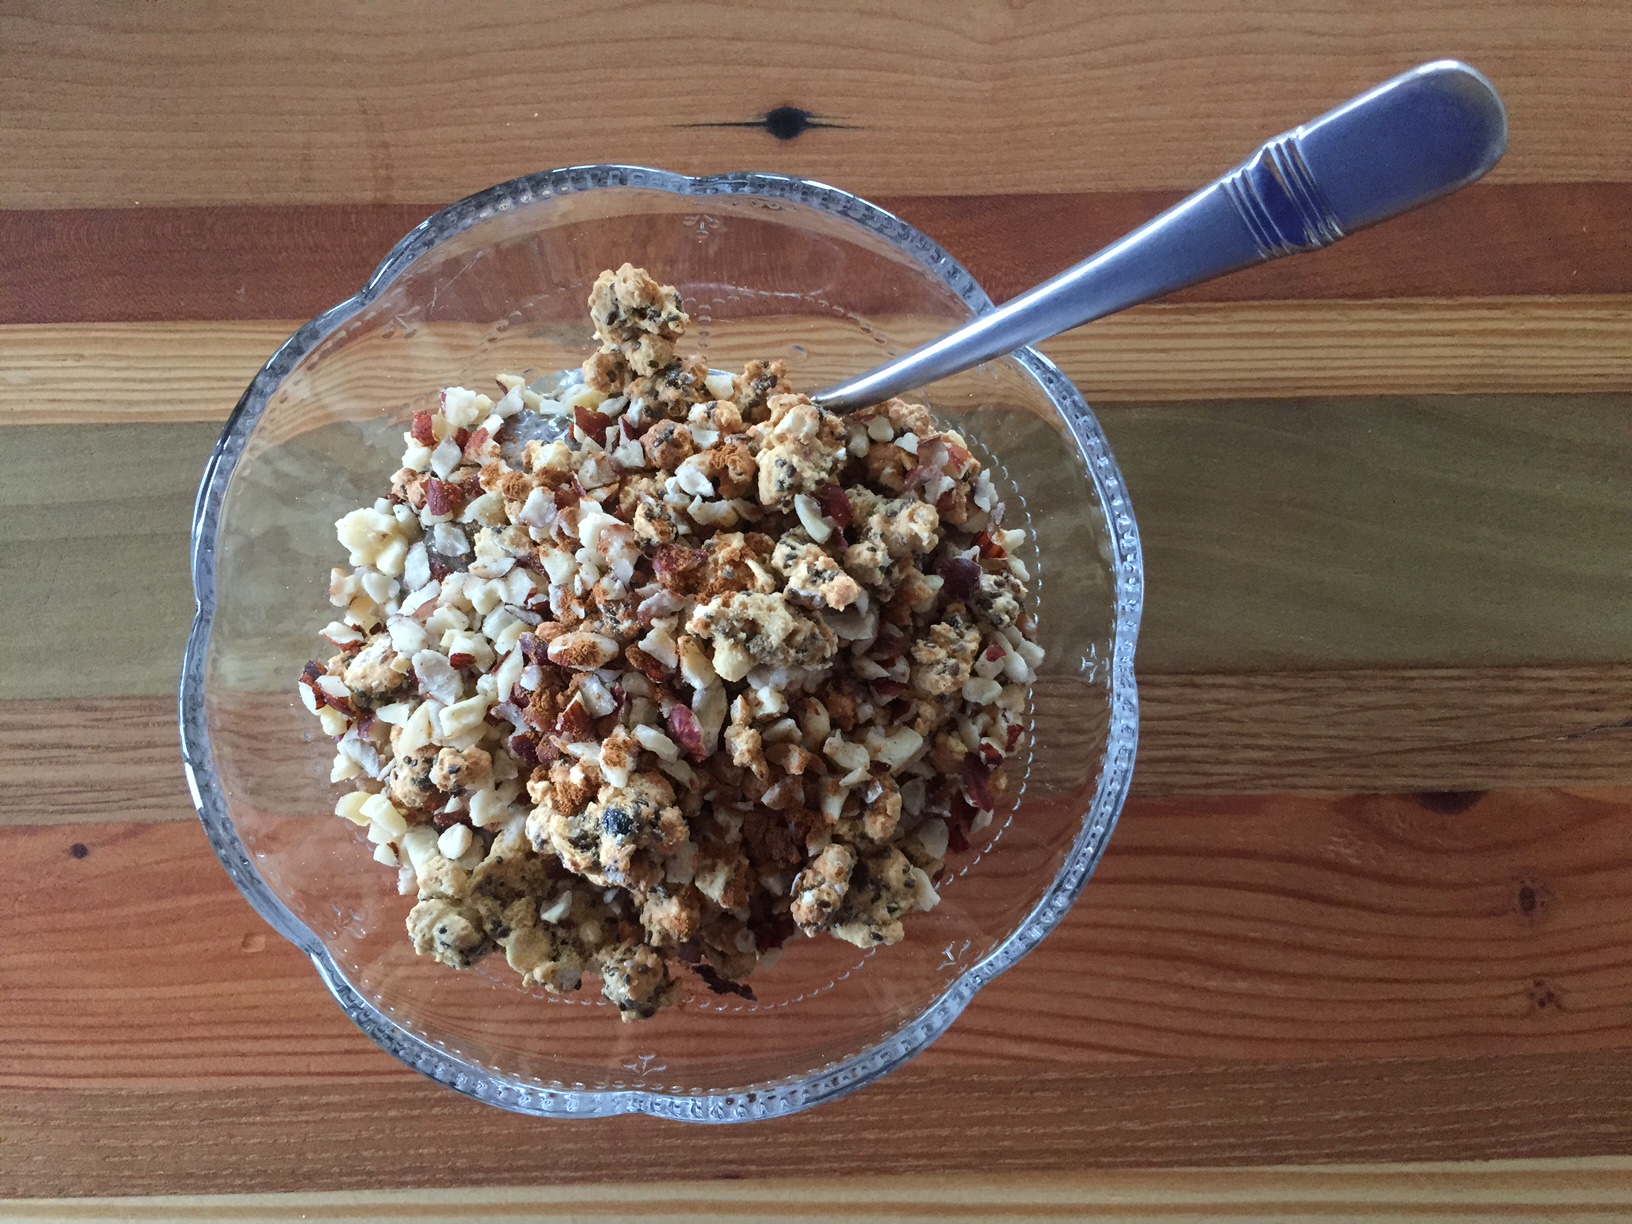
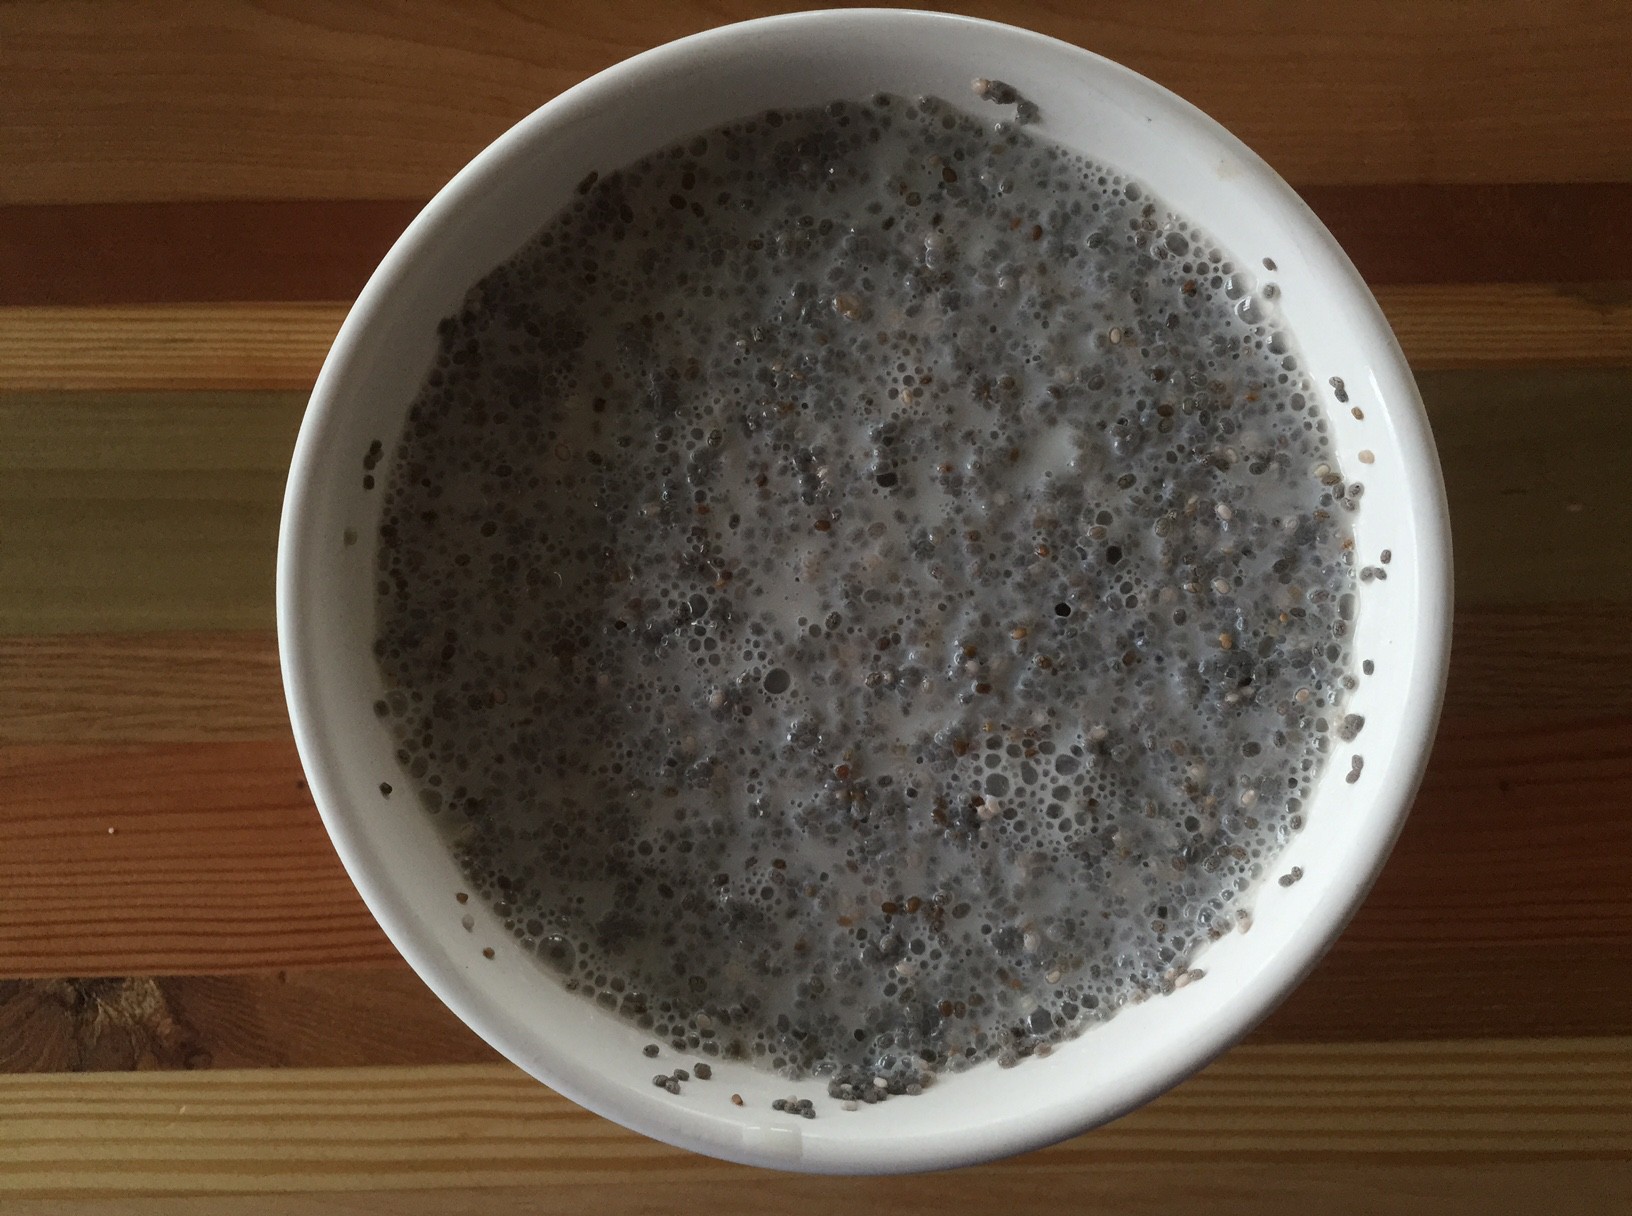
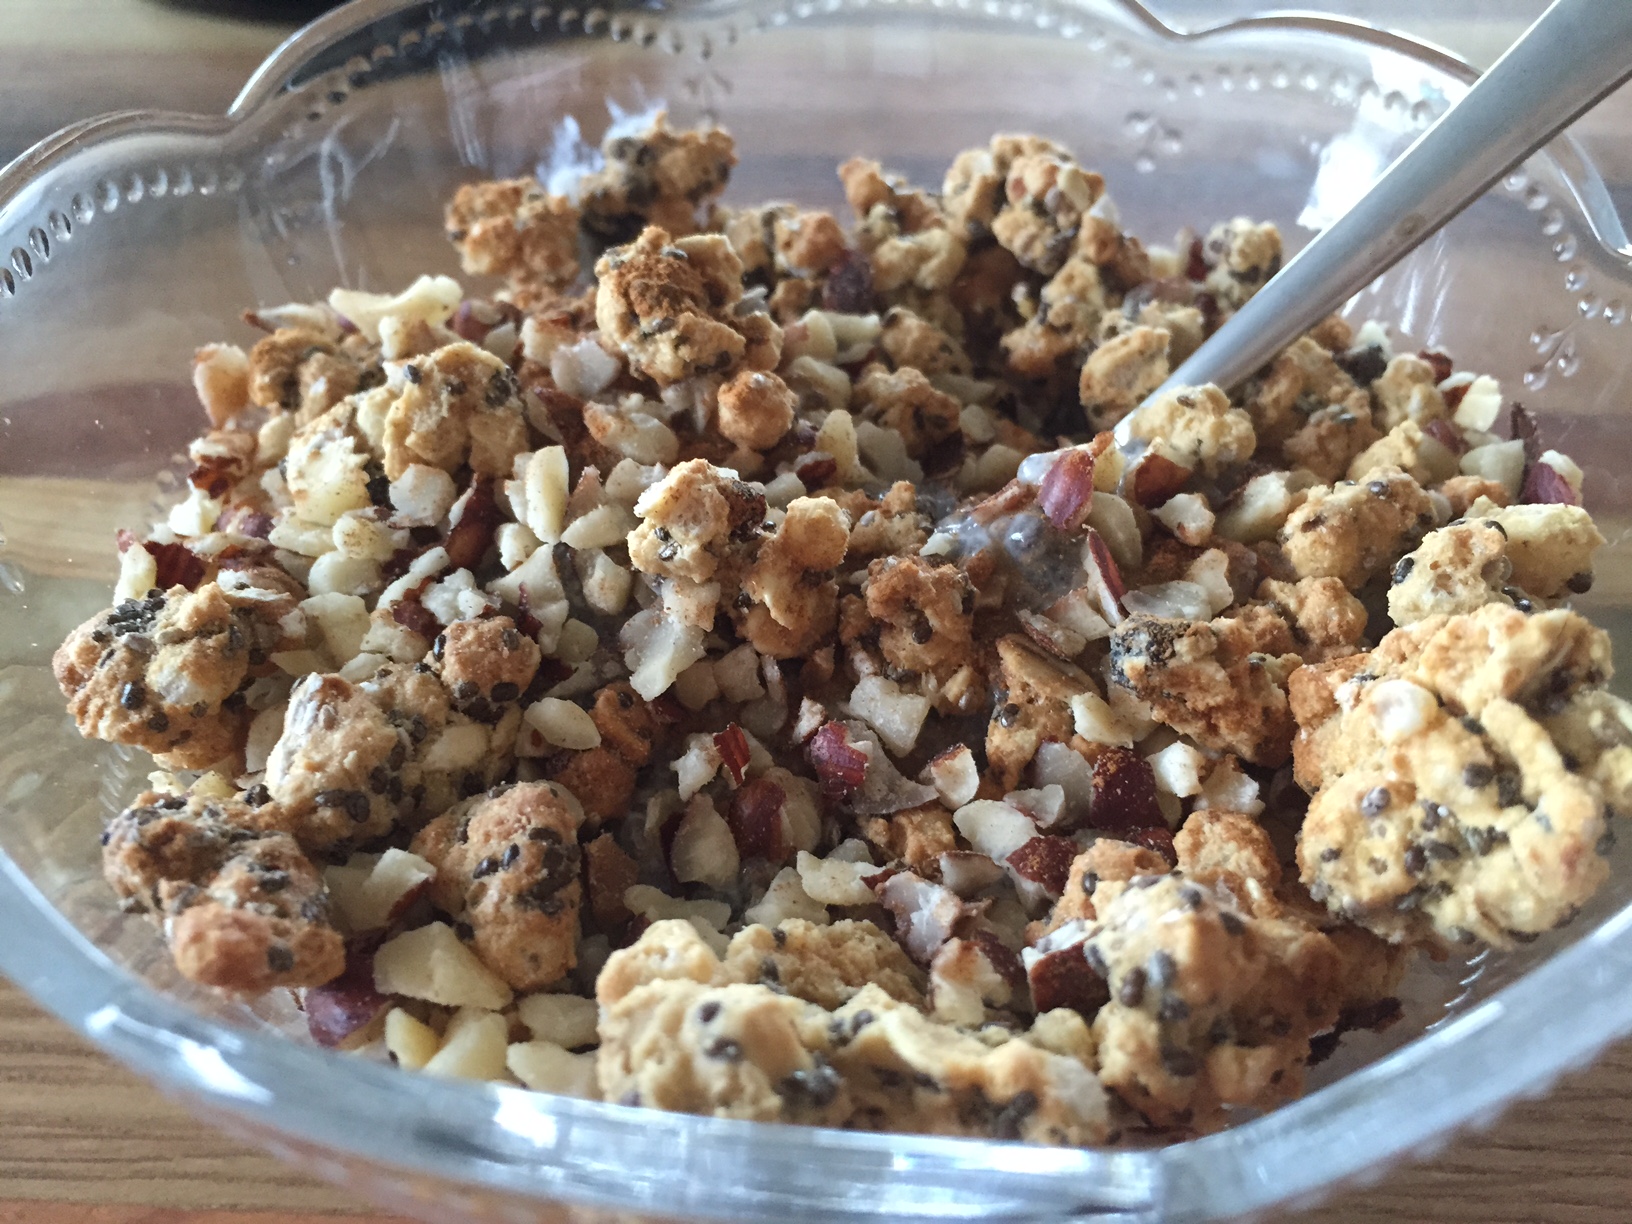
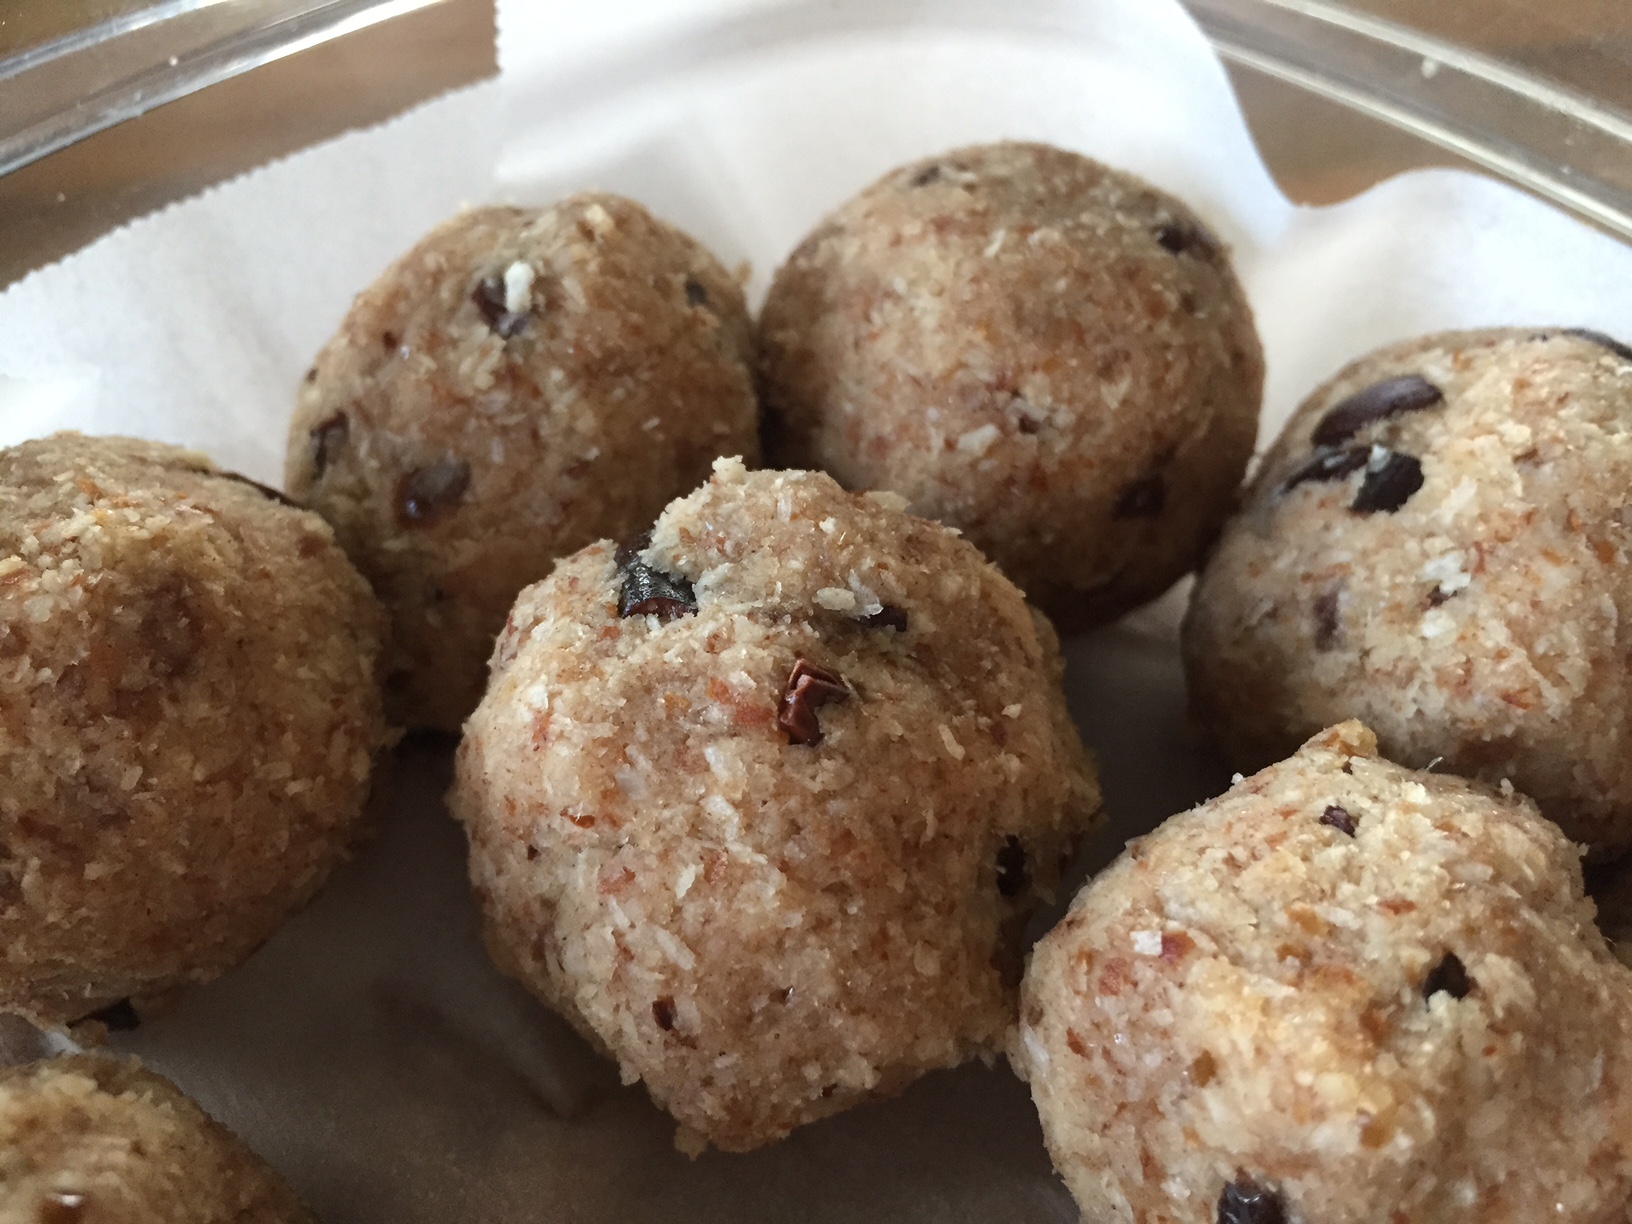
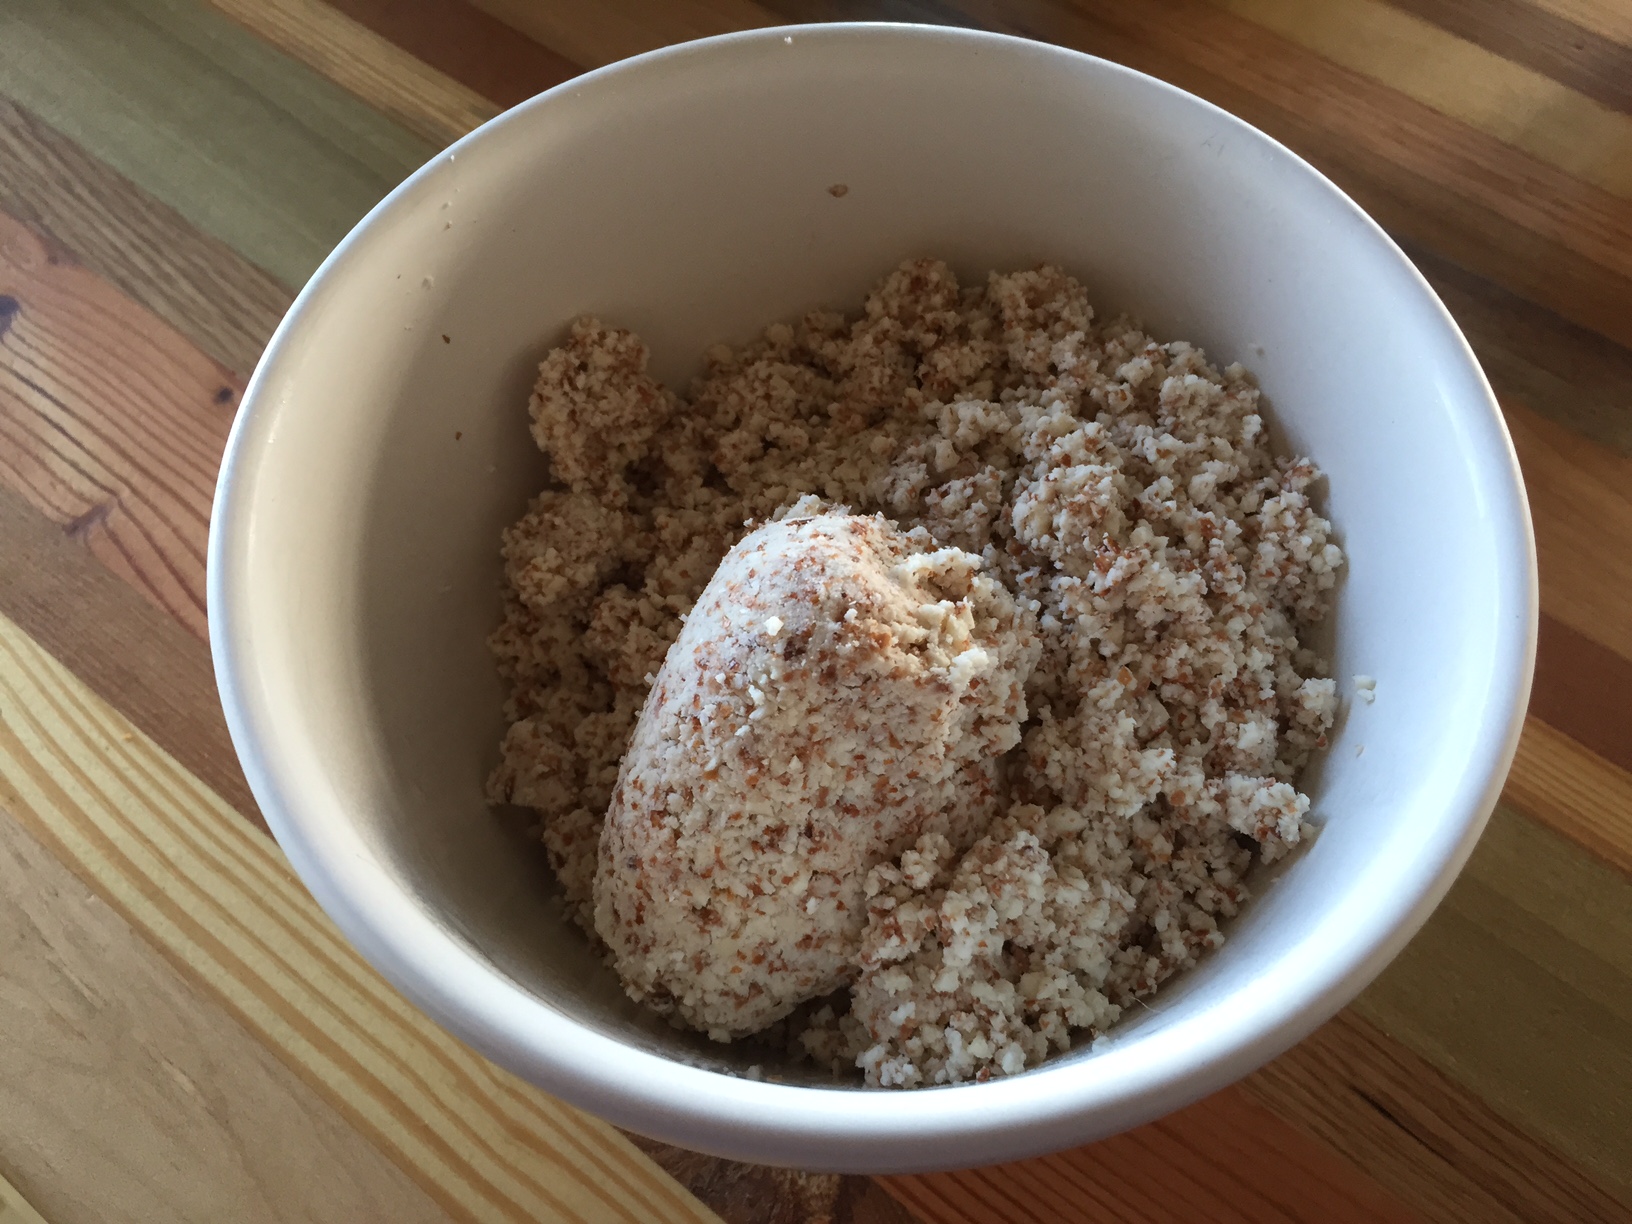
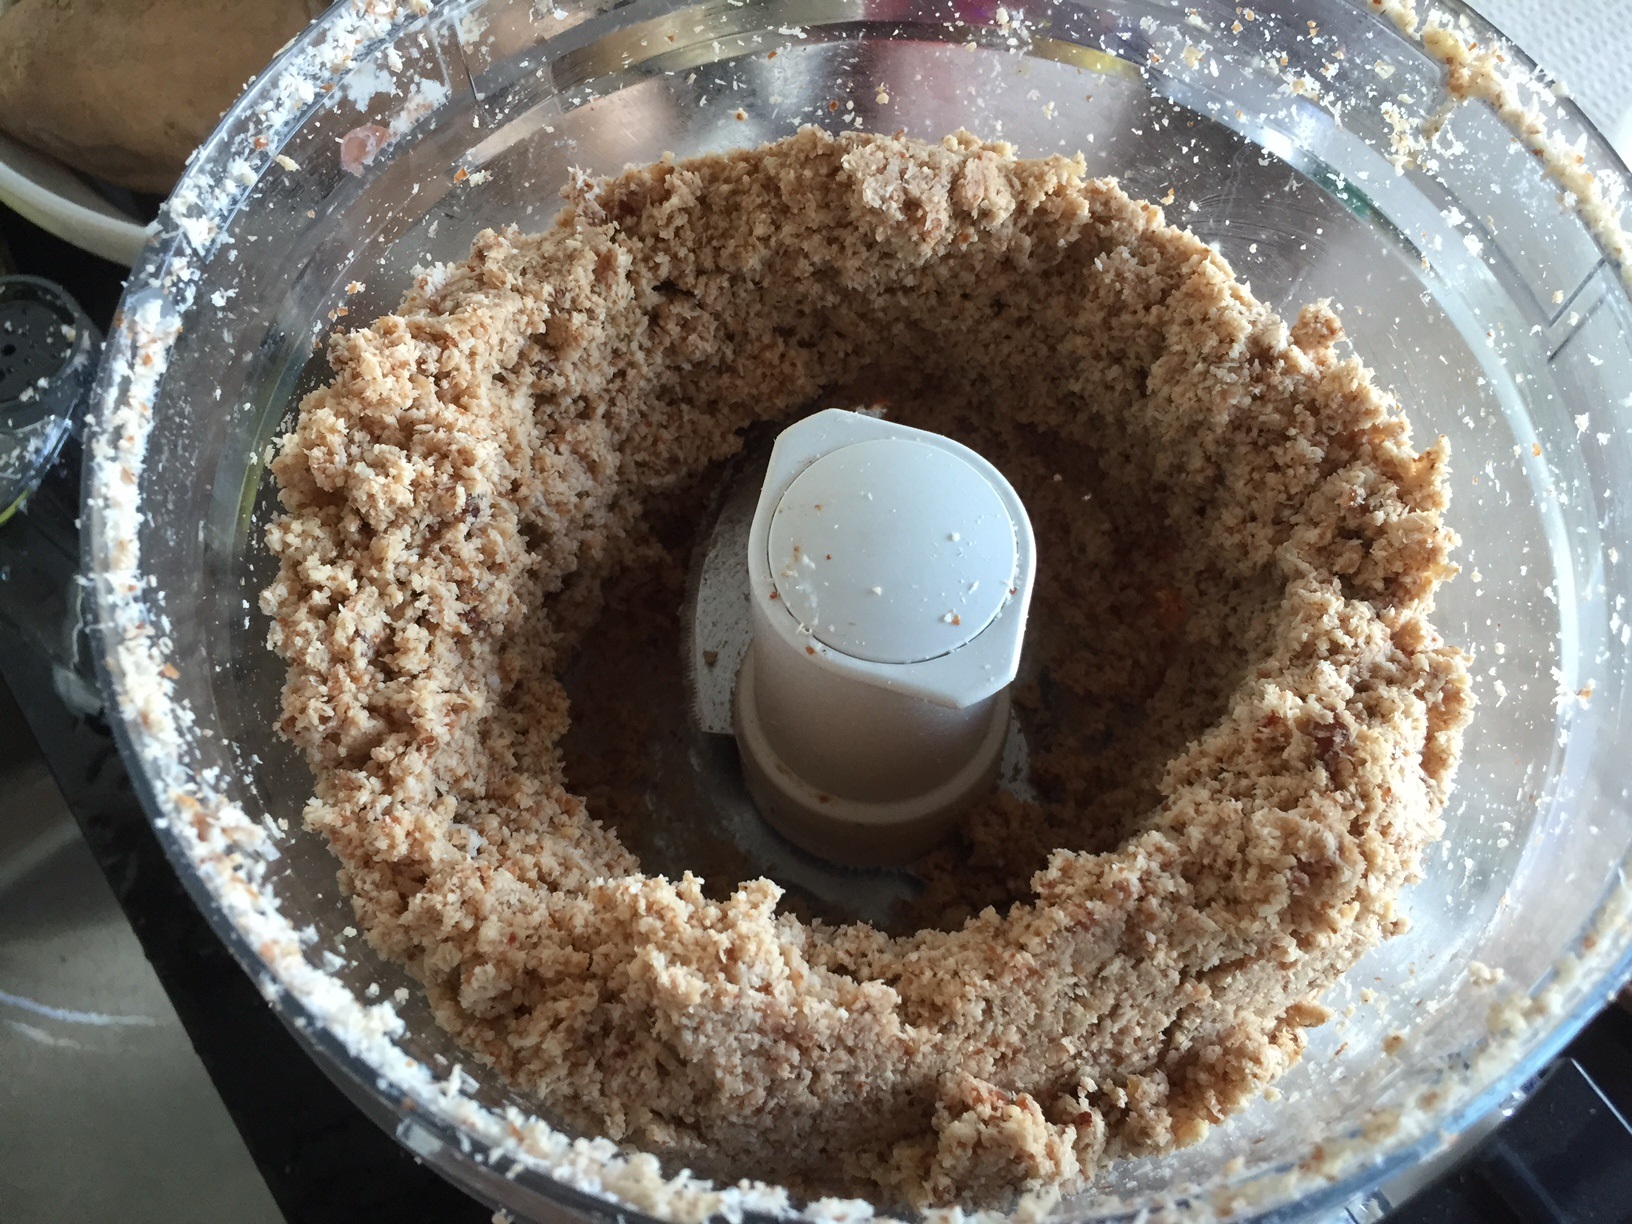
8. Cooking is key. A month straight of hard-boiled eggs, broiled chicken and steamed veggies would get old fast. There are so many easy W30-approved recipes out there, and they’re delicious! Here’s one of our favorites, in fact.
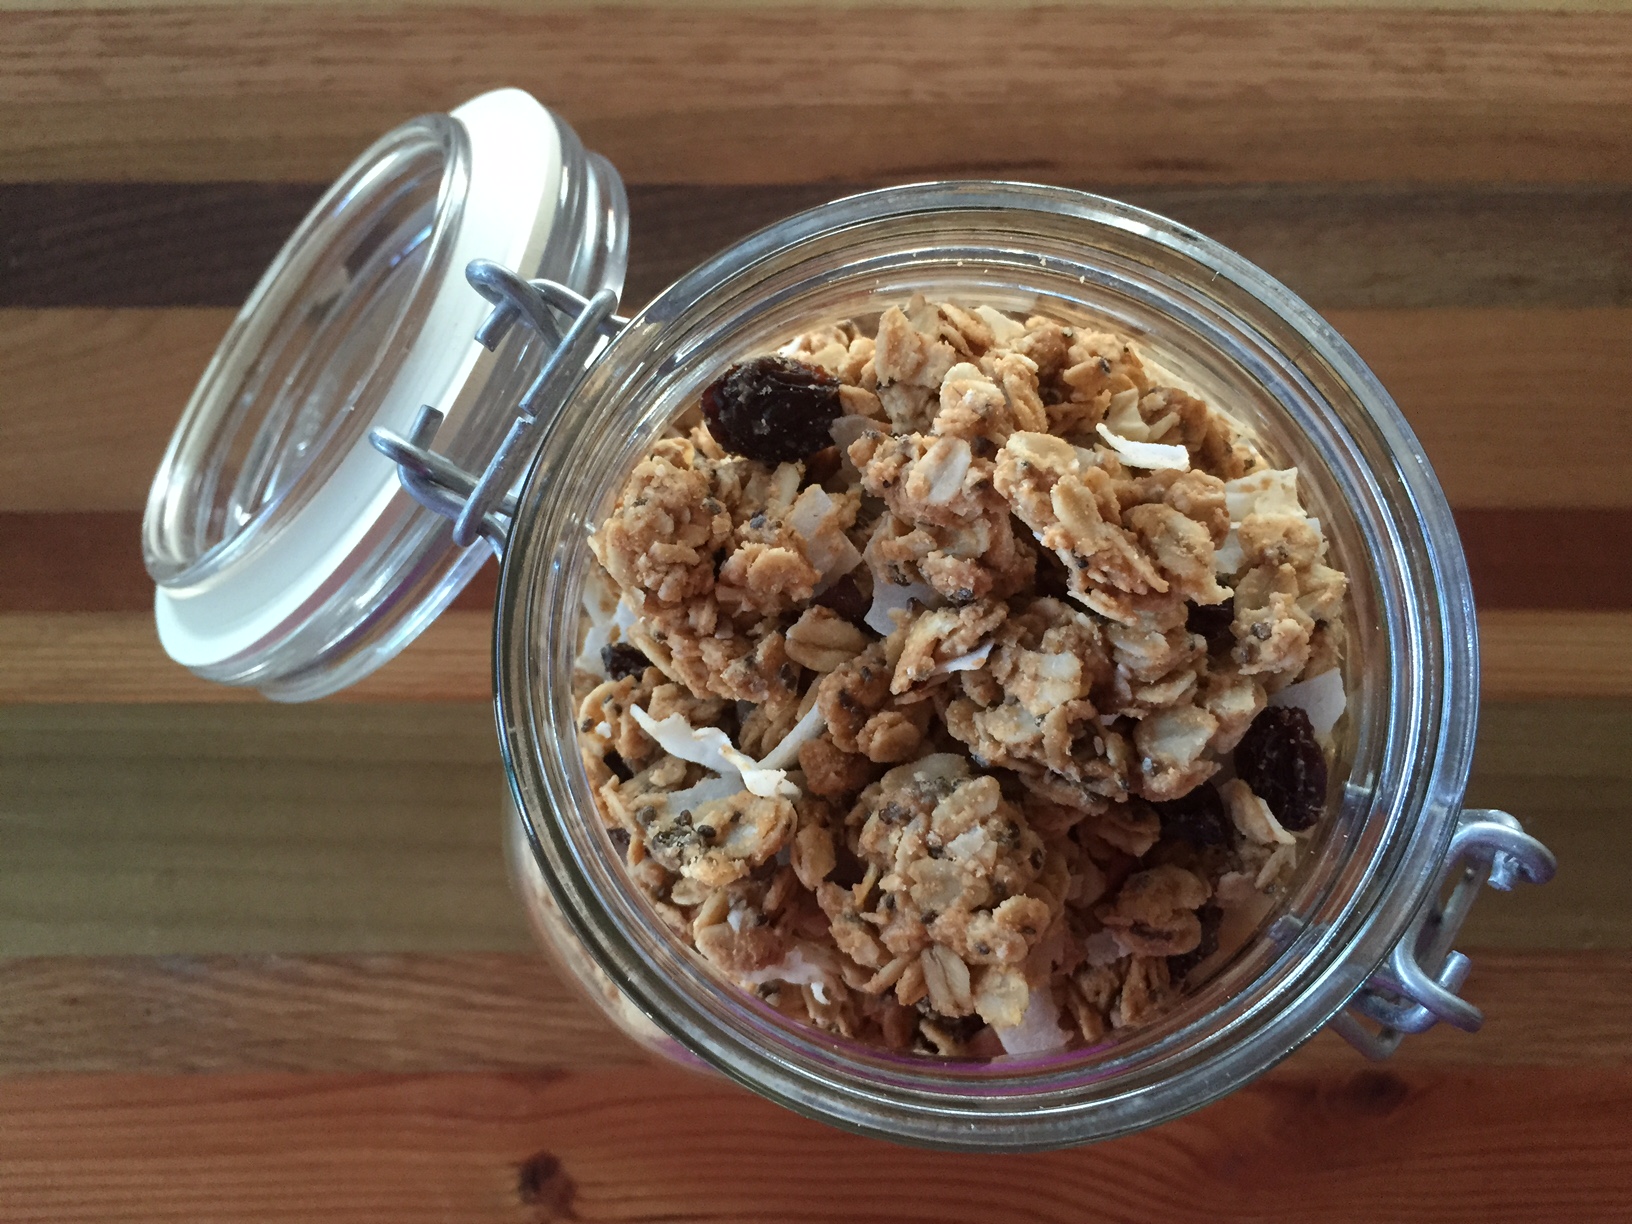
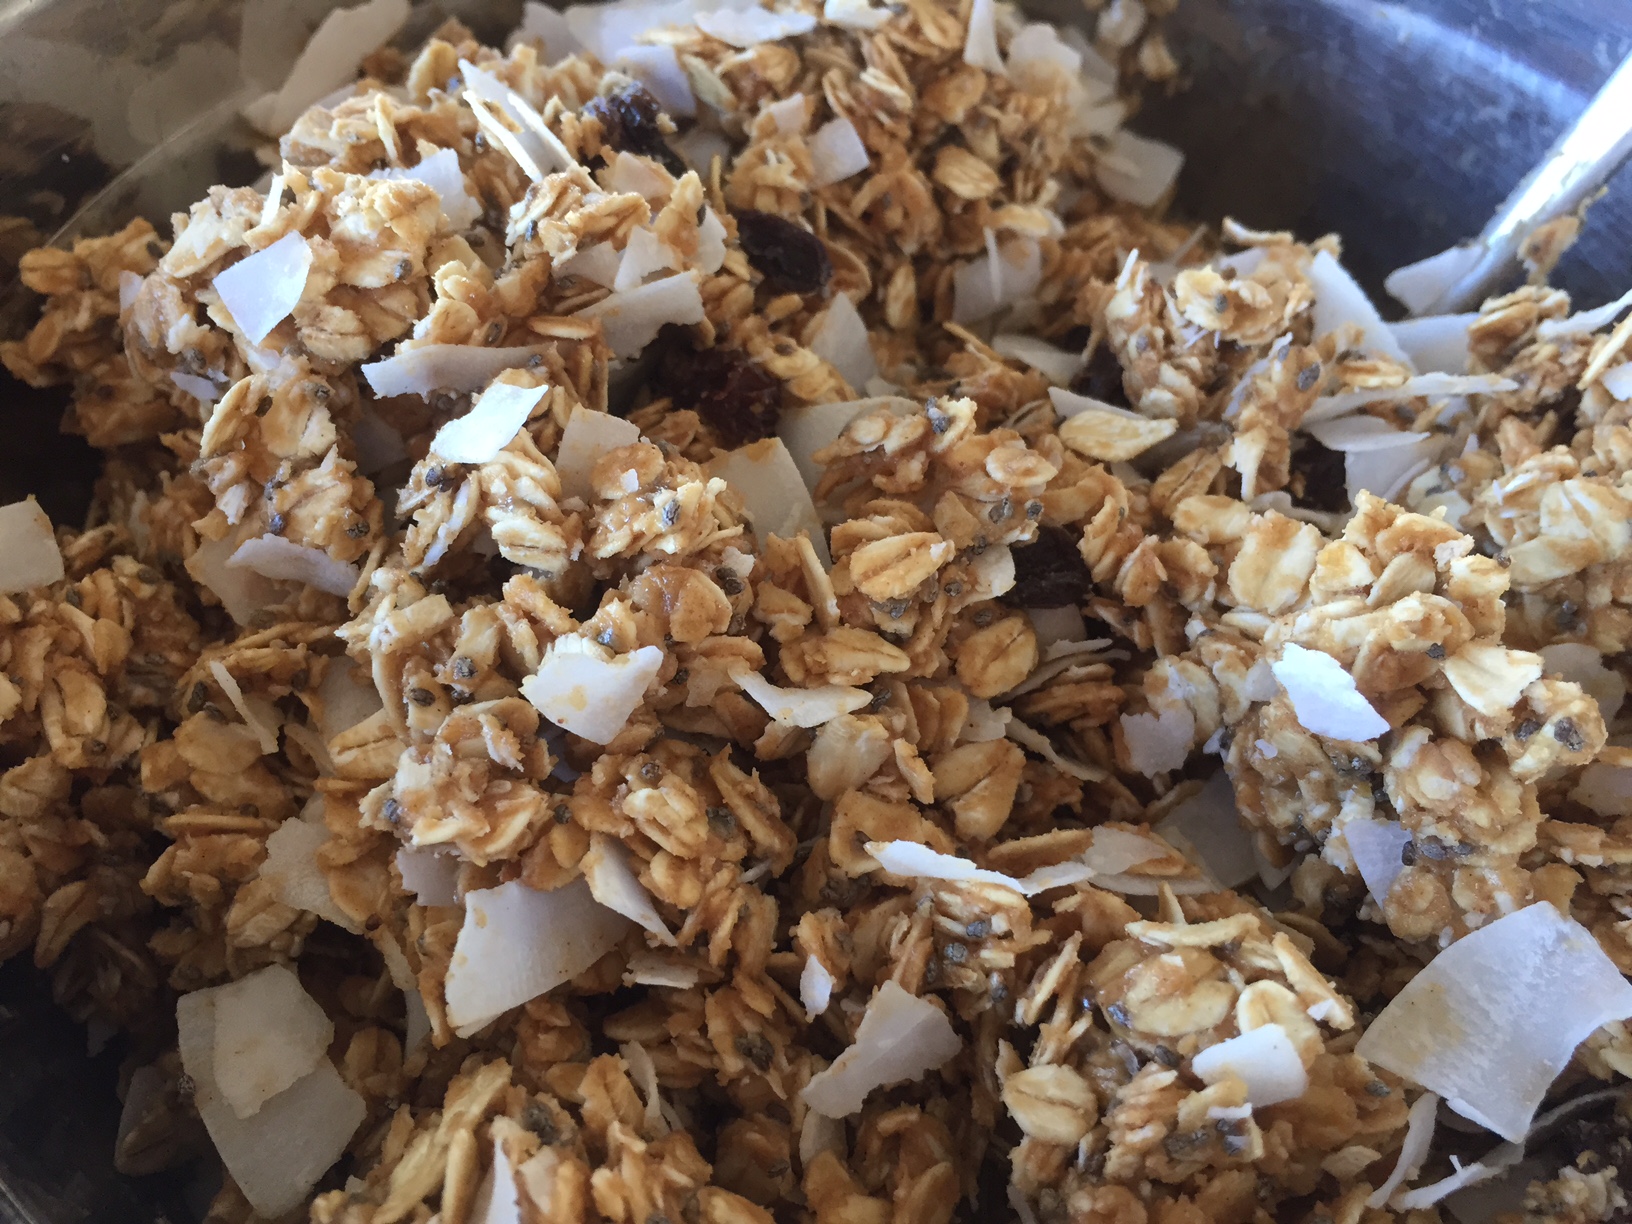
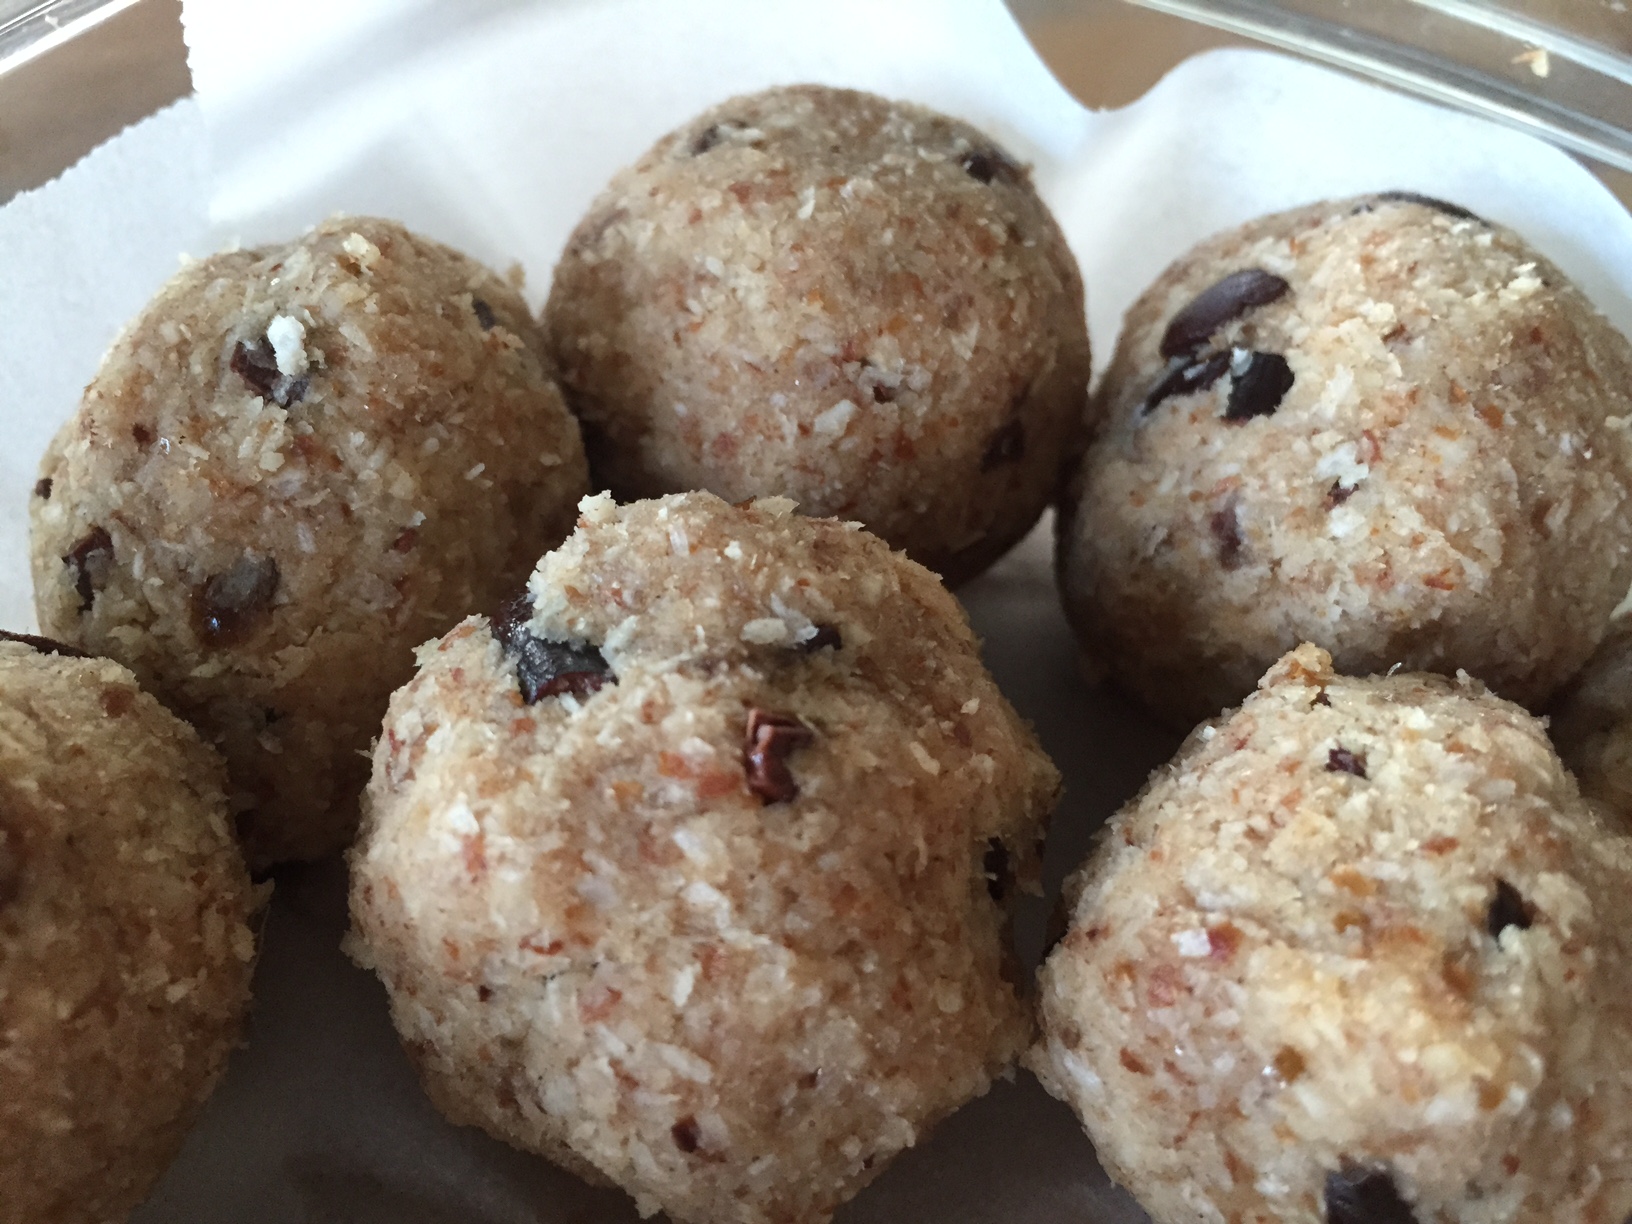
But… I do have one confession to make: Snacks, which I credit for helping me get through the past 30 days. Although they’re technically discouraged — you’re supposed to aim for three large meals instead — I took a hall pass because I’ve got a pretty active workout schedule.
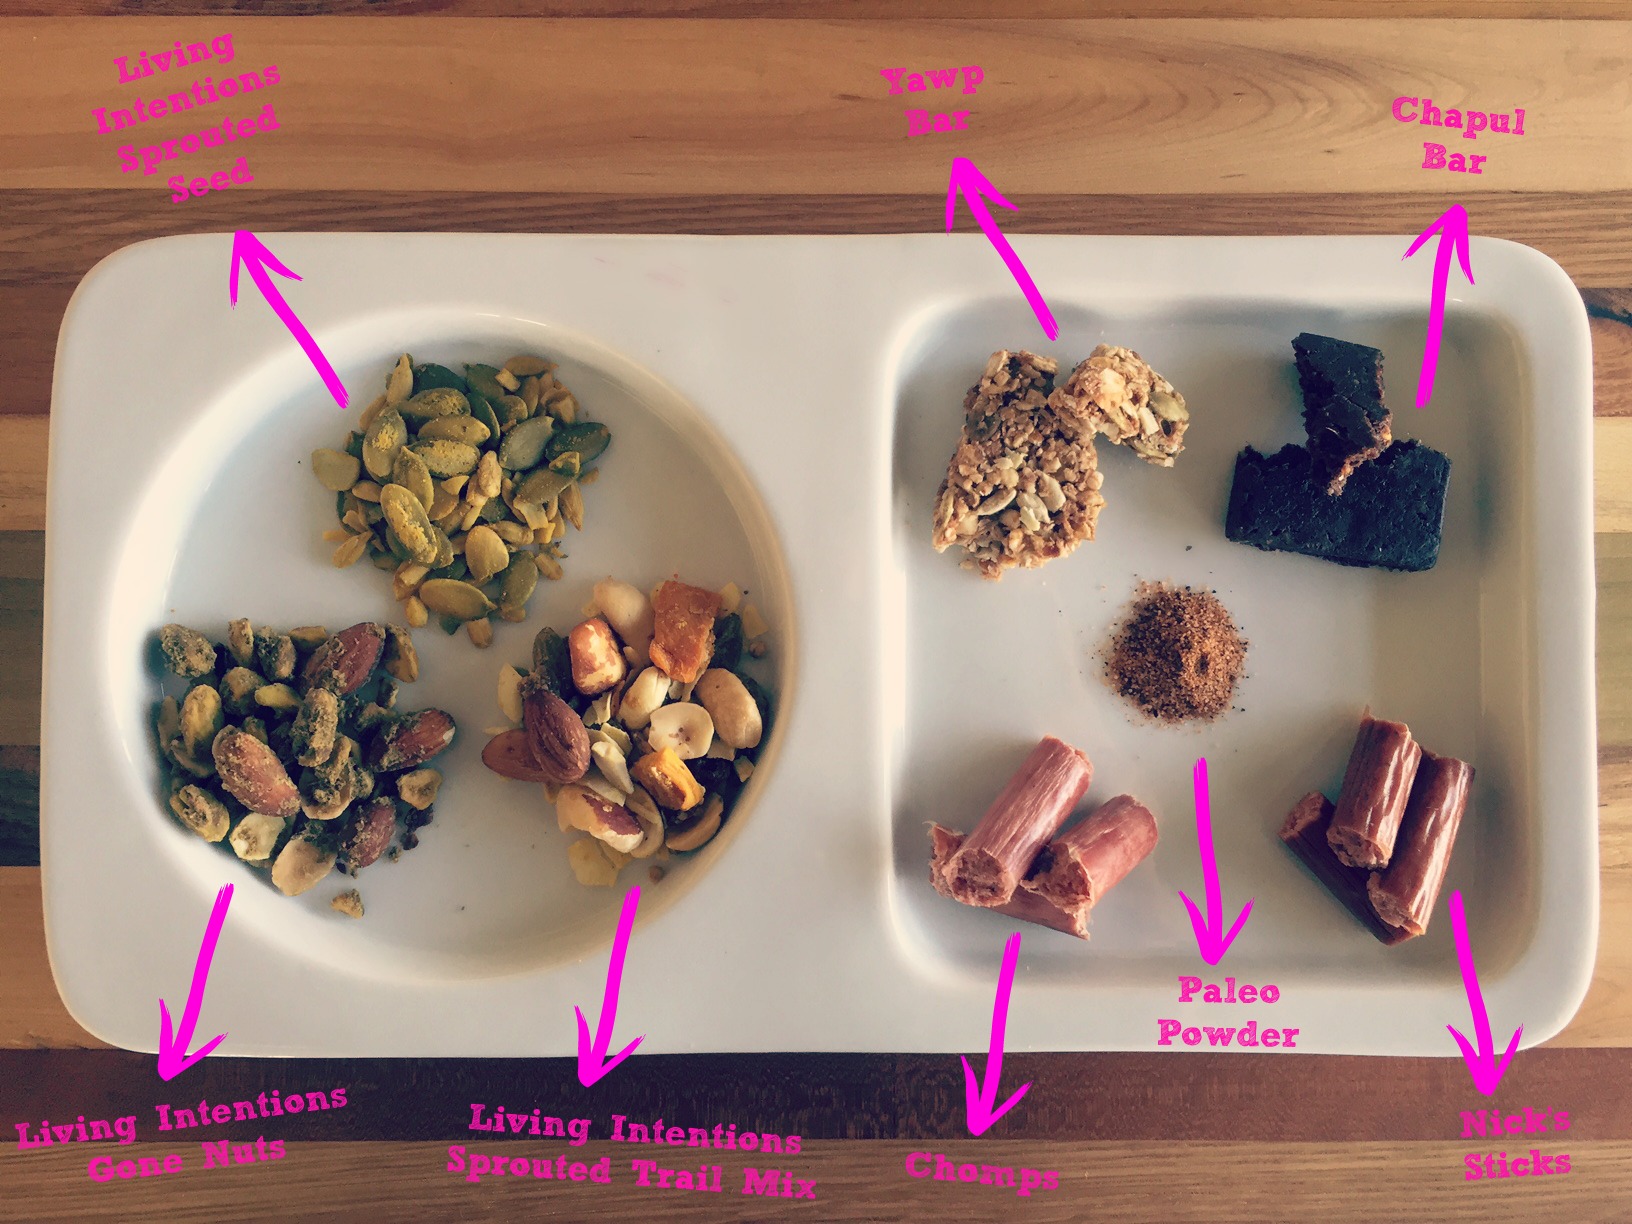
Here are a few of my favorite W30-approved game-changers: So good, you’d never guess they’re actually good for you!

Meat snacks: Both Chomps Snack Sticks and Nick’s Sticks deliver all the goodness and none of the garbage. Made from grass-fed beef (Nick’s also has free-range turkey), which is higher in omega-3’s, all the sticks are gluten-, soy-, hormone- and antibiotic-free, but the best part is that they’re shelf-stable (great for on-the-go!) without any synthetic preservatives. I love stashing them in my purse for emergency mini-meals.
Nuts, seeds & bars: Aside from an admirable brand mantra, Living Intentions makes some downright addictive sprouted nut, seed and trail mix flavor combinations; I’m partial to the Rosemary Garlic Gone Nuts, in particular. Chapul Bars also made me a cricket convert; their chocolate-coffee-cayenne Aztec Bar (packed with protein, iron and vitamin B12) hits the spot — seriously, almost better than a brownie.
For workouts, my new pre-sweat-session obsession pick-me-up are Yawp! Bars, which are a delicious grain-free alternative to granola bars because they’re dehydrated ’til crispy (another confession: I already ordered a second box because I can’t gt enough of ’em). And, finally, Barnana — literally, just dehydrated bananas — is an unbelievably good mid-workout fuel with its mild flavor and candy-like chewiness.
Sauces & flavorings: My biggest tip for tackling Whole30? Flavor up that food! Paleo Powder takes seasoning back to basics with an all-purpose rub that’s free of MSG, gluten and sugar; it gives a great kick to meat, veggies and eggs. Our go-to weeknight dinner was chicken breasts, baked with this and a smidge of white wine.
And then there’s Tessemae’s, my absolute favorite find (thanks to Erica for the heads up!) — not just for the spunky nature of the company, but also because they keep it real (real yummy) when it comes to all-natural condiments and dressings. The Lemon Garlic dressing was a life-saver for salads. Another tip? Try their Lemon Chesapeake dressing over salmon and braised greens!
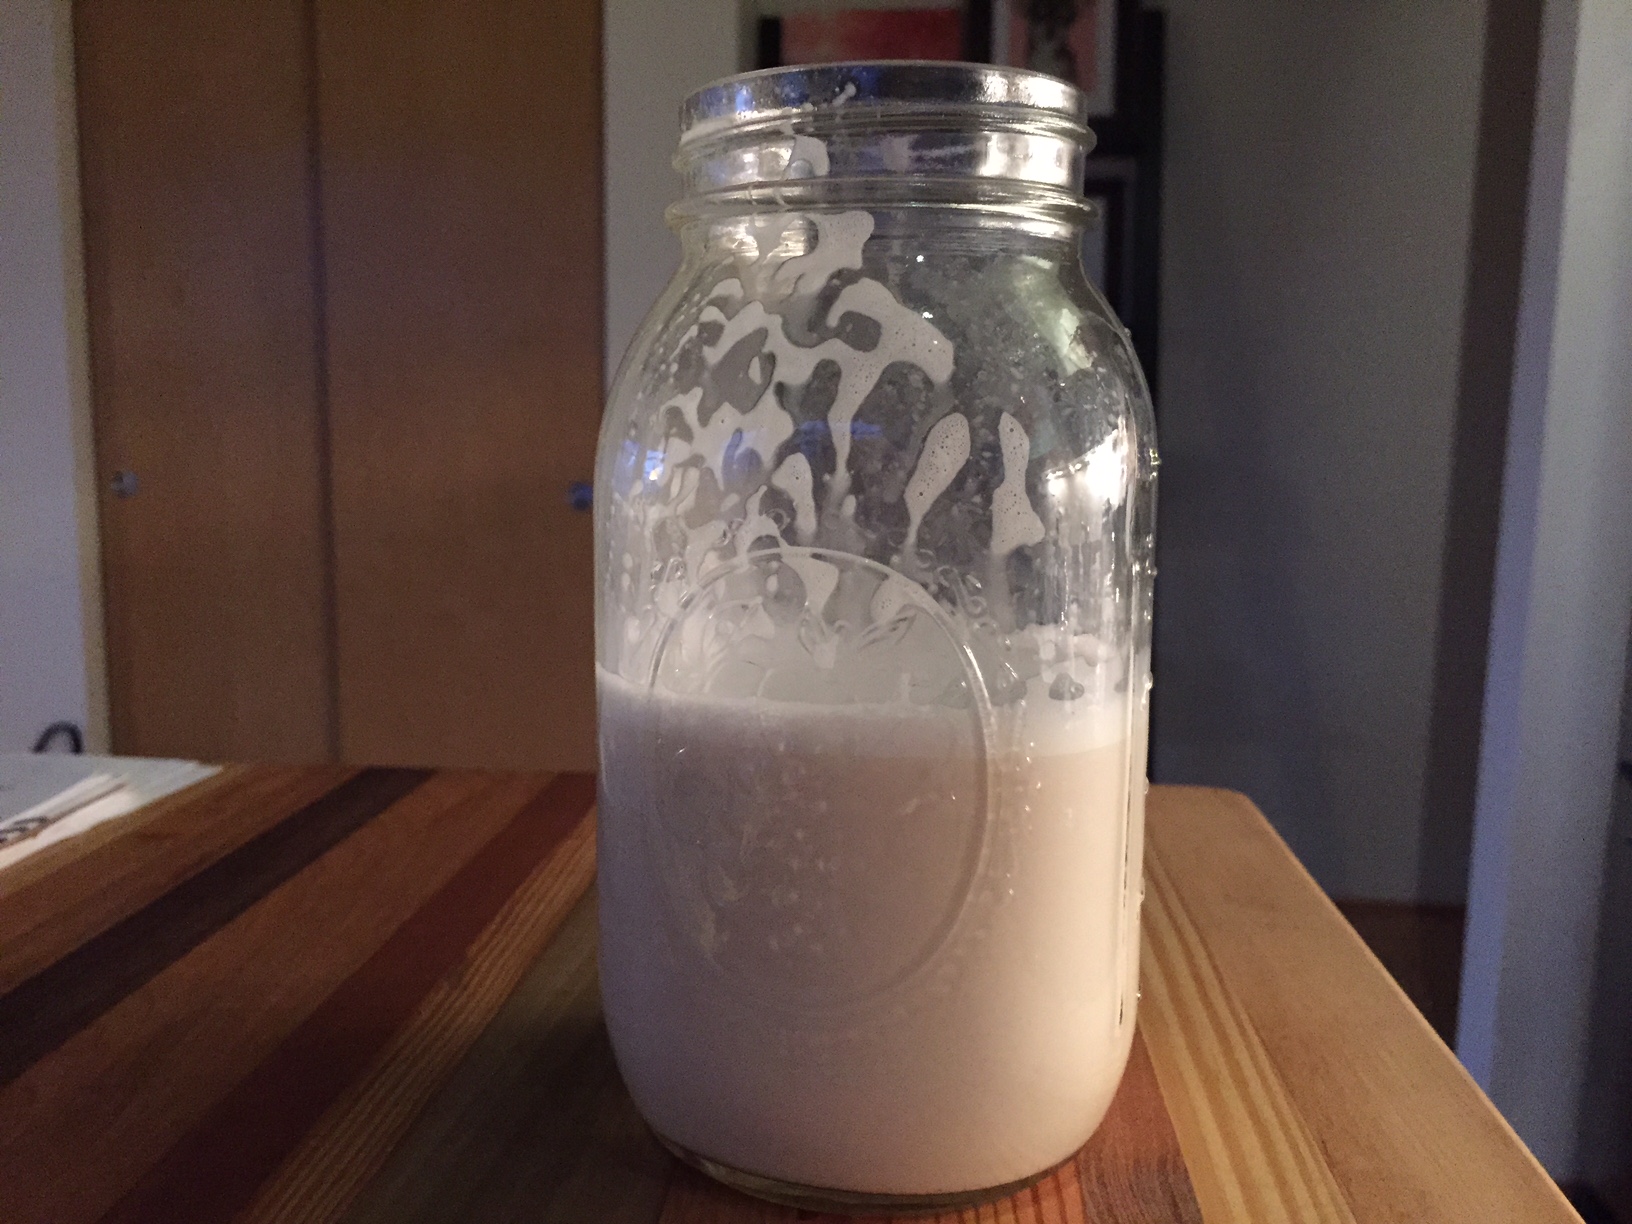
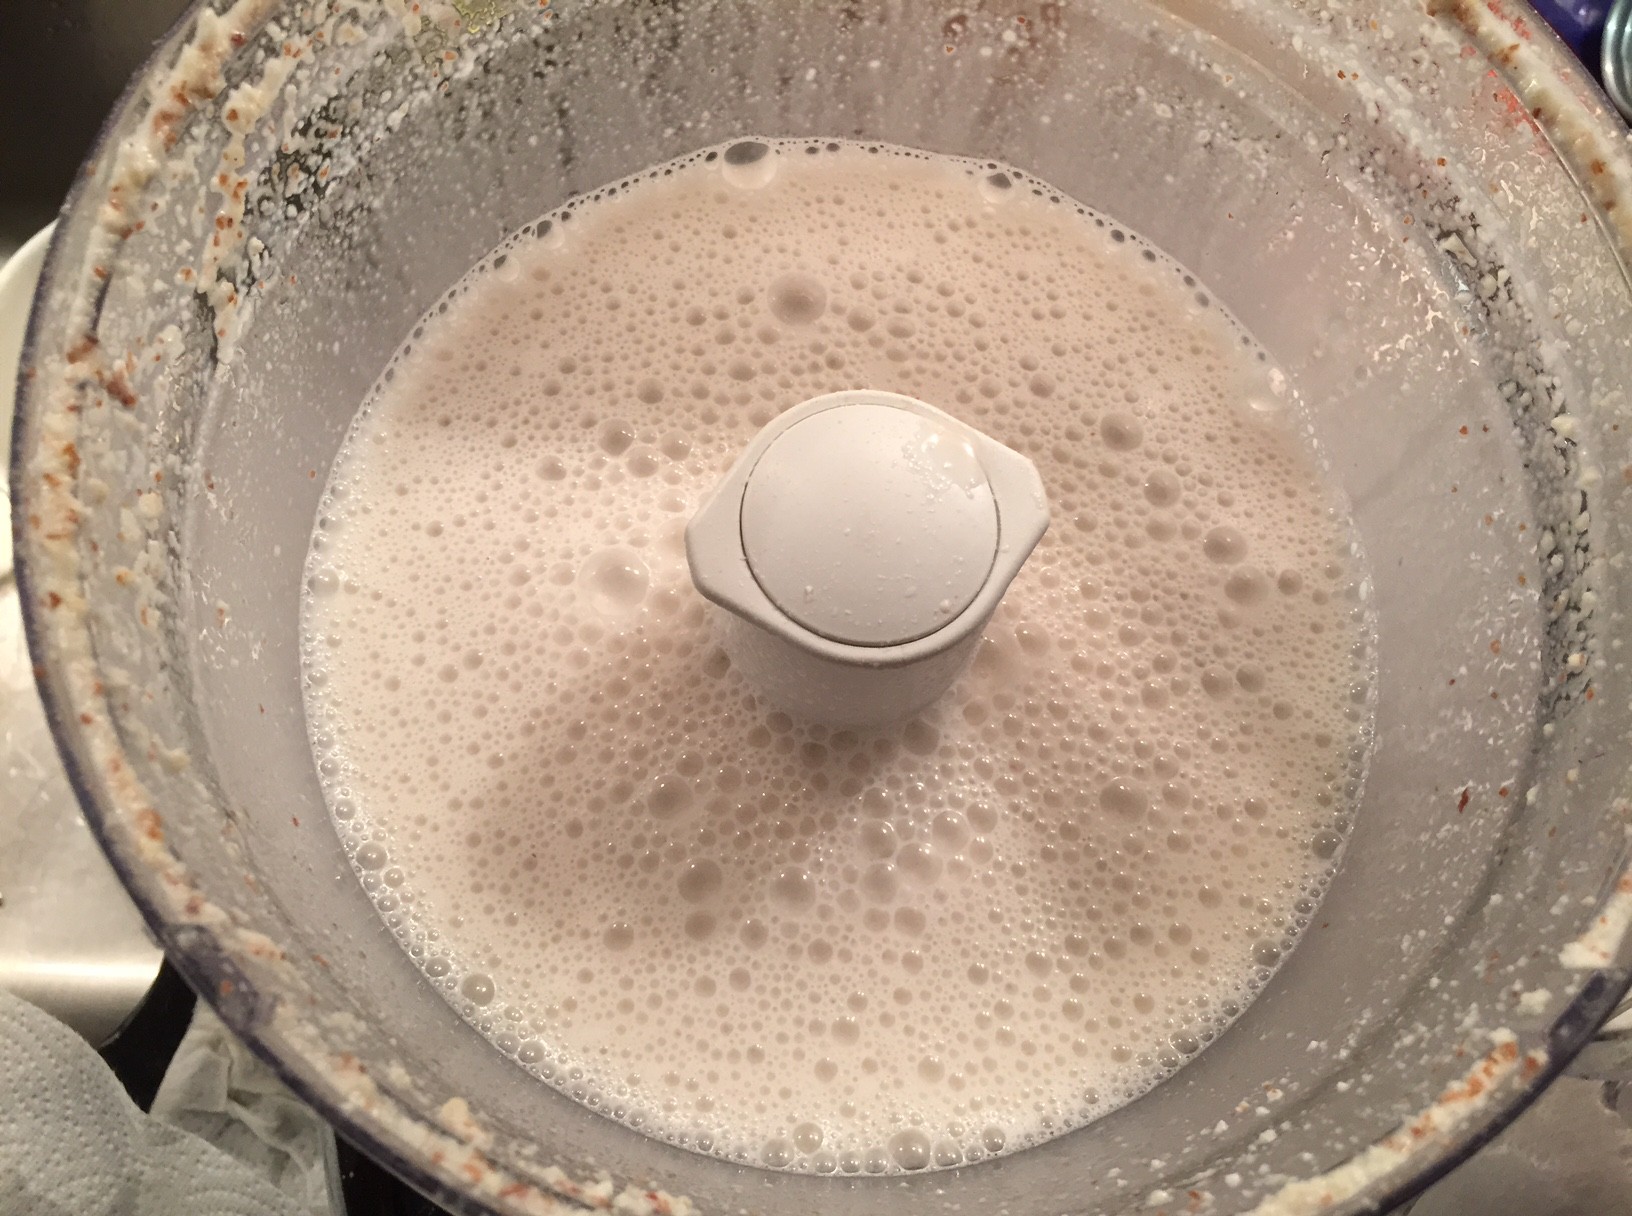
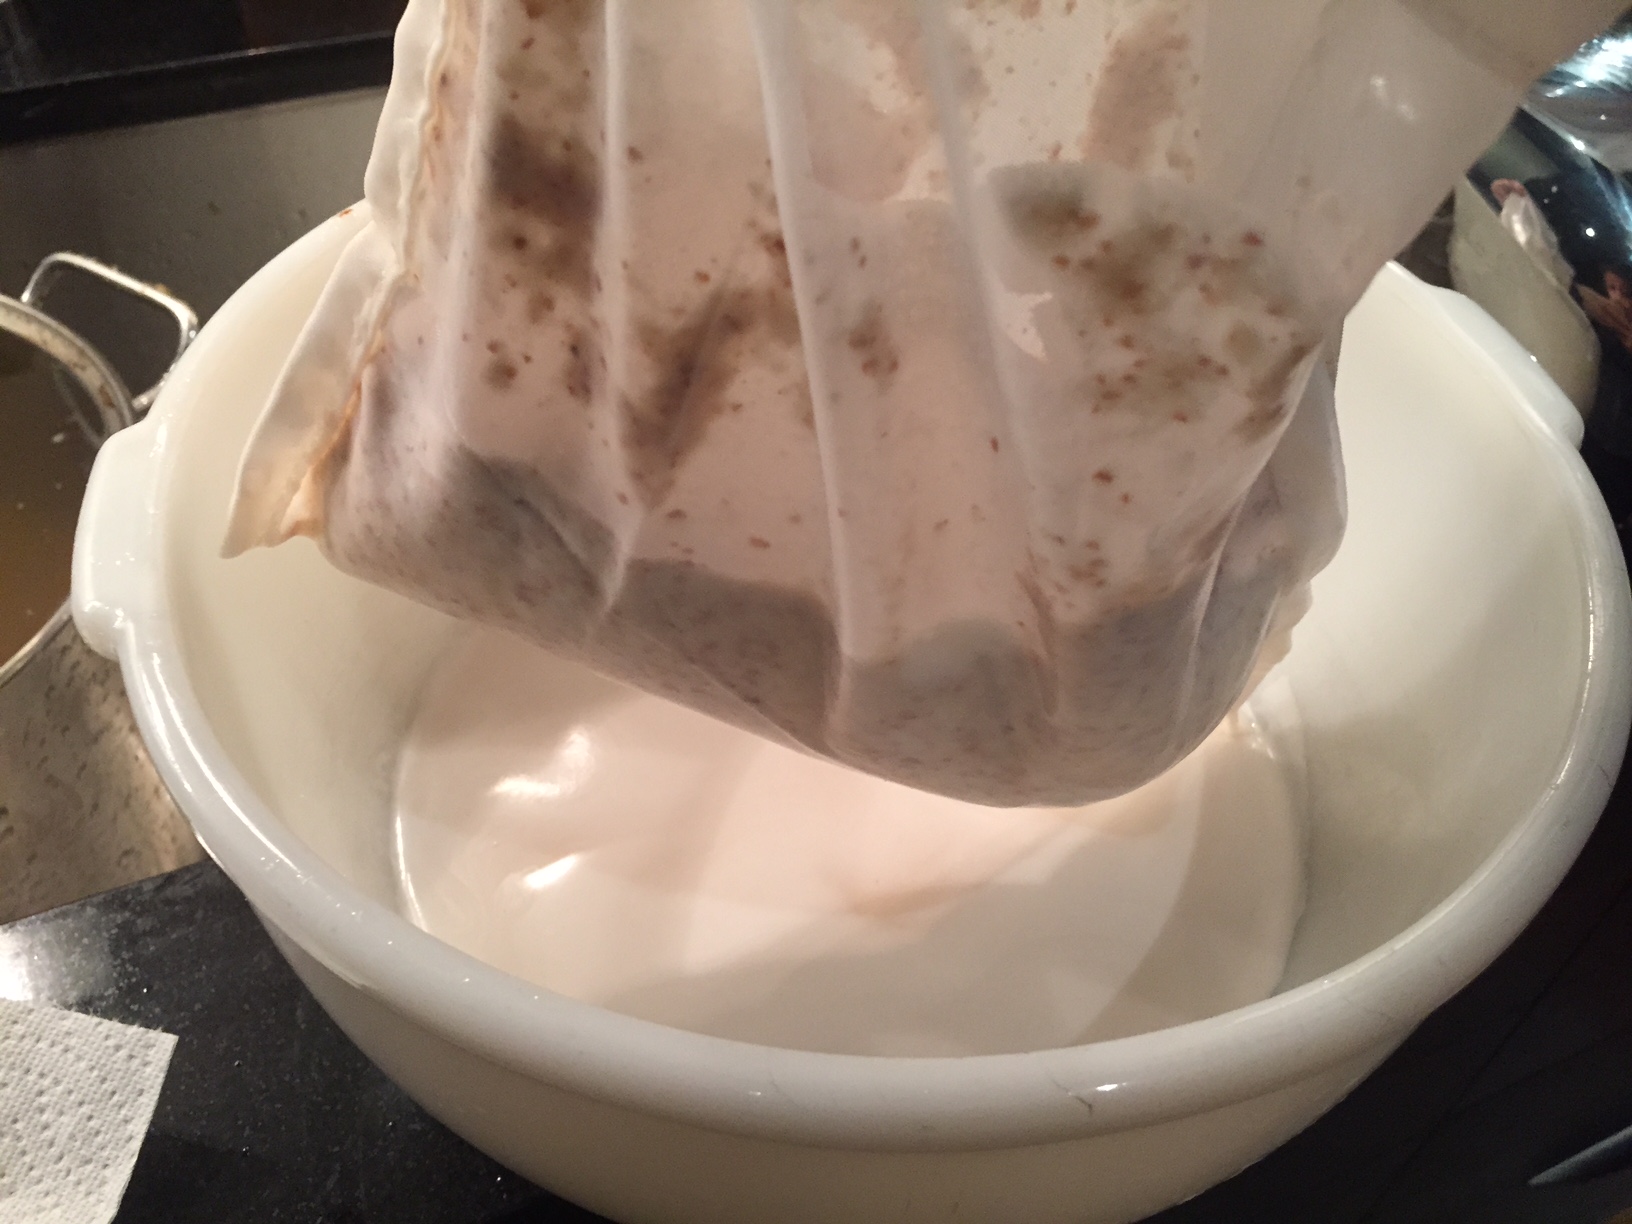
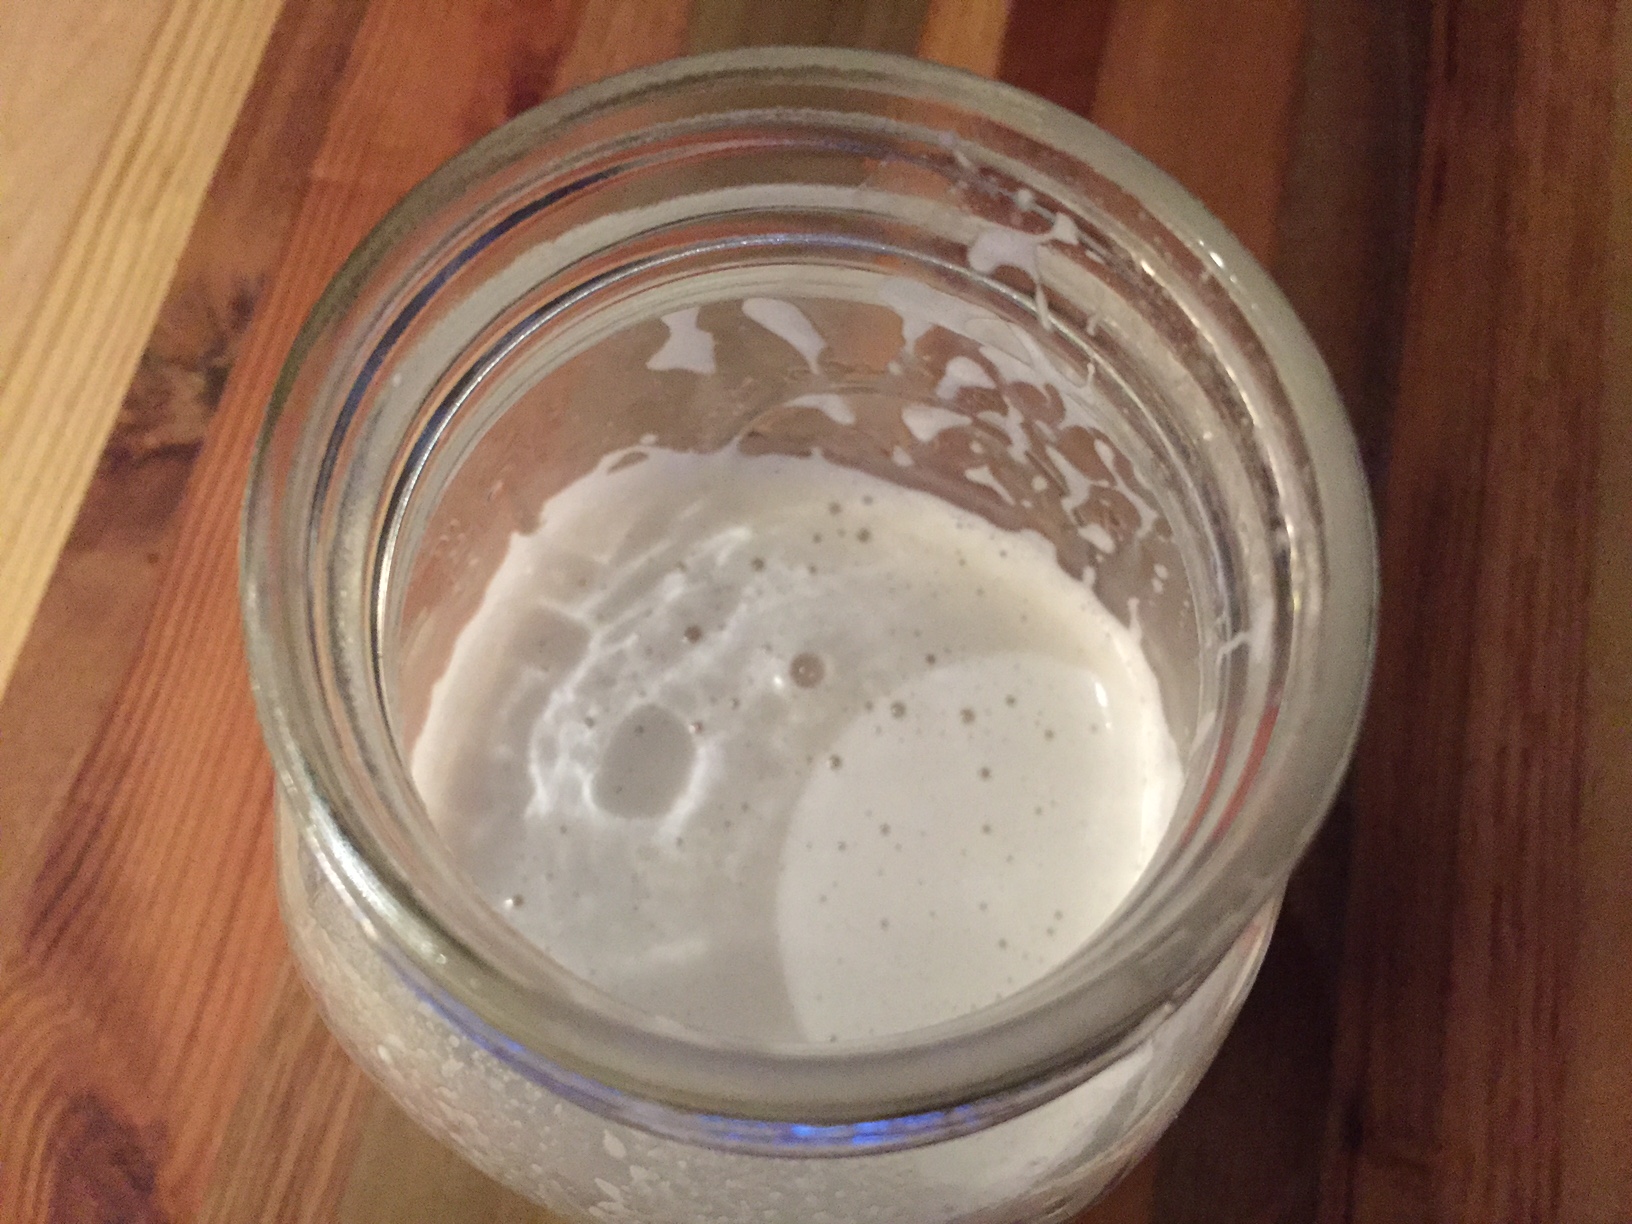
Hydration: I read that drinking rooibos tea could help combat sweet cravings due to its deep, earthy vanilla taste, so I stocked up on Numi’s version. It’s caffeine-free and full of antioxidants, so it’s also become my afternoon drink of choice with a splash of home-made almond milk.
And as important as it is to replenish fluid and electrolytes when you’re working out, you’d be hard-pressed to find many without added sugar, carbs or artificial flavors and colors. That’s why I’ve also been using elete’s Electrolyte Add-in, a pure, flavorless liquid electrolyte concentrate that contains magnesium, potassium, sodium and chloride in order to help facilitate proper muscle and mental function. It’s gotten me through countless long runs and rides these past few weeks!

As for my final take on the program, it’s something I’d highly recommend. Think of it this way — it’s a month with some occasional discomfort (mostly mental) in exchange for something that has the potential to impact you for the rest of your life in a positive way: A new relationship with food.
Removing the junk out of your diet helps chip away at some of the emotional baggage regarding what we eat and why, as well. Your taste buds will reset, you’ll regain control over cravings, you’ll feel healthier overall…but most of all, you’ll learn to approach life after Whole30 with a whole new outlook.
Of course, I’d be remiss if I didn’t mention that Ben and I had a running list of post-Whole30 restaurants to visit and items to eat! We fully intend to indulge in them, too — although this time it’ll not only be deliberate, but also in moderation so we can truly enjoy it.
Have you tried Whole30? What’s your take?
Also – it’s your lucky day! Yawp was kind enough to offer a mixed case (12 bars, four of each flavor: Naked, Cafe Mocha and Coconut Chai) up for grabs. Enter here via a Rafflecopter giveaway!