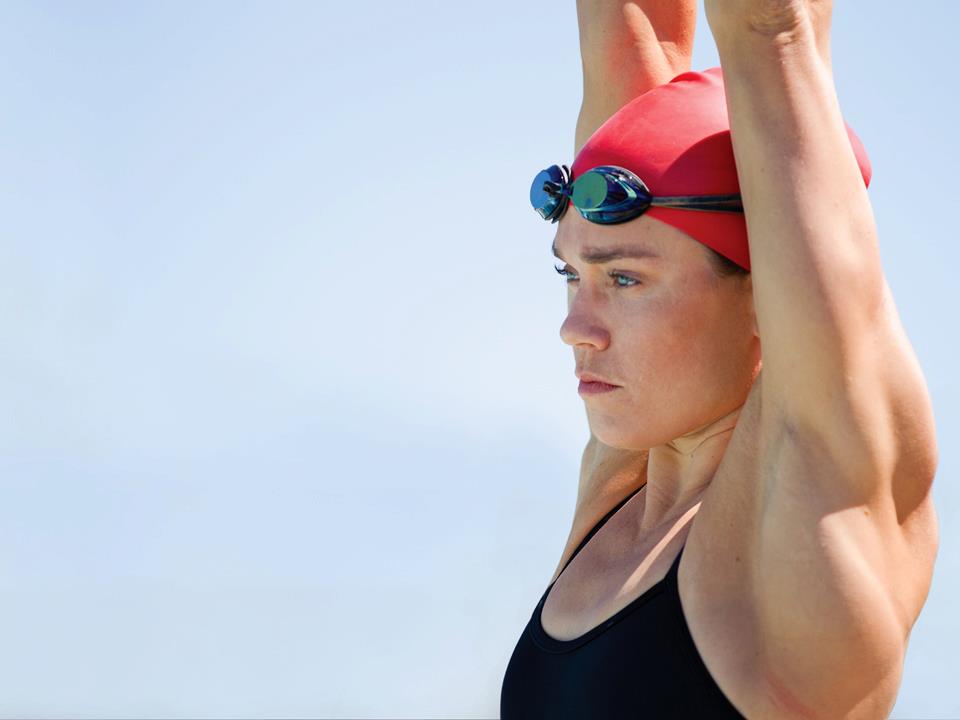
In a sport measured in mere fractions of a second, 12-time Olympic medalist for USA Swimming Natalie Coughlin knows a little something about how to be efficient with her time.
And that’s precisely why she teamed up with TRX Suspension Training after the 2008 Olympic Games, making it a training staple for maintaining her strength and stability despite a hectic schedule and frequent travels.
About a year and a half ago, I had the pleasure of sitting down with her after she led contest winners on a “Train with Natalie” TRX Olympic-level workout, so I thought it’d be fun to revisit some of the highlights from our conversation that day.
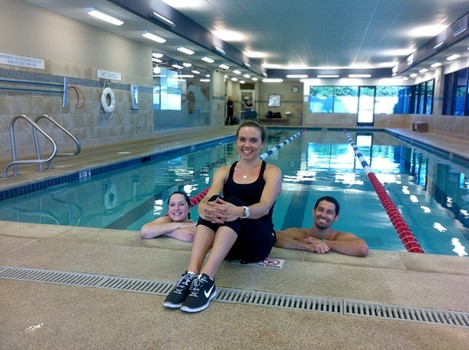
Photo courtesy of TRX
KineticFix: Can you share a training tip that’ll help us make workouts more effective?
Natalie Coughlin: An overall take-home would be to work on form. With any exercise that you do, it’s easy for us all to get competitive with one another – you look to the person on your left and you’re like, “Oh, they’re doing eight, I want to do 10.”
But just step outside of that – be competitive with yourself, and go for perfect form. That way, you’re getting the true purpose of the workout, and you’ll get a lot more of the benefit, as well.
KF: You’re 30+ now and in amazing shape; how has your workout routine evolved over the years to help you maintain your level of fitness?
NC: Evolving is important in training. I train at UC Berkeley, so I train with 18-year olds, and what’s appropriate for them at that age is not necessarily appropriate for me now.
Essentially, I’m working out to have the best performance in a race as possible. Something I learned over [the years] was that I was a little overzealous in training – I think I swam a little too much – and my [previous] performances in the Olympic Trials and the Olympics suffered because of it.
Recovery and rest is becoming much more important as I get older, but on the flip side there are some benefits to getting older: I’m much stronger, and I maintain that strength better than before.
But as you age you tend to break down faster, so it’s really important for me to keep my strength and ease back when I swim, focusing more on race relevance.
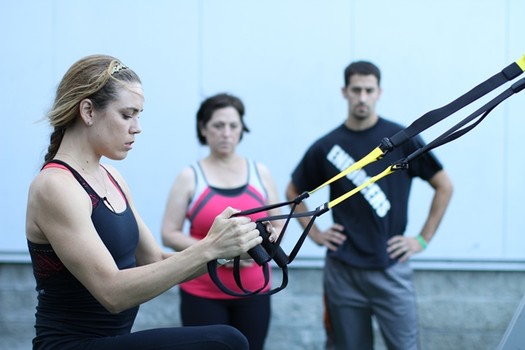
Photo courtesy of TRX
KF: When you’re not training, what does your workout look like?
NC: It always changes when I’m not in training mode. I’ve been exploring yoga, running, doing my TRX. Over the years, I’ve tried all sorts of different things, though – I’ve done kickboxing classes, Dancing with The Stars after the last Olympics, etc.
I’m always active in some way, shape or form, but that could range from a hike with my dogs to running 10 miles; it changes every day based on my mood. But I am someone who likes to be active and likes to maintain an active lifestyle – mainly because I like to eat!
KF: Do you have any advice you can share for prioritizing and incorporating exercise and healthy eating habits into a busy lifestyle?
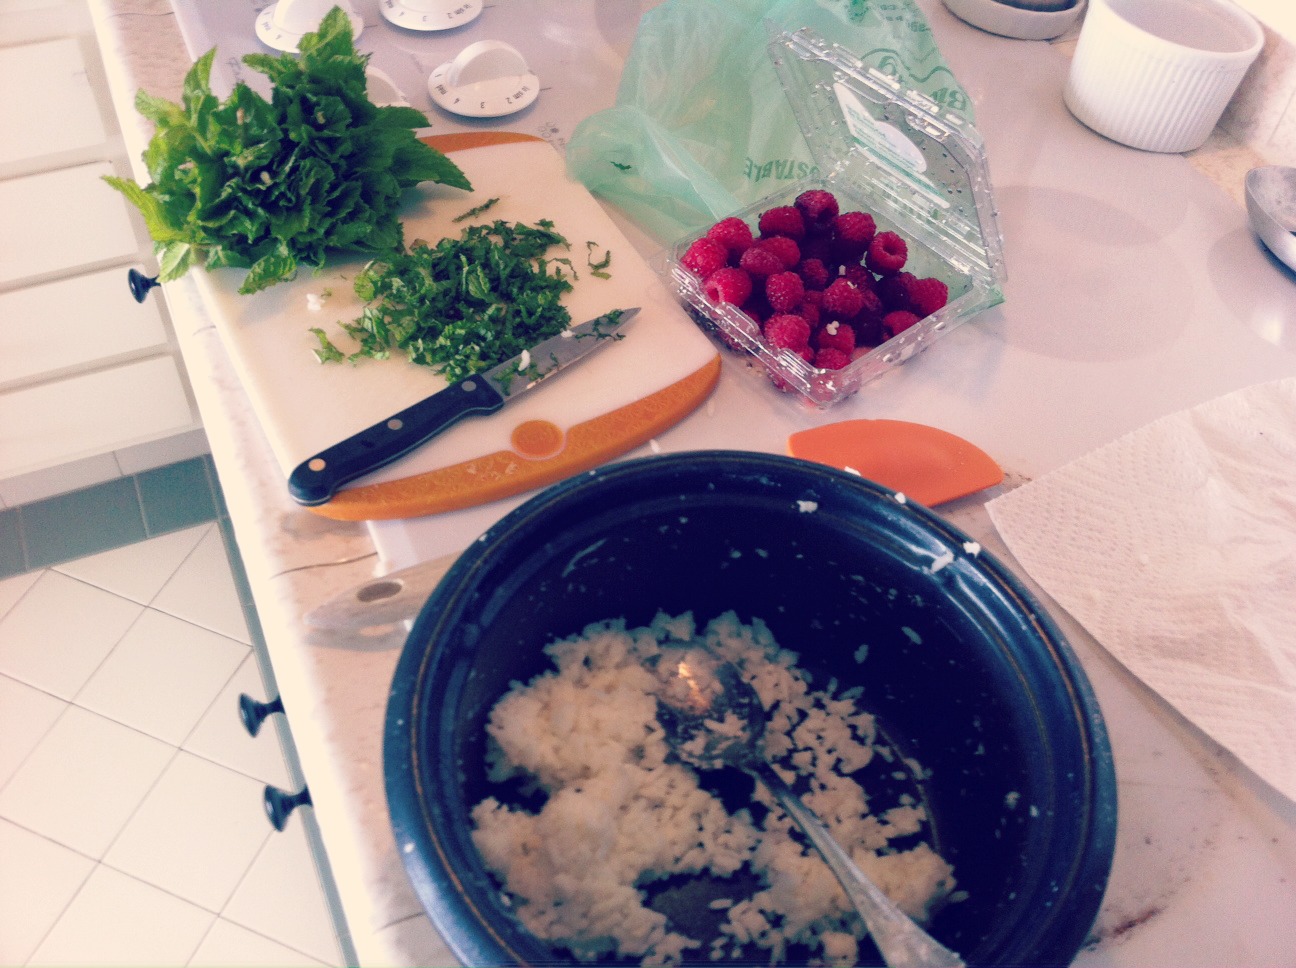
NC: It’s really important to prioritize your fitness routine, as well as your diet, because we are all busy, and it’s easy to make poor choices when you’re on the go.
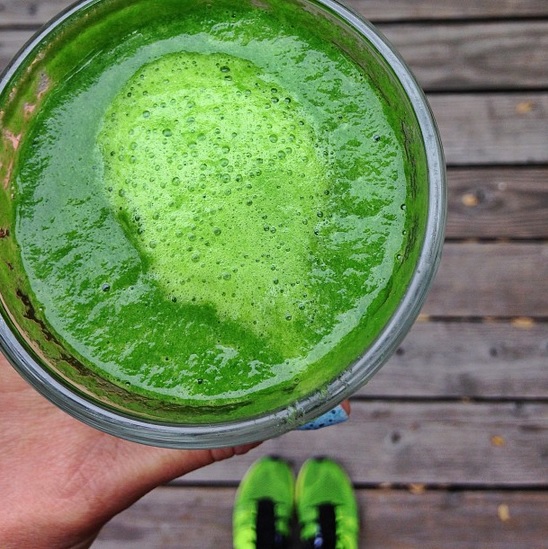
You just need to think ahead; for me, it’s making my green smoothie. I’ll make a big batch and put it in Mason jars and keep it in the fridge. In the morning I can just grab one and put it in my bag with an ice pack, so it’s waiting for me and it’s packed with nutrition.
I’ll also look at my schedule, which changes on a day-to-day basis, and carve out at least a half an hour for something active. Like what I did with [contest winners] Renae and Chad – that was an intense workout, but it was only 30 minutes. We can all find 30 minutes in our day to do that.

Photo courtesy of Natalie Coughlin (Instagram)
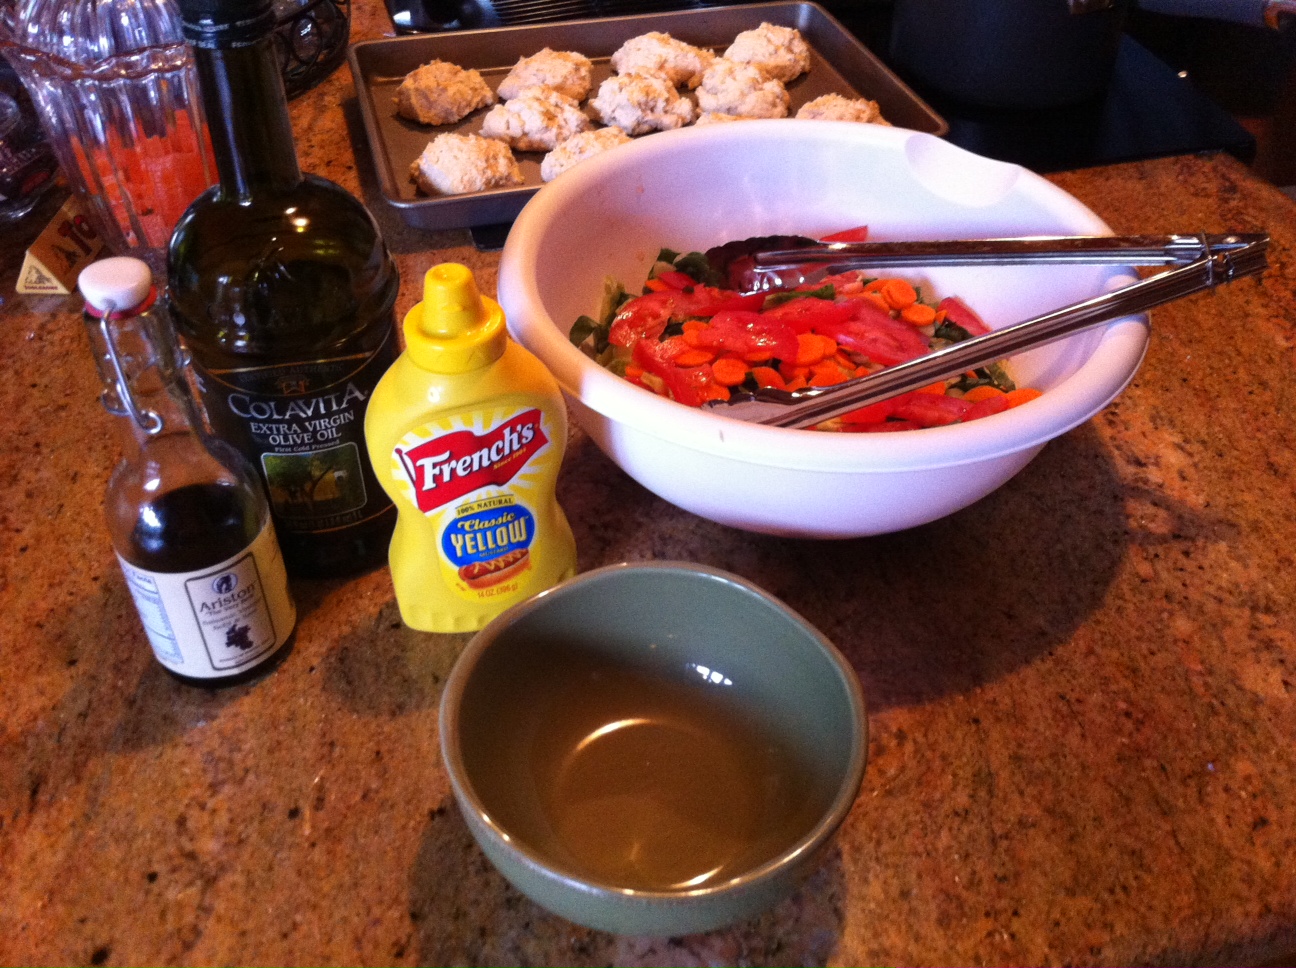
KF: You’re known for your backyard garden – can you share some kale recipes?
NC: I grow so much kale it’s ridiculous, mainly because a lot of my yard is shaded, but also because it’s a superfood.
I like to braise it in chicken broth and add hot chili flakes and garlic, which adds so much flavor. I also have it in my green smoothies every day. I’ll put kale, romaine, spinach and celery in with a little bit of fruit to sweeten it up.
I find that if you don’t like that bitter taste, pineapple does a really good job of balancing it with acidity and sweetness. So just get some frozen pineapple and throw it in with coconut water, and it should taste a lot better. But as your palate changes, you could do less fruit and more greens.
KF: With your interest in cooking and gardening, plus experience in fashion and entertainment, do you have any specific post-swim career aspirations?
NC: I have been blessed with wonderful sponsors, such as TRX and O’Neill (Coughlin helped design their O’Neill 365 collection), and I have had a lot of really cool opportunities because of that.
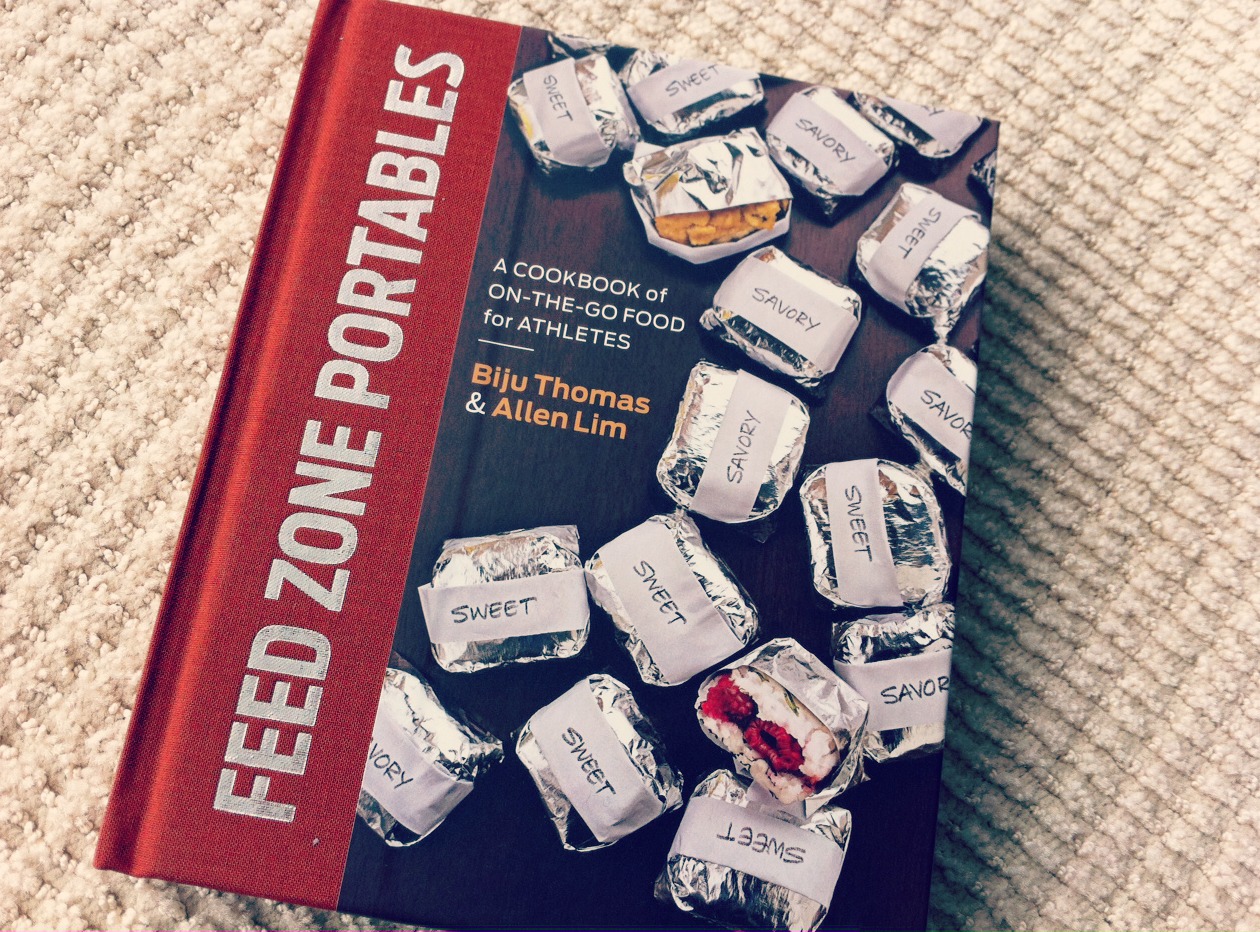
I’m still trying to figure out what my post-swimming career is going to look like, but I’m going to continue to compete for a little longer. I definitely want to write a cookbook at some point, so that’s something in the back of my mind, but right now it’s just about [staying] in shape.
KF: Do you have any lucky charms or superstitions, when it comes to competitions?
NC: I don’t have any superstitions, but I do find myself counting all the time, so when I’m in the pool, I’ll always do eight kicks off of the wall.
And another part of my routine is that I always do a running dive into the pool. It’s just something I’ve done for the past 10 years at Cal. I’m always in the end lane, and I hate getting in the water more than anything, so I just wait for everyone else to get in the water first, and then I run alongside the pool and dive in.

Photo courtesy of TRX
KF: I have to ask – what’s it really feel like to win an Olympic medal?
NC: It’s indescribable. There’s so much pressure going in that there’s a certain sense of relief, in addition to the excitement.
It’s really an emotion that there are no words for, though, and it’s something I’ll never forget.
KF: Switching gears…what are your guilty pleasures?
NC: This definitely does not go along the lines of a healthy diet, but my ultimate guilty pleasure is to be at a Raiders game with a bratwurst with relish and onions and an ice-cold beer. If I do make it out to a baseball game or a football game, that’s my treat.
KF: Any final fitness advice you can share with us?
NC: I believe that it’s important to stay active. You don’t necessarily have to go to the gym or run five miles a day.
Just fit in ways to be active – if you’re at a desk all day, get up and move around; walk around when you’re on the phone, and take the stairs when you can. Little things like that make a big difference.
And if you have 20-30 minutes in your day to get a workout in, try to superset exercises where you work on one muscle group and immediately go into next. Your heart rate will skyrocket, but you’re allowing separate muscle groups to rest in between, so you’re getting the most bang for your buck in a short amount of time.
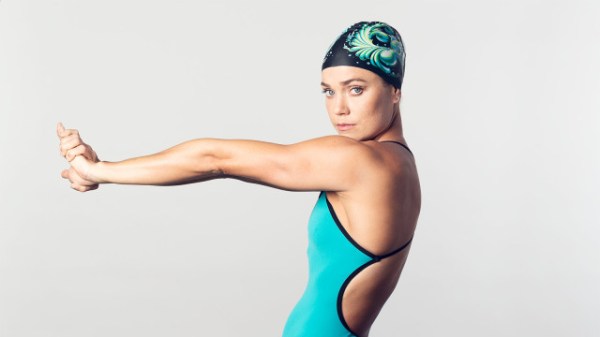
Photo courtesy of NatalieCoughlin.com
Special thanks to Natalie for taking the time to chat!
Follow along on her adventures — athletic and otherwise — via her website. And if you think you can keep up, give her TRX Challenge a shot.