Recipe: Paleo-friendly banana bread

photo 3 (1)

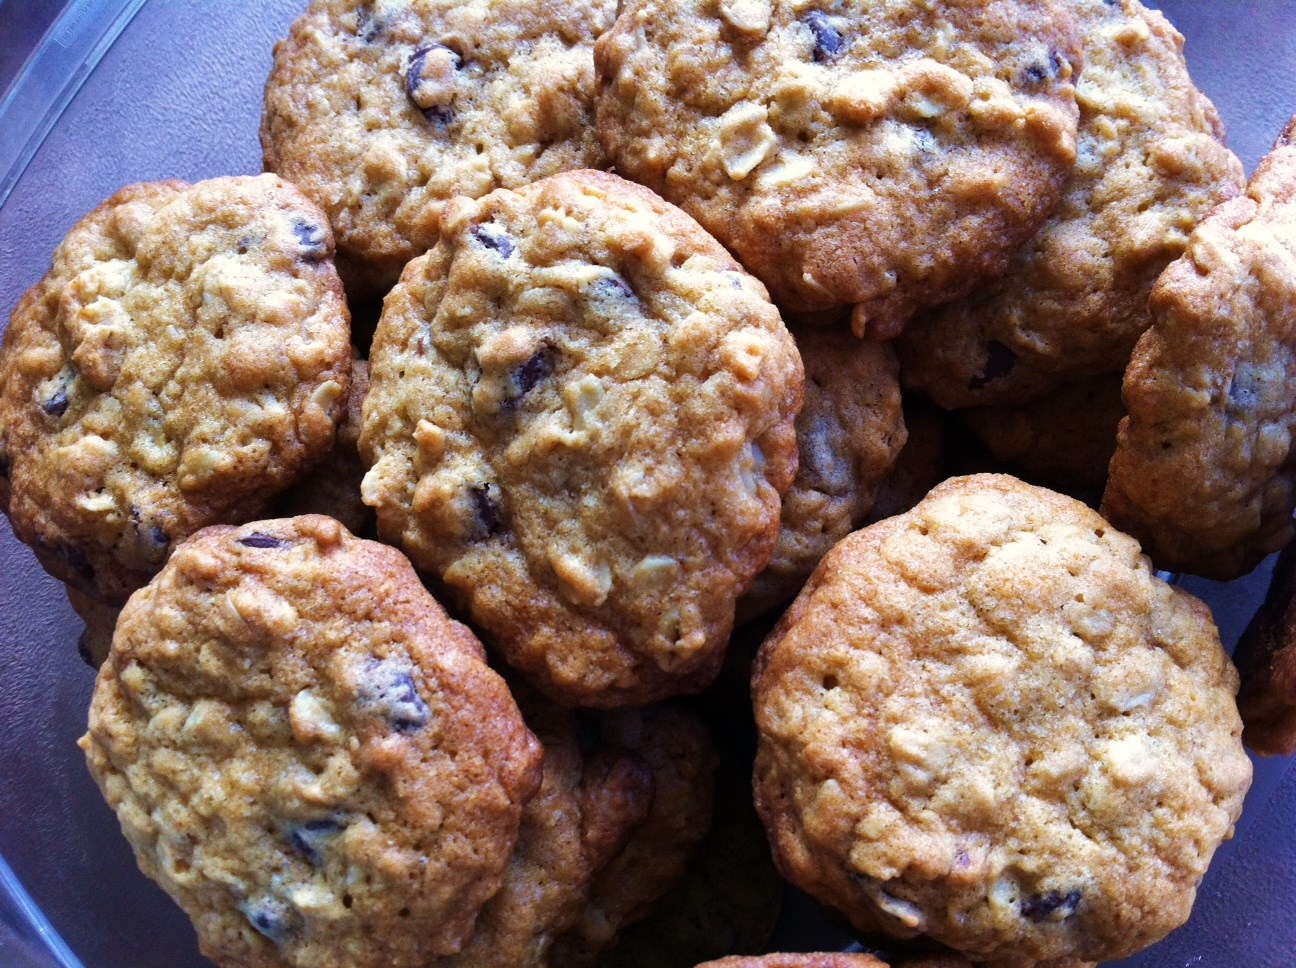
Eating healthy can be tough when one of your favorite fall activities is curling with a hot pumpkin-spiced latte while something yummy bakes in the oven. But after watching the eye-opening film Fed Up (if you haven’t seen it yet, it’s a must-watch), we’re making a concerted effort to cut down on sugar, forgo processed foods and make smarter tweaks to our favorite recipes.

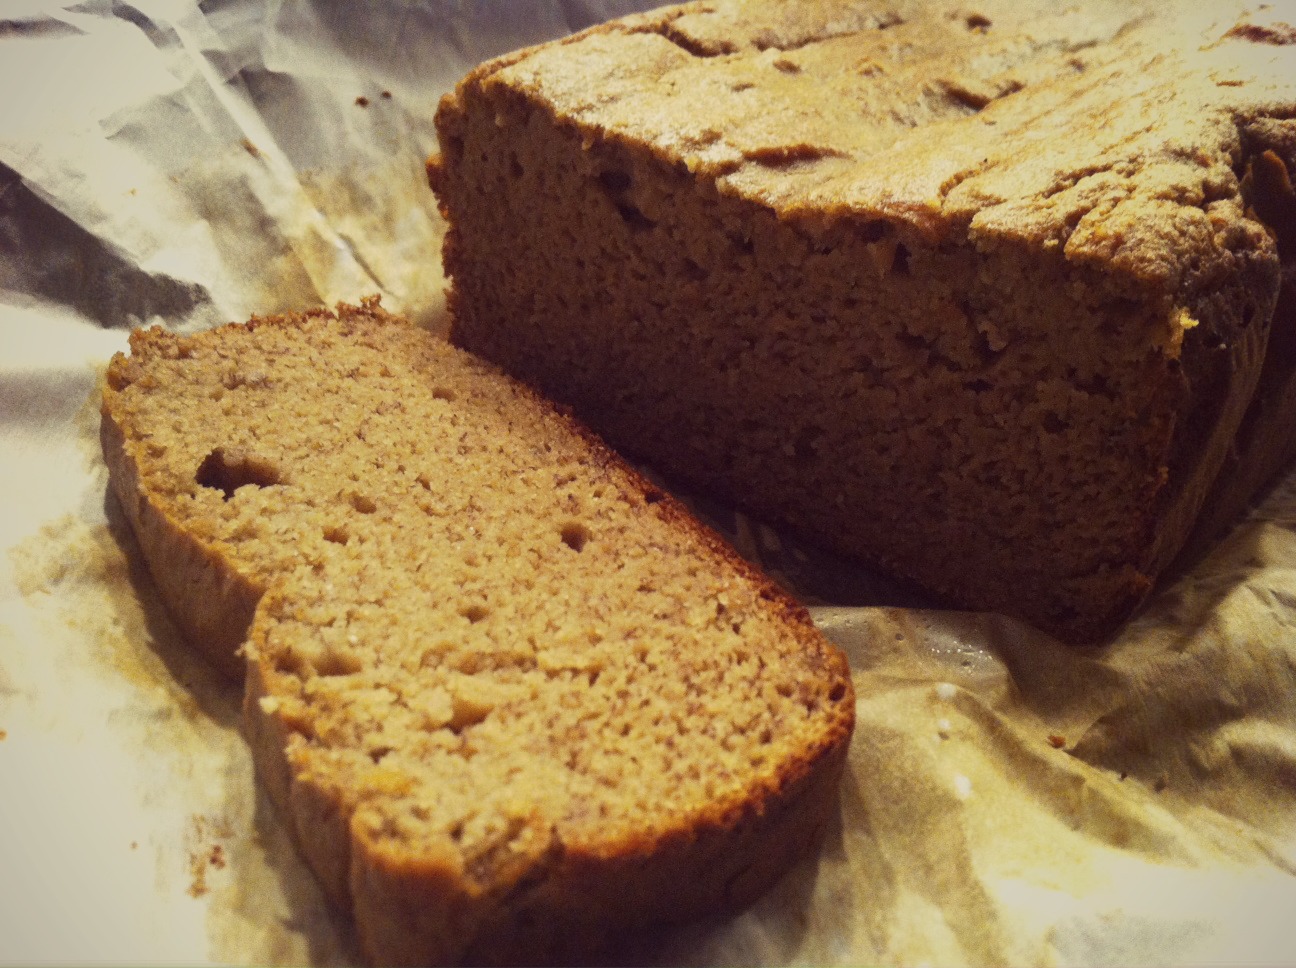
Like this one I found for banana bread — it seems like we’ve always got a few over-ripe bananas that need to be used. They add natural sweetness, and using coconut flour in baked goods is an excellent lower-carb, high-fiber and gluten-free alternative to wheat flour.

The best part, though? Due to the higher fiber content, coconut flour doesn’t spike your blood sugar as quickly as grain-based flours — i.e. you won’t have that inevitable crash that comes post-sugar high. So you can have your cake…er, banana bread…and eat it (guilt-free), too!

Paleo-Friendly Banana Bread

(Recipe adapted from CivilizedCavemanCooking.com)

Ingredients: 

  • 4 bananas
  • 4 eggs
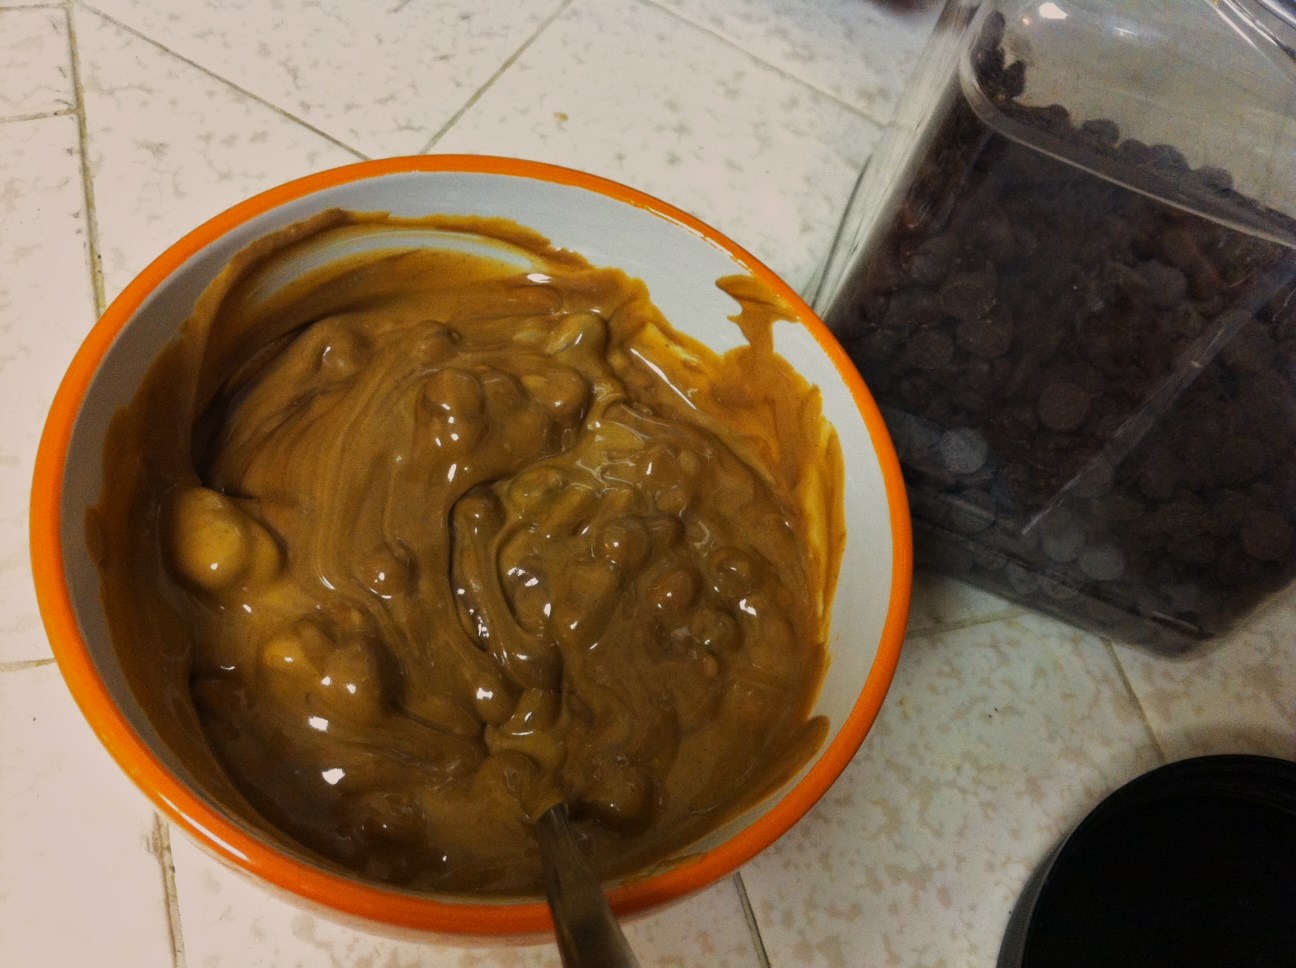
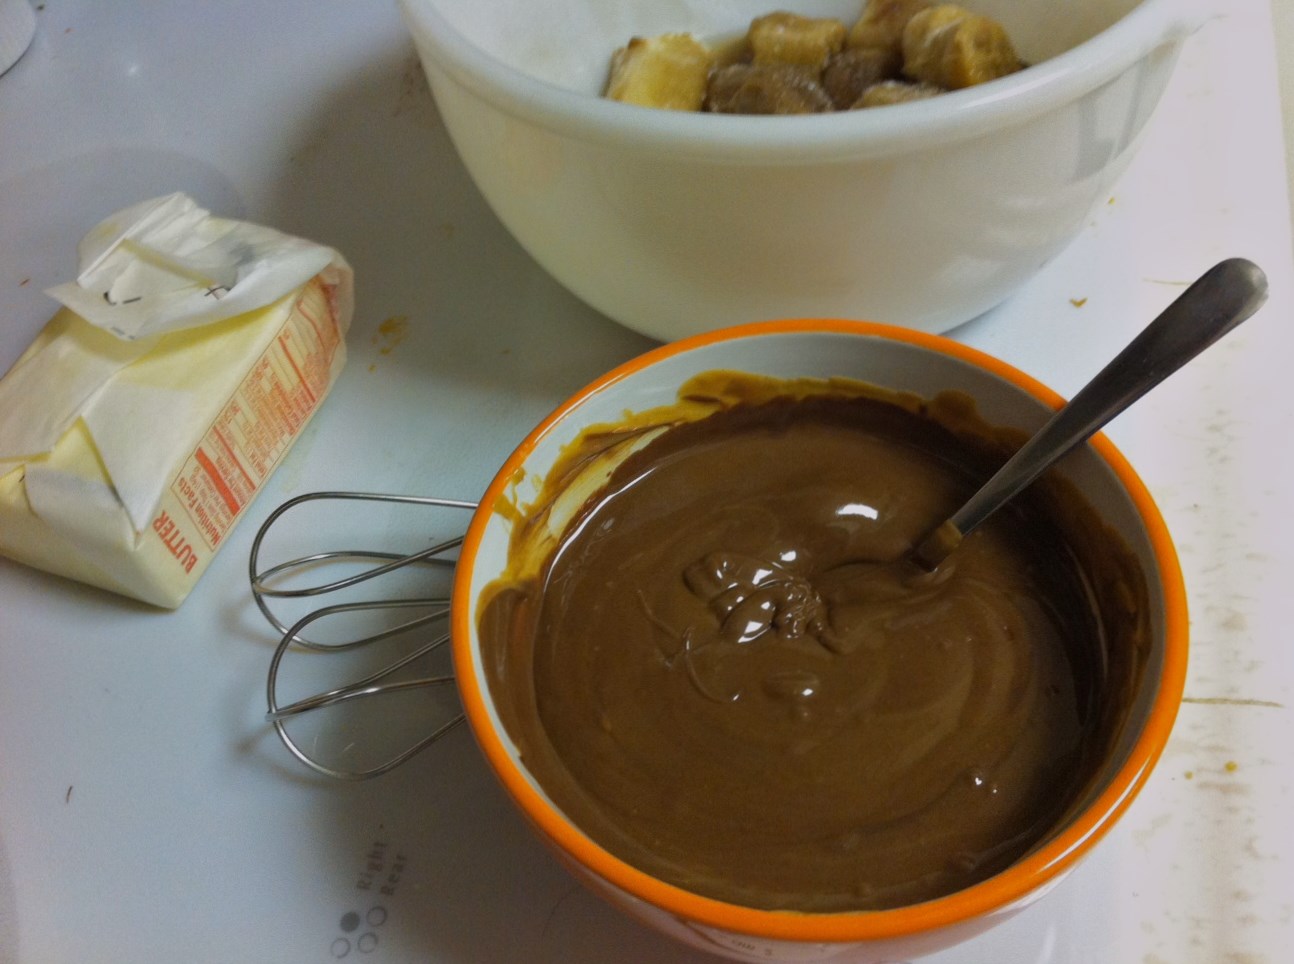
  • 1/2 cup peanut butter
  • 4 tbsp butter
  • 1/2 c coconut flour
  • 1 tsp pumpkin pie spice
  • 1 tsp baking powder
  • 1 tsp baking soda
  • 1 tsp vanilla
  • 1 tsp agave syrup
  • pinch sea salt

Directions: 

  1. Preheat oven to 350 degrees fahrenheit
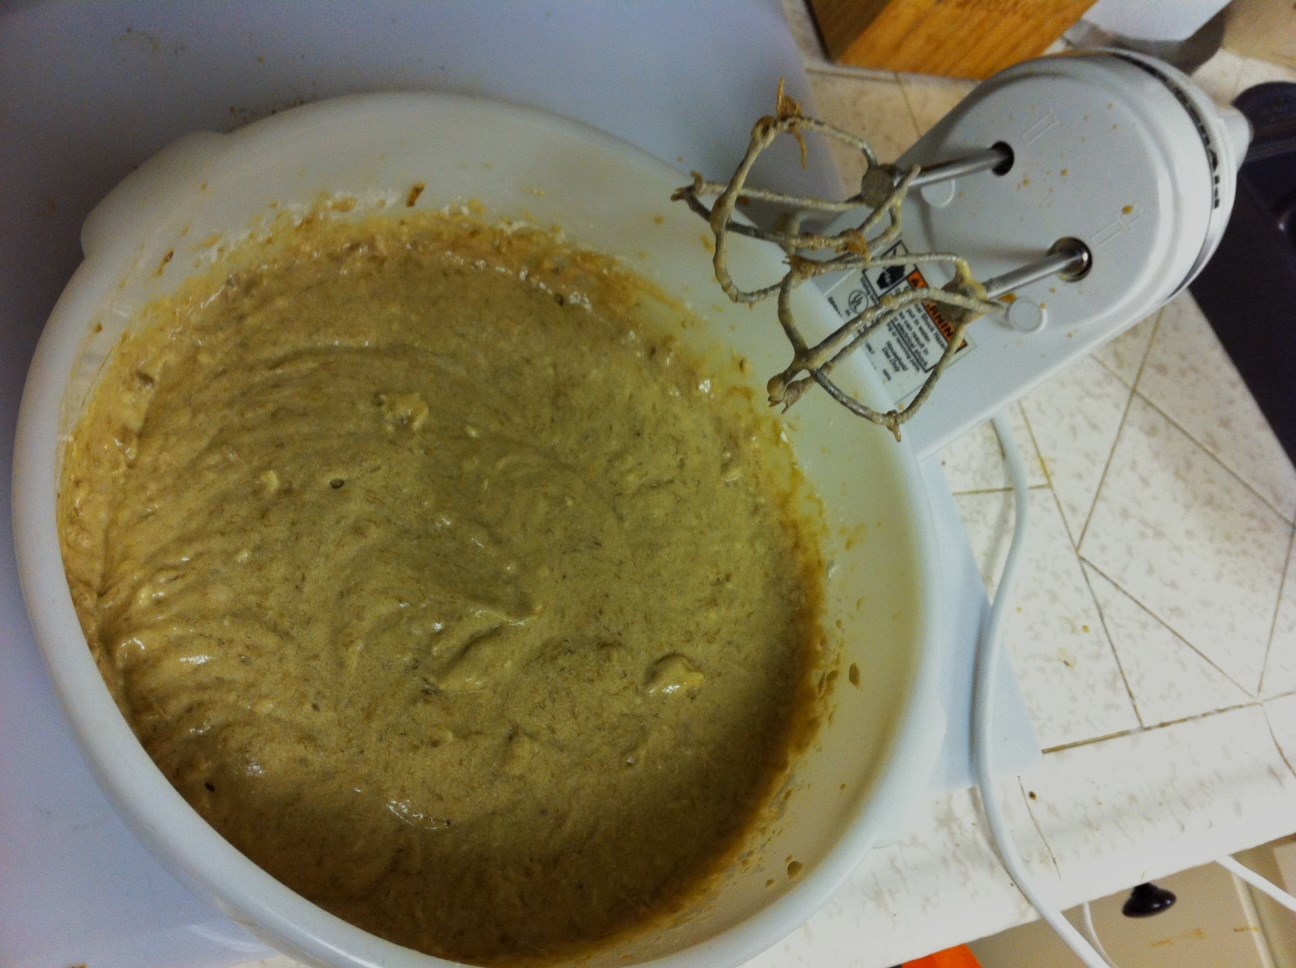
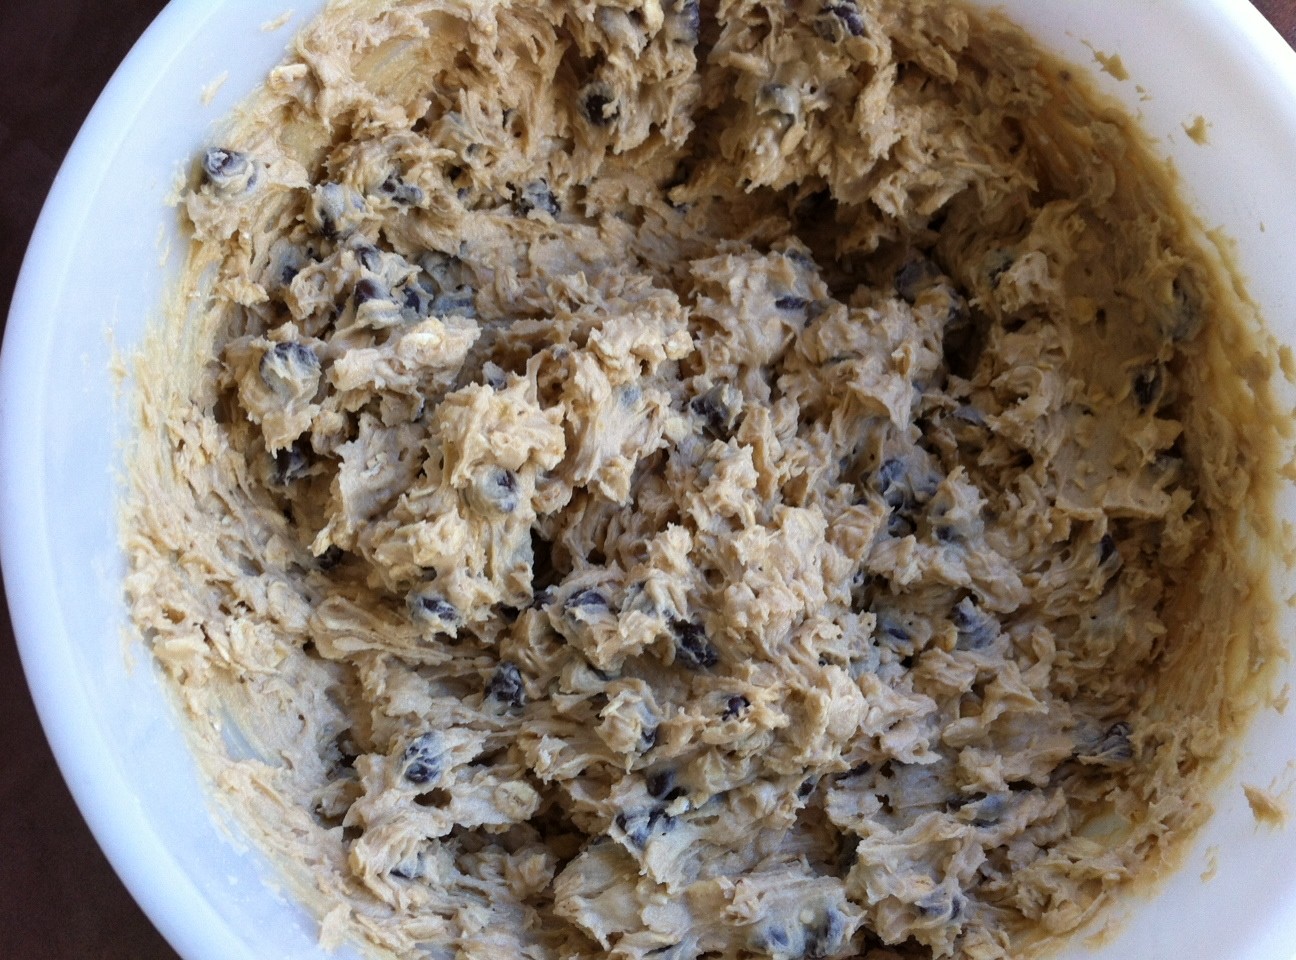
  2. Combine bananas, eggs, nut butter and butter in a mixing bowl
  3. Once wet ingredients are blended, add in coconut flour, pumpkin pie spice, baking powder, baking soda, vanilla, agave syrup and sea salt and mix well
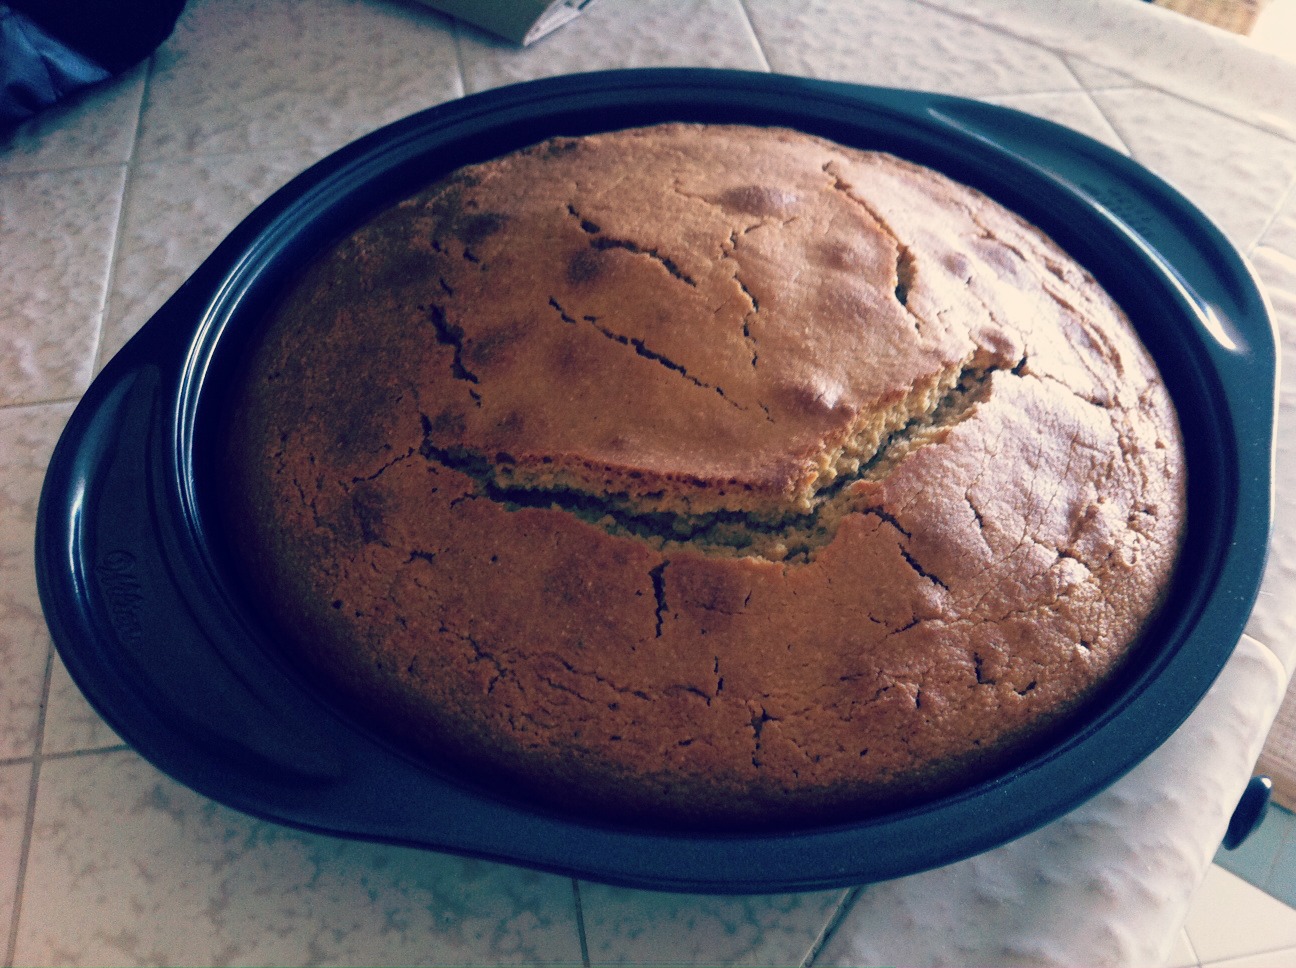
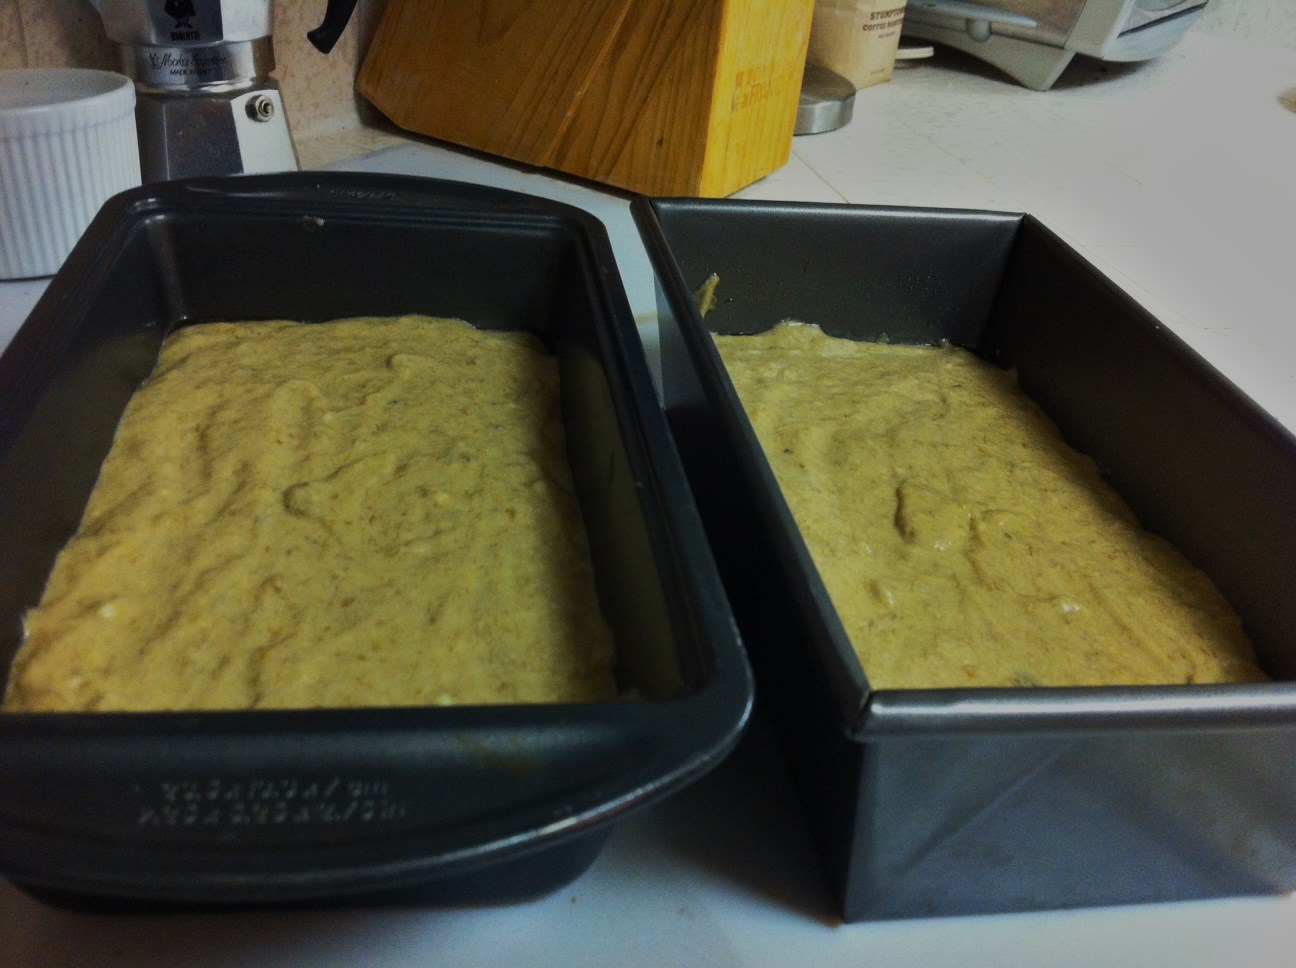
  4. Grease or line a 9×5 loaf pan with parchment paper before pouring in batter
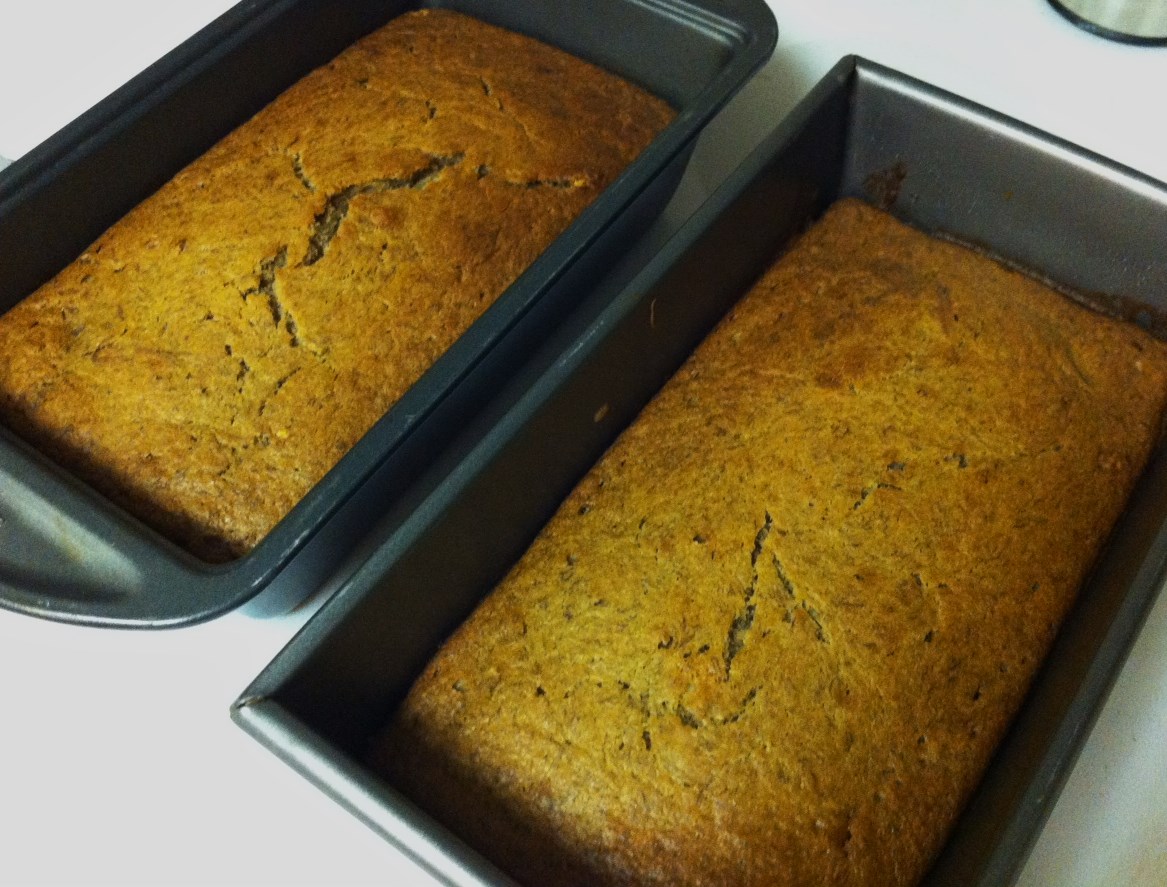
  5. Bake for about 60 minutes or until a toothpick inserted into the center comes out clean
  6. Remove from oven and flip bread out onto a cooling rack
  7. Slice and serve!

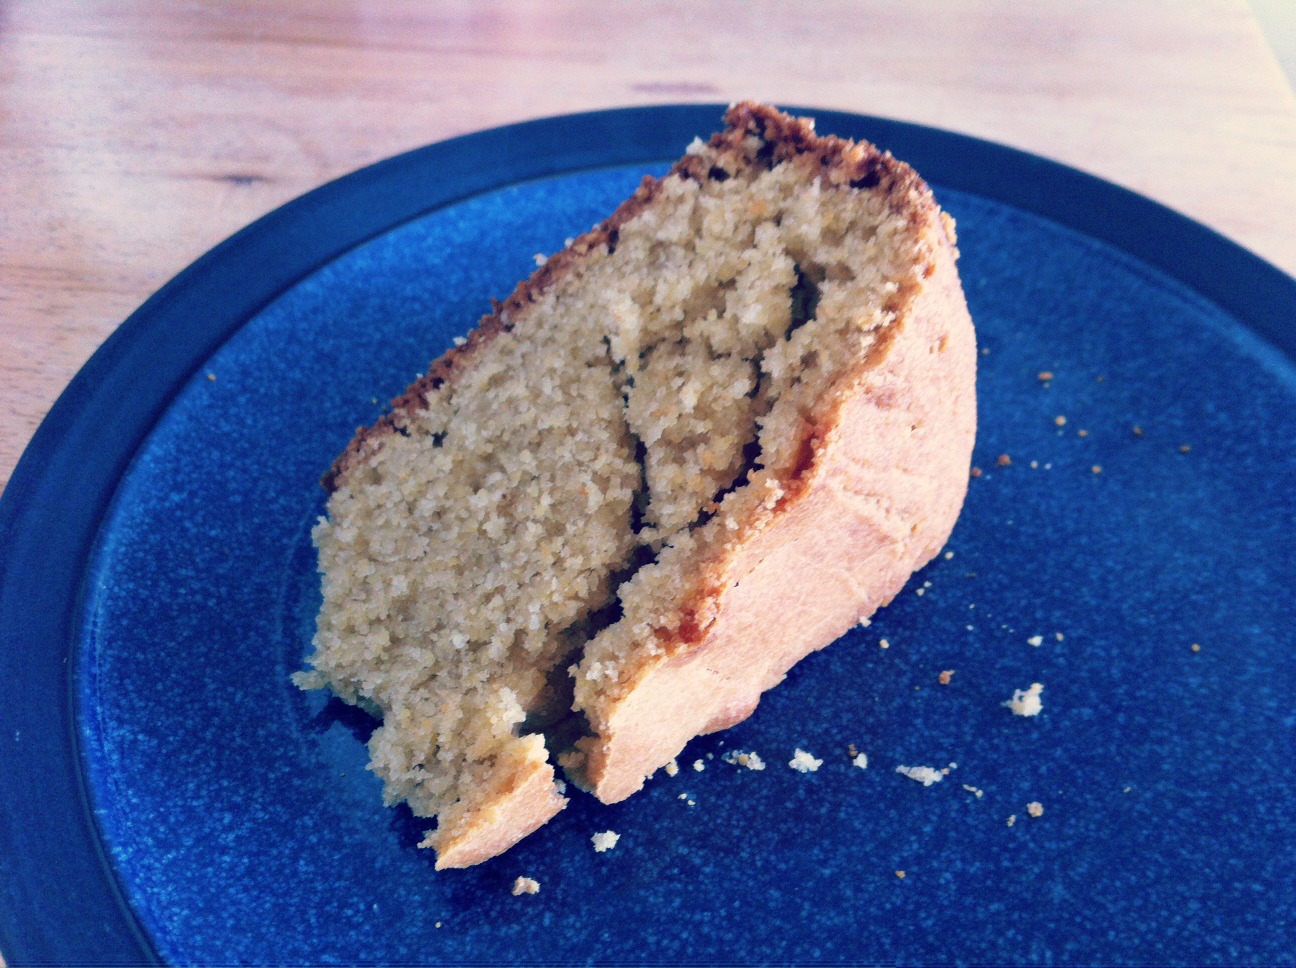
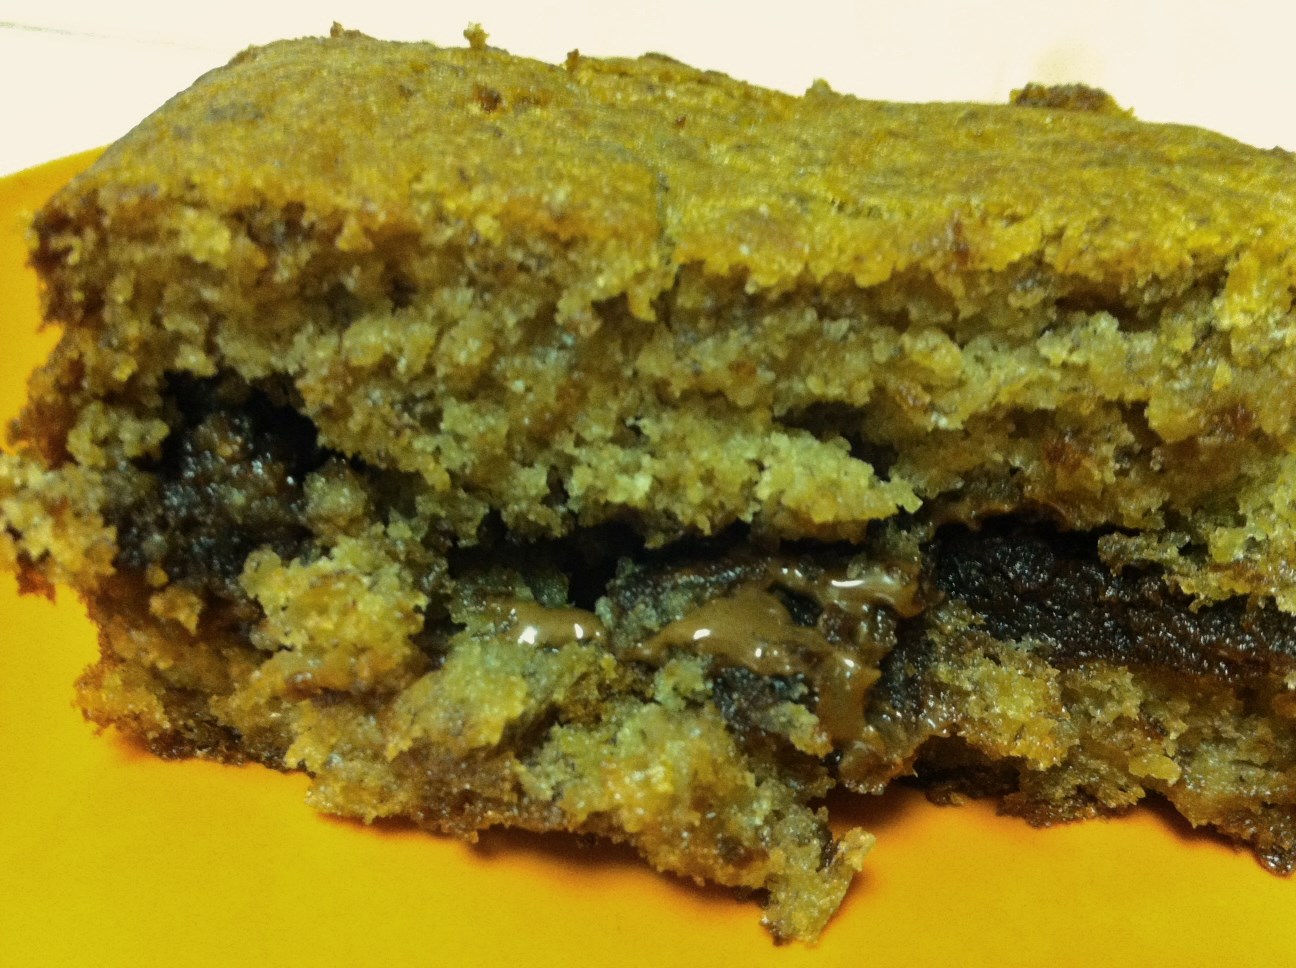
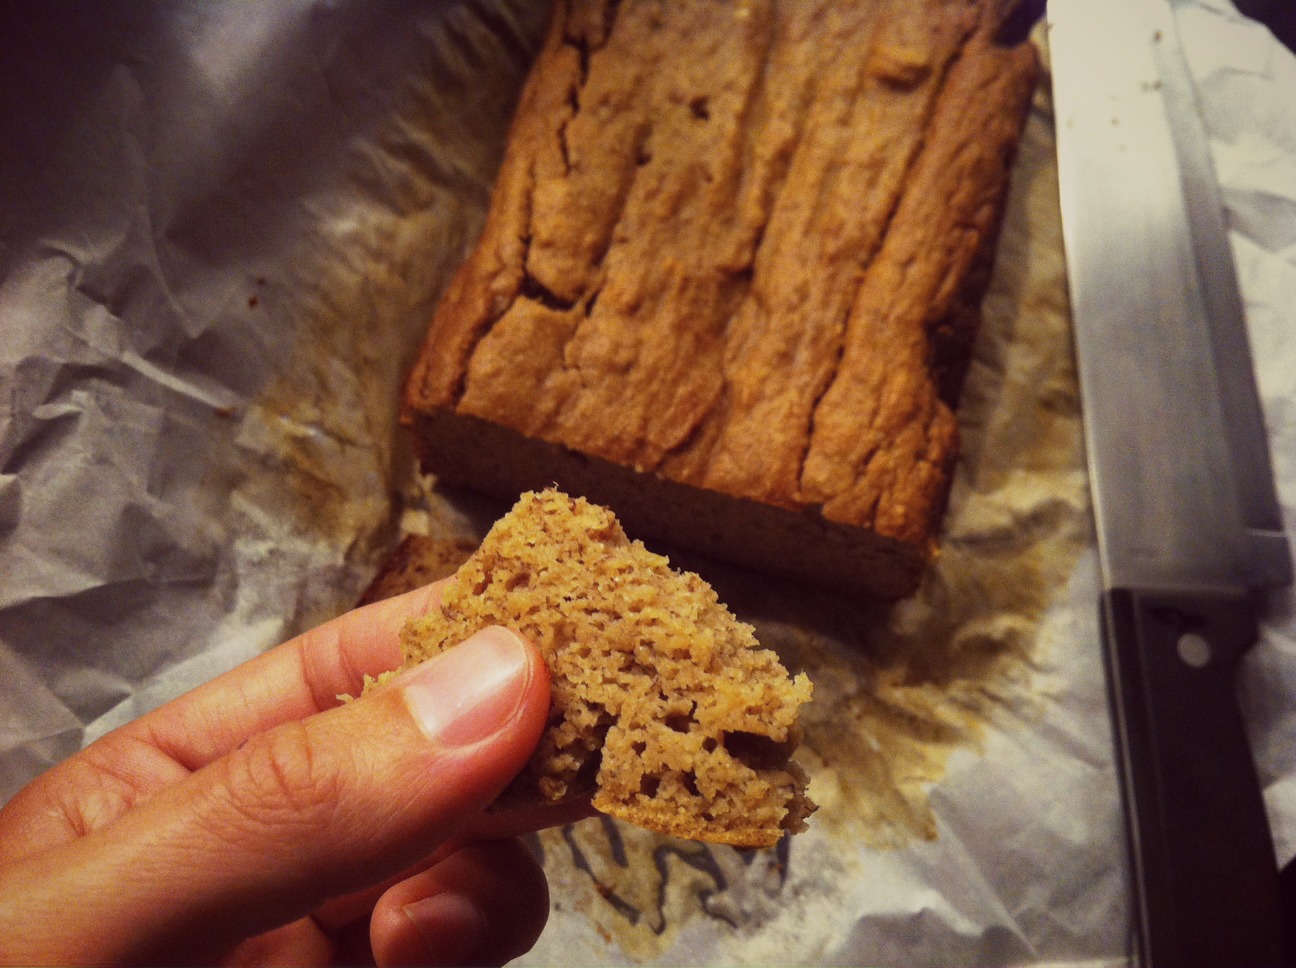
This was my first time experimenting with coconut flour, and I’ve gotta say, I’m impressed. The texture and consistency seem similar to whole-wheat flour, which will make your baked goods slightly more dense.

photo 2 (1)

Not so dense, though, that you lose the cake-like quality of a good banana bread. And surprisingly enough, we didn’t even need butter; it was perfectly delicious and moist enough to munch on straight out of the oven!

photo 4 (1)

How do you feel about making over your favorite recipes with healthier ingredients? 

Recipe: Almond Flour Chicken Fingers

photo 5 (2)

My friend Katie is currently on the Whole 30 program, and as we were swapping healthy recipes the other night, she mentioned this one as a family favorite. While I’m not quite convinced I am able want to follow a strict eating regimen (you’ll have to pry carbs and dairy products out of my cold, dead hands!), I’m always game for anything that can get Hubby and I out of our weekly baked/grilled chicken rut. And this one just so happens to be pretty darn awesome.

Almond Flour Chicken Fingers

(recipe adapted from GenYFoodie)

Ingredients: 

  • 2 packages boneless, skinless chicken tenders
  • 2 cups almond meal
  • 1 tbsp paprika
  • 1 tsp cumin
  • 1 tsp cayenne pepper
  • 1/2 tsp black pepper
  • 1 tsp sea salt
  • 1/2 tsp garlic powder (we didn’t have, so I omitted)
  • 2 eggs

Directions: 

  1. Preheat oven to 375, and line a baking sheet with parchment paper.
  2. In a small bowl, lightly beat eggs, then set aside. In a shallow dish, mix together almond meal, paprika, cumin, cayenne, pepper, salt and garlic.
  3. Dredge each piece of chicken in egg, then roll in dry mixture to coat it completely. Repeat with each piece, arranging them all on baking sheet.
  4. Bake for 25-30 minutes or until golden.
  5. Serve with your favorite dipping sauce or chopped in a salad!

First prep the eggs in one dish, and measure out all the dry ingredients in another.

photo 1 (6)

Here’s what the coating looks like when it’s all mixed and ready for dipping.

photo 2 (5)

The almond flour helps create a wonderfully-thick breading, which will crisp up in the oven. These are all ready to go in for 25-30 minutes.

photo 3 (4)

And as an added bonus, the fat in the nut coating helps retain moisture for these little strips of goodness.

photo 4 (2)

One final tip: Make a double batch because they’ll disappear quickly!

Recipe: Best-Ever Blackberry Pie

photo 1 (2)

Hubby traditionally requests a birthday pie instead of a cake, and I always thought it was a little odd. Until now.

Oregon’s blackberries are in season, and these little gems are tangy, sweet and downright addictive. Every so often we’ll walk (or run) by a bush and get a whiff of ripened berries, so it was a no-brainer to pick them fresh and use them in this year’s celebratory pie.

I Googled around for what looked like a winning recipe, then made a few tweaks for what turned out to be a new family favorite.

KineticFix’s Best-Ever Blackberry Pie

Adapted from Not Derby Pie’s recipe.

Ingredients: 

  • 6 cups blackberries, rinsed, picked clean and patted dry
  • 1/2 cup sugar
  • 1 tsp lemon juice
  • 1 tsp lemon zest
  • 1/2 tsp cinnamon
  • 1/8 tsp nutmeg
  • 1/2 tsp vanilla extract
  • 3 Tbsp tapioca flour
  • 1 cup flour
  • 1 cup brown sugar
  • 1/4 cup butter
  • 1/4 cup dry oatmeal
  • 1/2 tsp cinnamon
  • 1/4 tsp nutmeg
  • Pie crust (I used a pre-made frozen one to cut time!)

Directions: 

  1. Preheat oven to 400 degrees.
  2. Put blackberries, sugar, lemon juice and zest, cinnamon, nutmeg, vanilla and tapioca flour into a large bowl. Toss gently to coat berries evenly, and leave to macerate for 20 minutes.
  3. While the berries are hanging out, prepare the crumb topping. Add flour, brown sugar, oatmeal, cinnamon and nutmeg to a medium bowl. Cut butter into cubes and add, mixing with hands until the mixture resembles wet sand.
  4. Spoon blackberries into bottom crust. Sprinkle crumb topping evenly over the top of the pie.
  5. Set the pie on a baking sheet lined with foil, and bake for 30 minutes. Reduce heat to 350 degrees, and bake another 30-35 minutes, until juices are bubbling and crumb topping is browned. Let cool at least 30 minutes before eating.

And, as NDP says, “serve with vanilla ice cream, for the win.” Fantastic!

photo 2 (14)

Recipe: Bacon Maple Cornbread

CB2

Confession: This is a health- and fitness-focused blog, but I don’t eat kale 24/7 or work out like crazy every.single.day.

It’s simply not practical — or, let’s face it — fun. 

After all, it’s all about balance. And, friends, sometimes that balance comes in the form of bacon grease and maple syrup…enjoy!

Bacon Maple Cornbread

Ingredients:

  • 2 cups flour
  • 2 cups cornmeal
  • 1 egg
  • 4 teaspoons baking powder
  • 1 1/2 cups milk
  • 6 tablespoons maple syrup
  • ~1/2 cup bacon grease
  • Butter and honey, for spreading

Directions:

  1. Preheat oven to 400 degrees.
  2. Mix flour, cornmeal, egg, baking powder and 1 cup of the milk.
  3. Stir in maple syrup and bacon grease.
  4. Add in remainder of milk to get batter to the correct consistency — not runny, but not too thick.
  5. Pour batter into cake pan and bake until golden brown, about 45 minutes.
  6. Smother with butter and honey for a real treat 🙂

You can make individual muffins (bake for 15-20 minutes), but I prefer a larger pan to keep the cornbread from drying out.

CB1

It’s got a nice smoky flavor from the bacon and a natural sweetness from the maple syrup. The perfect accompaniment to some good BBQ…but that’s another post entirely!

CB3

How do you define balance when it comes to working out and eating healthy? 

Recipe: Butterless Mocha Protein Brownies

photo 4 (2)

Here’s a little baking math for you:

Brownie craving + no boxed mix + no butter + no motivation to go to the store = Using a little Google magic to improvise

Which led me to concocting the recipe below… Since I was swapping in oil for butter, I figured the coffee-flavored protein powder would A) deepen the chocolate flavor, and B) add some kind of healthy component.

The general verdict was that the texture was awesome — especially if you’re a fan of super-chewy brownies — but they were a little on the greasy side. So I’ll make ’em again, but go easier on the oil next time!

Butterless Mocha Protein Brownies

Ingredients: 

  • 1/3 cup vegetable oil
  • 1 cup sugar
  • 1 1/2 tsp. pure vanilla extract
  • 1 egg
  • 1/2 cup all-purpose flour
  • 1/3 cup cocoa powder
  • 1 tbsp. coffee-flavored protein powder (I used JavaPro)
  • 1/4 tsp. baking powder
  • 1/4 tsp. salt

Directions: 

  1. Preheat oven to 350 degrees and line a 10″ loaf pan with parchment paper.
  2. Mix oil and sugar in a large bowl. Incorporate vanilla and egg.
  3. In a separate bowl, whisk together flour, cocoa, protein powder, baking powder and salt.
  4. Add dry ingredients to wet, mixing thoroughly. Pour mixture into prepared pan.
  5. Bake 20-25 minutes, until a toothpick inserted into the center comes out with just a few crumbs. Cool completely before cutting.

As mentioned, I noticed that the batter was a bit oily, so I some off the top with a paper towel. Next time I’ll start with 1/4 cup oil and add more only as needed.

photo 1 (5)

Don’t worry if the batter isn’t too runny; mine had the consistency of cookie dough, so I simply scooped it out of the bowl and patted it into the pan.

photo 2 (5)

The result? Moist, chewy brownies with a decadent texture. Not too bad for an evening experiment in the kitchen!

photo 3 (4)

Have you had success with recipes when improvising ingredients? 

Recipe: Chocolate peanut butter banana bread

PBbread1

Combine a craving for something sweet along with a need to get rid of some random leftovers, and you just might surprise yourself with something delicious.

Case in point: This chocolate peanut butter banana bread, which I stumbled across while trying to find a recipe to use up some some over-ripened bananas and expired buttermilk.

As it turned out, however, the buttermilk was too far gone. It had completely separated into curds and whey, so I MacGyvered some makeshift buttermilk from whipping cream and vinegar (click here for directions) and ended up leaving out the oil from the original recipe.

When the timer went off, I wasn’t quite sure what I’d see when I opened the oven. But, oddly enough, it worked — and it worked well. Although I can’t take too much credit because the combination of chocolate-peanut butter anything is pretty hard to beat…

Chocolate Peanut Butter Banana Bread 

(Recipe adapted from Kitchen Meets Girl)

Ingredients:

  • 5 tablespoons peanut butter
  • 5 tablespoons semi-sweet chocolate chips
  • 4 tablespoons butter, softened
  • 1/2 cup packed brown sugar
  • 2 medium ripe bananas, sliced
  • 1 large egg
  • 1 cup all-purpose flour
  • 3/4 teaspoon baking soda
  • 1/2 teaspoon baking powder
  • 1/2 teaspoon salt
  • 1/3 cup buttermilk

Directions: 

  1. Preheat oven to 350.
  2. In a microwave-safe bowl, combine peanut butter and chocolate chips. Microwave on high until melted, about 30 seconds; stir.
  3. Combine butter, brown sugar and banana in a large bowl, and beat with a mixer on medium-high speed until well combined. Add eggs, one at a time, beating well after each addition.
  4. Combine flour, baking soda, baking powder and salt in a separate bowl. With the mixer running at low speed, add the flour mixture and the buttermilk alternately to banana mixture. Mix until just combined.
  5. Pour half of the batter into a greased 9×5 inch loaf pan. Top with peanut butter mixture, and spread the remaining batter over the top. Using a knife, gently swirl the batter.
  6. Bake for 55 minutes, or until a wooden pick inserted in the center comes out clean. Cool 10 minutes in the pan on a wire rack. Remove the bread from the pan, and allow to cool completely before cutting.

Here’s a look at the process, starting with the melted peanut butter and chocolate chips.

PBbread6

Just try to resist scooping spoonfuls straight from the bowl…

PBbread5

Once the batter’s done, you’re ready to layer it in the loaf pans with the chocolate-peanut butter mixture.

PBbread4

Here’s what it looks like before you pop it in the oven.

PBbread3

And, voilà! Banana-y, chocolate-y, peanut butter-y goodness — best served warm.

PBbread2

Do you have any favorite recipes to help you use up leftover items in the fridge? And do you have any substitution success (or horror) stories? 

Impress holiday guests with a sweet treat that won’t break the calorie bank

Source: Romas Foord

Source: Romas Foord

Apples, cranberries and pumpkins may get all the glory this season, but don’t forget about an oft-overlooked juicy gem: Pears. Not only is their soft, sweet, buttery flesh delicious, but they’re also pretty healthy.

For example, did you know that…

  • …the hydroxycinnamic acid found in pears is associated with preventing stomach and lung cancer?
  • …pears are a hypo-allergenic fruit, meaning that those with food sensitivities can usually eat pears with no adverse effects?
  • …Quercetin, an antioxidant found in the skin of pears, helps prevent cancer and artery damage that can lead to heart problems?

So save the best for last this season, and end a special meal with this lovely inverted pie dessert featuring caramelized pears.

It’s the perfect finale for parties because you don’t have to worry about being overly fussy; the more haphazardly this dessert is constructed, the more rustic and charming it looks!

Pear Tarte Tatin (6 servings)

Ingredients: 

  • 2 tablespoons butter, divided
  • 1/2 cup sugar, divided
  • 4 peeled ripe Anjou pears, cored and halved lengthwise
  • 1 tablespoon canola oil
  • 5 (14 x 9-inch) sheets frozen phyllo dough, thawed
  • 3 tablespoons crème fraîche

Directions:

  1. Preheat oven to 400°F.
  2. Coat a 10-inch cast-iron skillet with 1.5 tablespoons butter. Sprinkle 6 tablespoons of sugar into pan. Arrange 7 pear halves (cut sides up) in a circle in pan; place remaining pear half in center.
  3. Cover skillet, and place over medium-low heat. Cook, without stirring, for 15 minutes or until sugar mixture is bubbly and caramelized. Place pan in oven. Bake at 400° for 5 minutes.
  4. Place oil and remaining butter in a bowl. Microwave on high for 30 seconds or until butter melts. Lay 1 phyllo sheet horizontally on a flat work surface; brush lightly with butter mixture. Sprinkle 2 teaspoons sugar evenly over phyllo.
  5. Place next phyllo sheet vertically on top of first. Repeat procedure twice with remaining butter mixture, sugar and phyllo, ending with phyllo. Fold edges in to form a 9-inch circle.
  6. Place phyllo circle in pan over pears, pressing gently. Bake at 400° for ~16 minutes or until filling is bubbly and crust is browned.
  7. Remove from oven, and let stand for 5 minutes.
  8. Place a plate upside-down on top of pan; invert tart onto plate. Cut tart into 6 wedges, and top each wedge with 1/2 teaspoon crème fraîche.

Nutritional Information (per serving): 

Calories: 258
Fat: 10.3g
Saturated fat: 4.4g
Monounsaturated fat: 2.9g
Polyunsaturated fat: 1g
Protein: 2g
Carbohydrate: 41.7g
Fiber: 3g
Cholesterol: 17mg
Iron: 0.5mg
Sodium: 79mg
Calcium: 70mg

Recipe adapted from Cooking Light magazine

Last-minute Thanksgiving recipe: Rachael Ray’s Stuffin’ Muffins

Stuffing is a surefire crowd-pleaser, so if you want a quick and ‘delish’ side dish to round out the meal (or, if you’re anything like my family and there’s no such thing as too much stuffing on Thanksgiving), look no further.

Source: FitSugar

Source: FitSugar

These perfectly-portioned treats are the best of both worlds: crisp on the outside and steamy-soft inside.

A few tips: Use a whole wheat stuffing mix for more fiber, and if you’re having trouble getting the muffins to hold together, try some adding some Parmesan cheese or an egg to bind the ingredients, enhance flavor and add moisture.

Rachael Ray’s Apple and Onion Stuffin’ Muffins

Ingredients:

  • 2 tablespoons extra-virgin olive oil
  • 1 stick butter, softened
  • 1 fresh bay leaf
  • 4 stalks celery, chopped
  • 1 medium yellow onion, chopped
  • 3 apples, quartered and chopped
  • Salt and pepper
  • 2 tablespoons poultry seasoning
  • 1/4 cup chopped fresh parsley leaves
  • 8 cups cubed stuffing mix
  • 2 to 3 cups chicken stock

Directions:

  1. Preheat oven to 375 degrees
  2. Over medium heat, add extra-virgin olive oil and 4 tablespoons butter to a large skillet. When butter melts, add bay leaf and vegetables. Sprinkle the vegetables and apples with salt, pepper and poultry seasoning.
  3. Cook 5-6 minutes or until vegetables and apples begin to soften, then add parsley and stuffing cubes to the pan and combine. Moisten the stuffing with chicken broth until all of the bread is soft but not wet.
  4. Butter 12 muffin cups liberally with remaining butter.
  5. Using an ice cream scoop, fill and mound up the stuffing in muffin tins. (Keep an eye out for the bay leaf, and remove it when you come upon it as you scoop the stuffing).
  6. Bake until set and crisp on top, 10-15 minutes. Remove stuffin’ muffins to a platter, and serve warm.

For more of Rachael’s recipes, visit FoodNetwork.com.

Oatmeal chocolate chip cookies

ccoc2

Fill your cookie jar with a sweet treat that does double-duty: plenty of chips for chocolate lovers, plus oatmeal for those who want to get their fill of whole-grain fiber.

Oatmeal Chocolate Chip Cookies

Ingredients: 

  • 1 cup butter
  • 3/4 cup sugar
  • 3/4 cup packed brown sugar
  • 2 eggs
  • 2 tsp milk
  • 2 tsp vanilla
  • 2 cups oatmeal
  • 2 cups flour
  • 1 tsp baking soda
  • 1 tsp salt
  • 2 cups chocolate chips
  • 2 cups chopped walnuts (optional)

Directions: 

  1. Preheat oven to 375 degrees.
  2. Cream butter and sugars. Mix in eggs, milk and vanilla.
  3. In separate bowl, combine dry ingredients (oatmeal, flour, baking soda, salt). Slowly incorporate into wet mixture, about 1/2 cup at a time.
  4. Stir in chocolate chips and walnuts.
  5. Drop by tablespoonfuls onto ungreased cookie sheet. Bake 10 minutes or until edges start to slightly brown and center is set.

I know it’s a no-no, but it’s hard to resist a taste of cookie dough…

ccoc1

It’s a good thing that the finished product is just as delicious!

ccoc3

Bethenny Frankel’s “skinny” take on pumpkin treats

Source: Bethenny Bakes

Source: Bethenny Bakes

Her Skinnygirl empire has been a hit with the health-conscious crowd, so it’s no surprise that Bethenny Frankel, newly-minted talk show host and former celebrated natural foods chef, would take a stab at delicious guilt-free versions of popular pumpkin recipes for fall.

Below are two classics that Frankel reworked with her talent for “fix-ology” – a term she coined for the ability to take calorie-rich foods and revamp them into healthier versions without compromising flavor. For more of Frankel’s favorite healthy recipes, go to Bethenny.com.

Bethenny Frankel’s Pumpkin Spice Muffins (Makes 1 dozen)

Ingredients:

  • 3 cups oat flour
  • 2 cups raw sugar
  • 2 T unsalted butter, melted
  • 1/4 cup vegetable oil
  • 1 egg
  • 1 1/2 cups canned pumpkin
  • 1/2 cup water
  • 1 1/2 teaspoons baking powder
  • 1 teaspoon baking powder
  • 1 teaspoon salt
  • 1 teaspoon cinnamon
  • 1/2 teaspoon nutmeg
  • 1/2 teaspoon cloves
  • 1 teaspoon vanilla
  • 1 1/2 cups dried cranberries
  • 1/4 cup unsalted walnuts
  • 12 muffin cups

Directions:

  1. In the bowl of an electric mixer, combine raw sugar, melted butter, oil, eggs, pumpkin and water. Beat for 90 seconds, or until well mixed.
  2. Whisk together flour, baking powder, baking soda, salt and spices, stirring until no streaks remain.
  3. Combine flour mixture and pumpkin mixture. Stir in nuts and cranberries; stirring only until all ingredients are mixed.
  4. Cover batter, and allow it to set at room temperature for 60 minutes.
  5. Preheat oven to 350°F.
  6. Place muffin cups in muffin holders and fill 2/3 of the way full.
  7. Bake for 40-45 minutes or until muffins tops spring back when lightly touched.
  8. If the muffins will be frozen, allow them to cool for 1 hour, then tightly wrap in plastic wrap; store in freezer zipper bags.
  9. To reheat, wrap loosely in foil and bake for 5-10 minutes at 350°F. (Or they may be reheated in the microwave wrapped loosely in a damp paper towel.)

Bethenny Frankel’s Marbled Pumpkin Cheesecake

Ingredients for crust:

  • 1 1/2 cups graham crackers, crushed finely (approximately 9-10)
  • 2 tbsp unsweetened applesauce
  • 1 tsp ground ginger
  • 2 tbsp melted butter

Ingredients for filling:

  • 2 8 oz. containers reduced fat cream cheese, softened
  • 3/4 cup raw sugar plus 2 teaspoons
  • 2 eggs
  • 2 1/2 tsp vanilla extract
  • 1 1/4 tsp ground cinnamon
  • 1 1/8 tsp nutmeg
  • 1 can of 15 oz. pumpkin (do not substitute pumpkin pie filling!)
  • 1/4 tsp apple cider vinegar

Directions:

  1. Preheat oven to 350°F.
  2. In a medium bowl, mix together the crushed graham crackers, butter, applesauce, and ground ginger.
  3. Press into the bottom, and about 1 inch up the sides of a 9-inch springform pan.
  4. Bake crust 10 minutes in the preheated oven. Set aside to cool.
  5. In a medium bowl, mix together the cream cheese, 1/2 cup raw sugar, and vanilla until smooth. Mix eggs in one at a time, blending well after each.
  6. Set aside 1 cup of the mixture. Blend 1/4 cup raw sugar, pumpkin, cinnamon, apple cider vinegar and nutmeg into the remaining mixture.
  7. Spread the pumpkin flavored batter into the crust, and drop the plain batter by spoonfuls onto the top. Swirl with a knife to create a marbled effect.
  8. Bake 1 hour in the preheated oven, or until filling is set.
  9. Run a knife around the edge of the pan, and allow the cake to cool before removing pan rim.
  10. Chill for at least 4 hours before serving.