Recipe: Zest Nutrition Avocado Chocolate Mousse

IMG_7187

Usually when I see the words “gluten-free, egg-free, dairy-free and vegan” to describe a recipe, I brace myself for the worst. But, once again, my friends over at Zest Nutrition have managed to create a super-healthy treat that’s incredibly tasty.

This silky avocado chocolate mousse comes from the kitchen of co-founder Anna Rosinoff, who grew up with “chocolate o’ clock” as a time-honored tradition in her family. So when she’s not applying her expertise in counseling and health promotion to develop workplace wellness programs, Anna’s brainstorming delicious ways to incorporate her favorite sweet into wholesome, nourishing recipes.

Don’t let the avocado throw you for a loop; with no refined sugars, un-pronouncable ingredients or bad fats, this dessert will pass a taste test from even the most discerning chocolate connoisseurs!

Zest Nutrition’s Avocado Chocolate Mousse

Ingredients: 

  • 1/2 avocado
  • 1 very large, very ripe banana
  • 1/2 cup unsweetened powdered baking chocolate
  • 2 TBSP vanilla extract
  • 1/2 cup agave nectar or honey

Directions: 

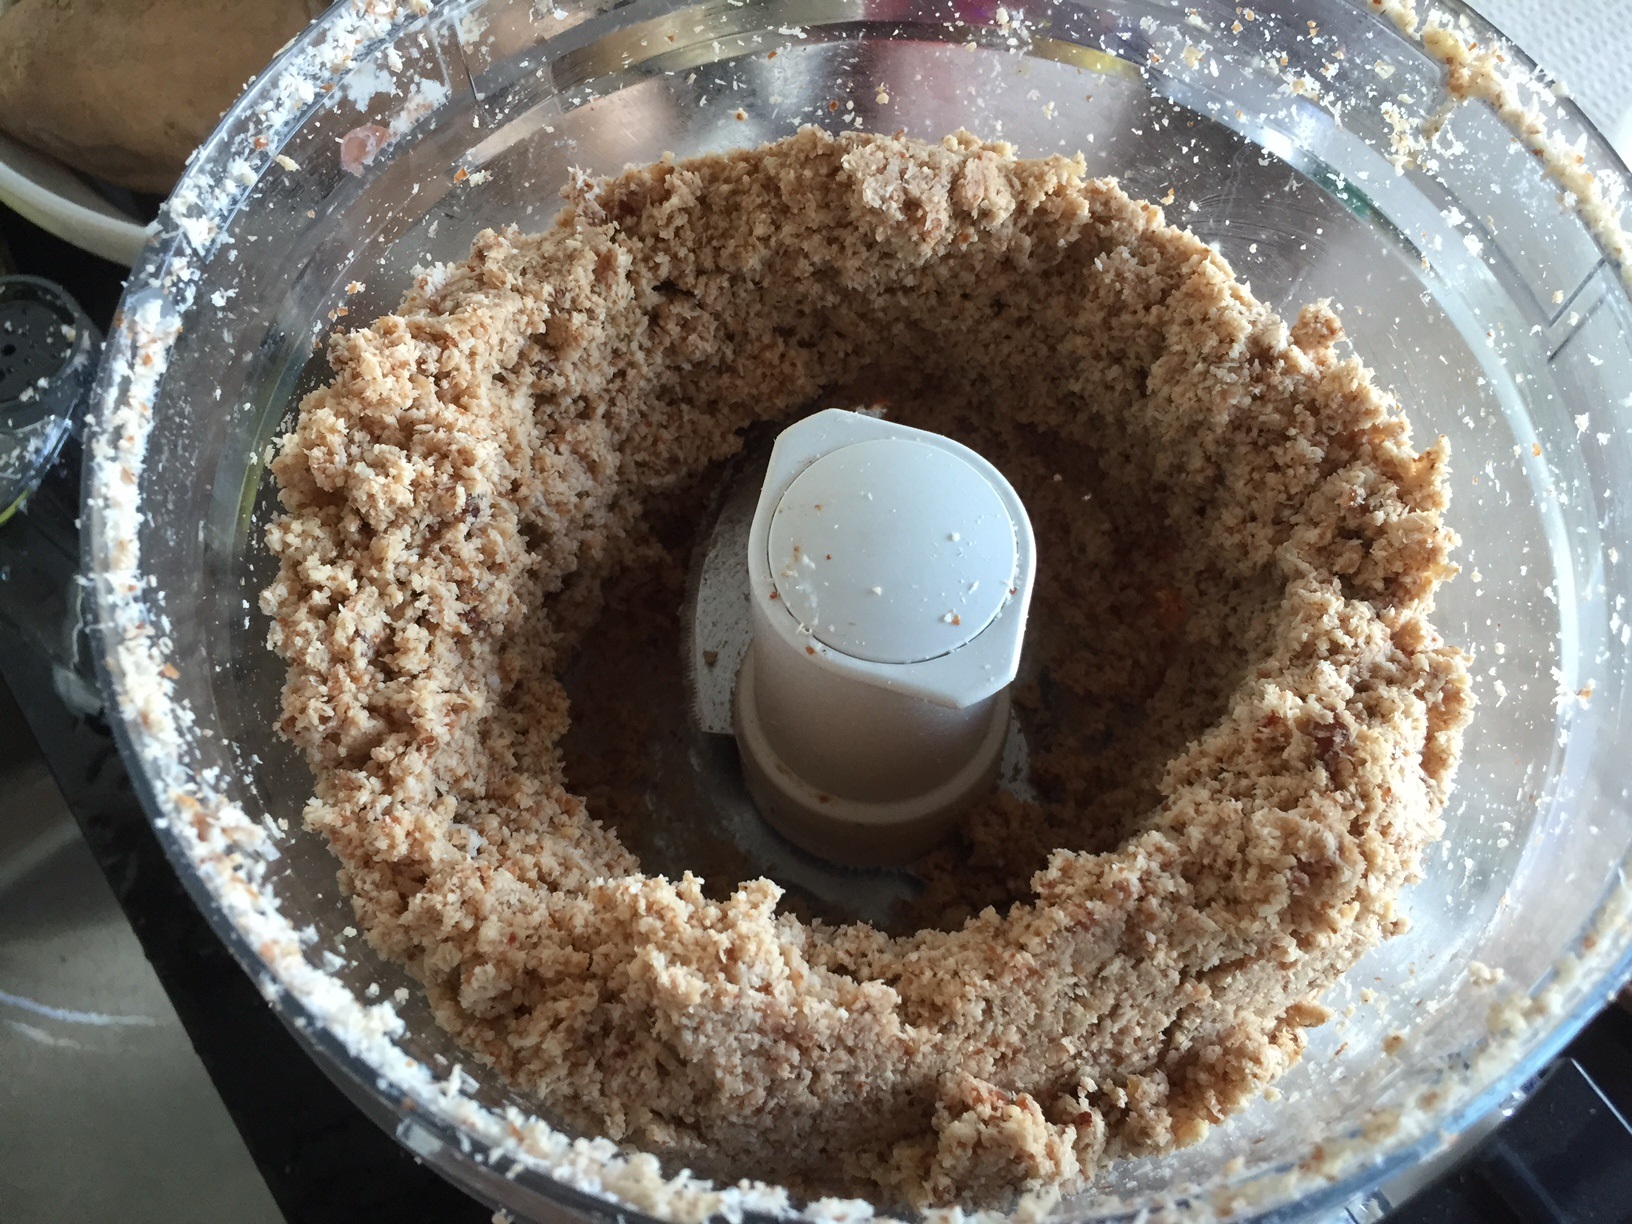
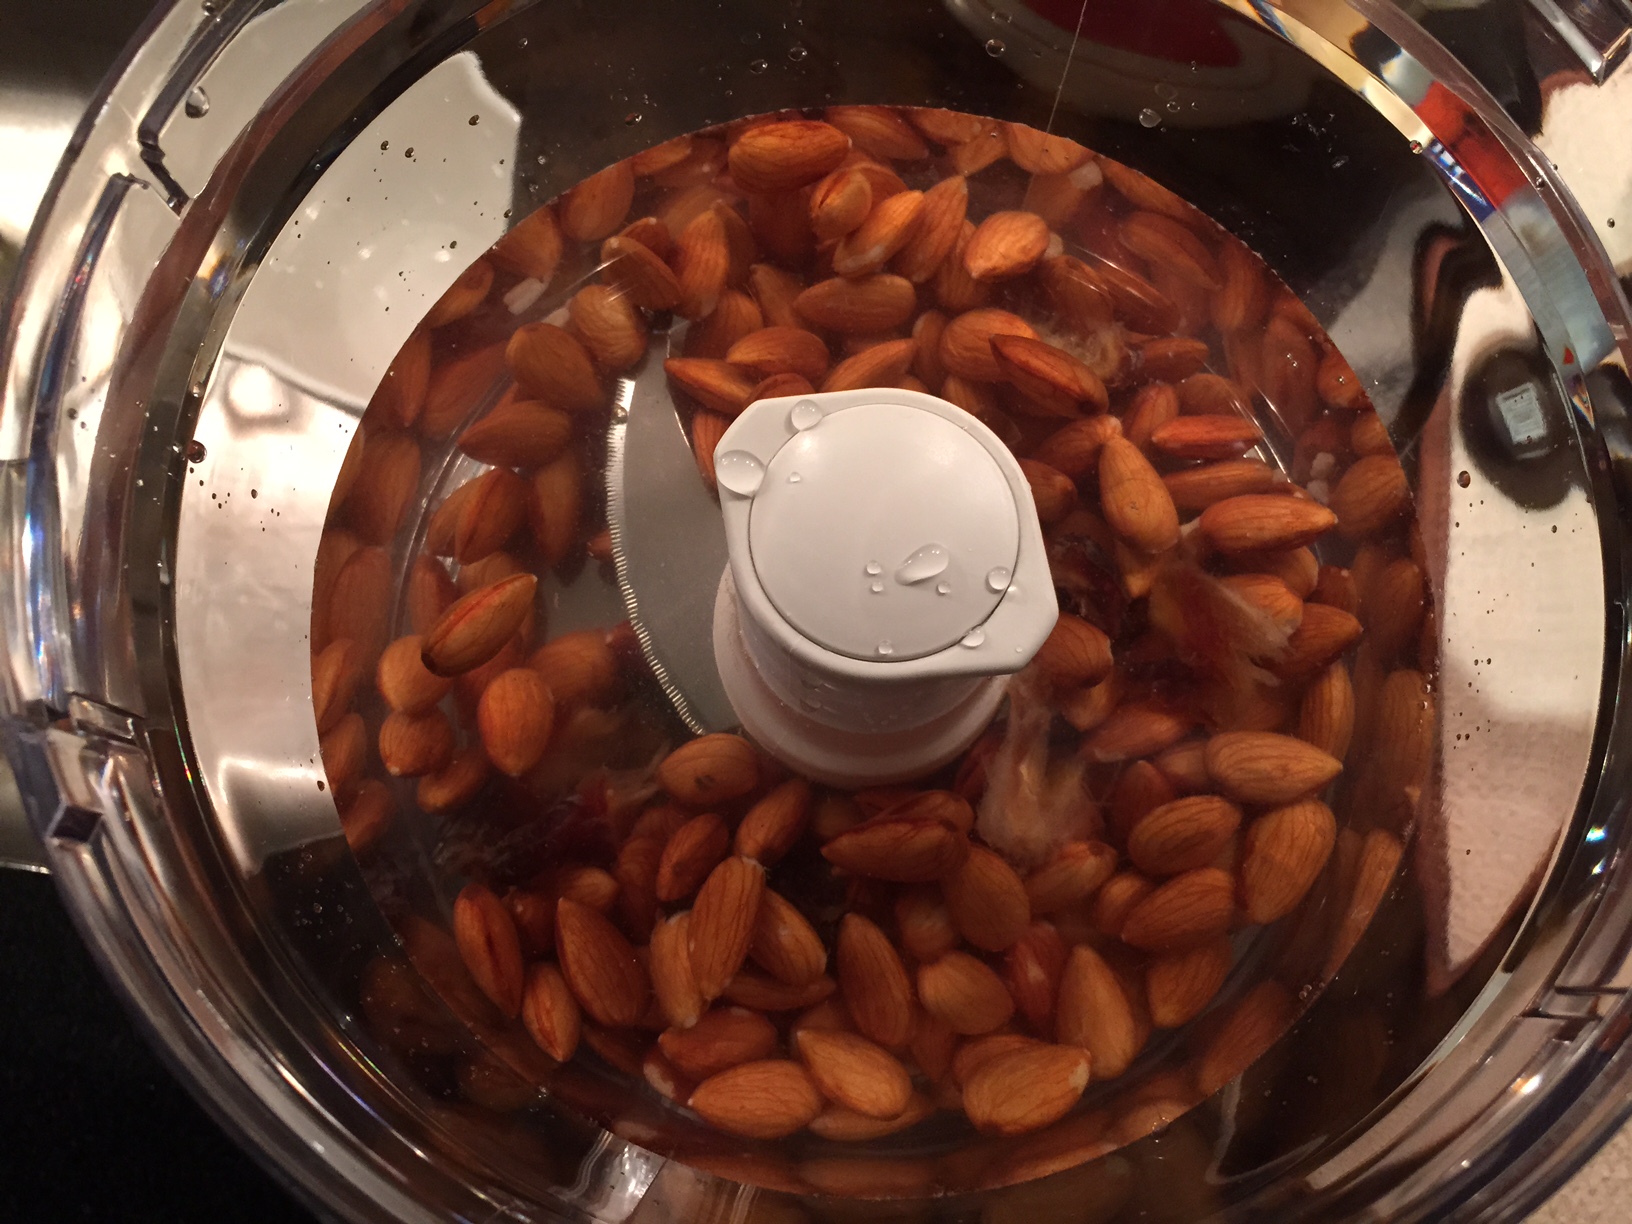
  1. Combine all ingredients in food processor.
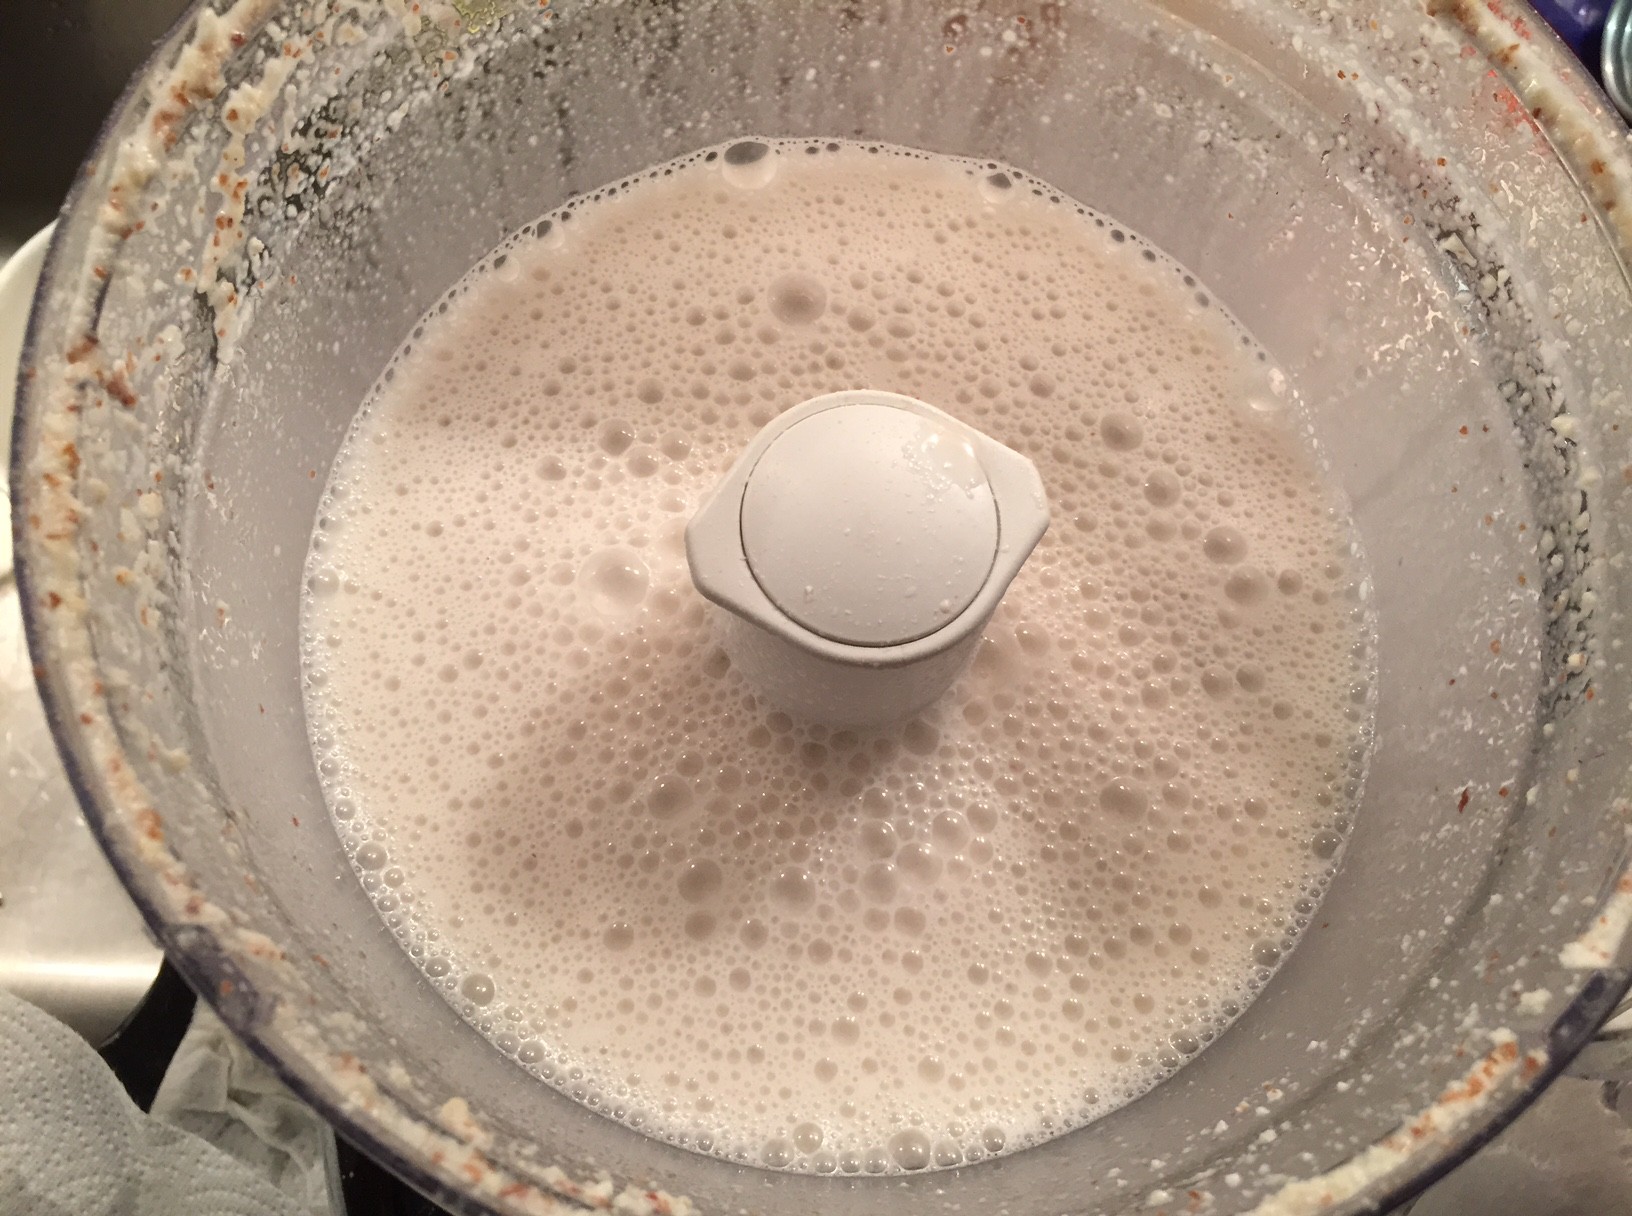
  2. Blend until smooth.
  3. Enjoy immediately, or chill in fridge for around 30 minutes.

Since Ben and I have a, ahem, healthy appreciation for chocolate, I thought it’d be best to start with a double batch of mousse.

IMG_7181

My bananas were just starting to ripen up, so next time I’ll look for some with spots to make sure they’re softer and sweeter.

IMG_7183

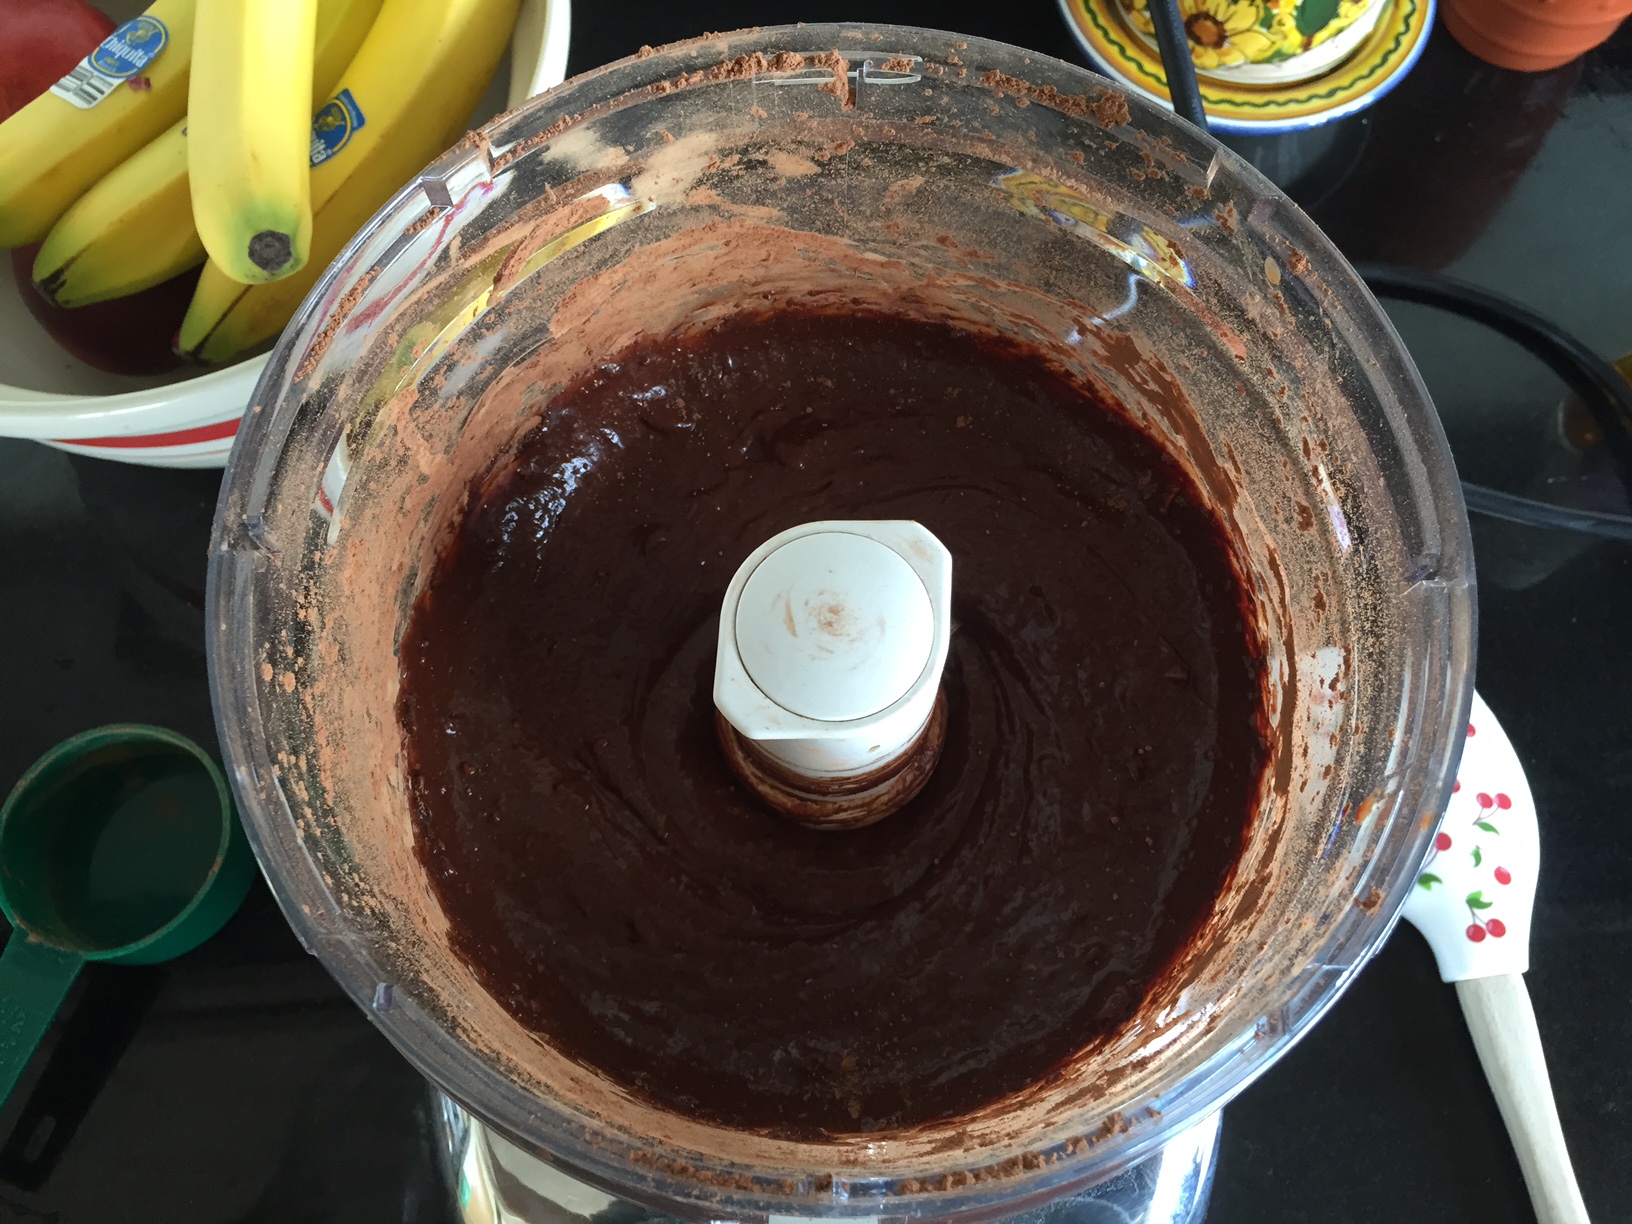
Next comes the cocoa and vanilla — and I used a little less than a cup of agave since it’s pretty potent.

IMG_7184

After the initial blend, scrape the sides of the food processor and blend again until there are no more lumps.

IMG_7185

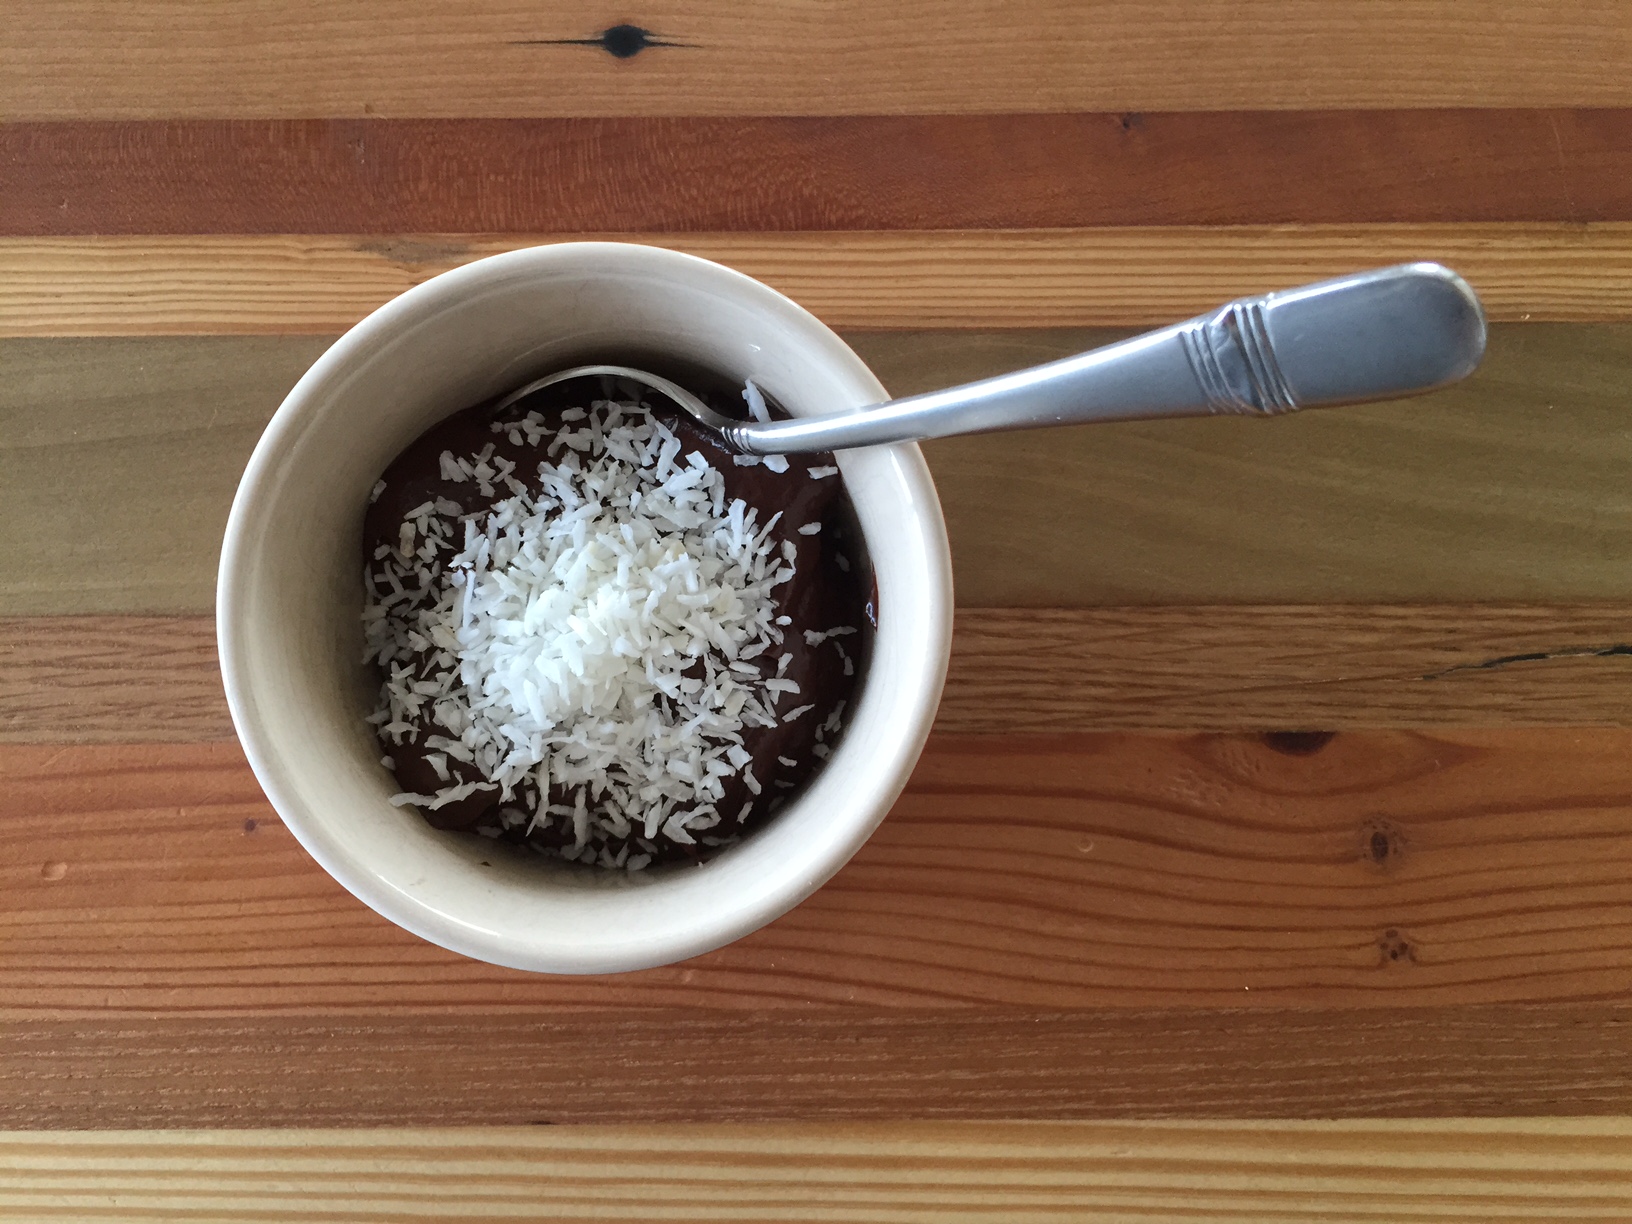
It’s got a lovely pudding-like consistency, and there’s a subtle hint of banana, but you can’t even taste the avocado.

IMG_7186

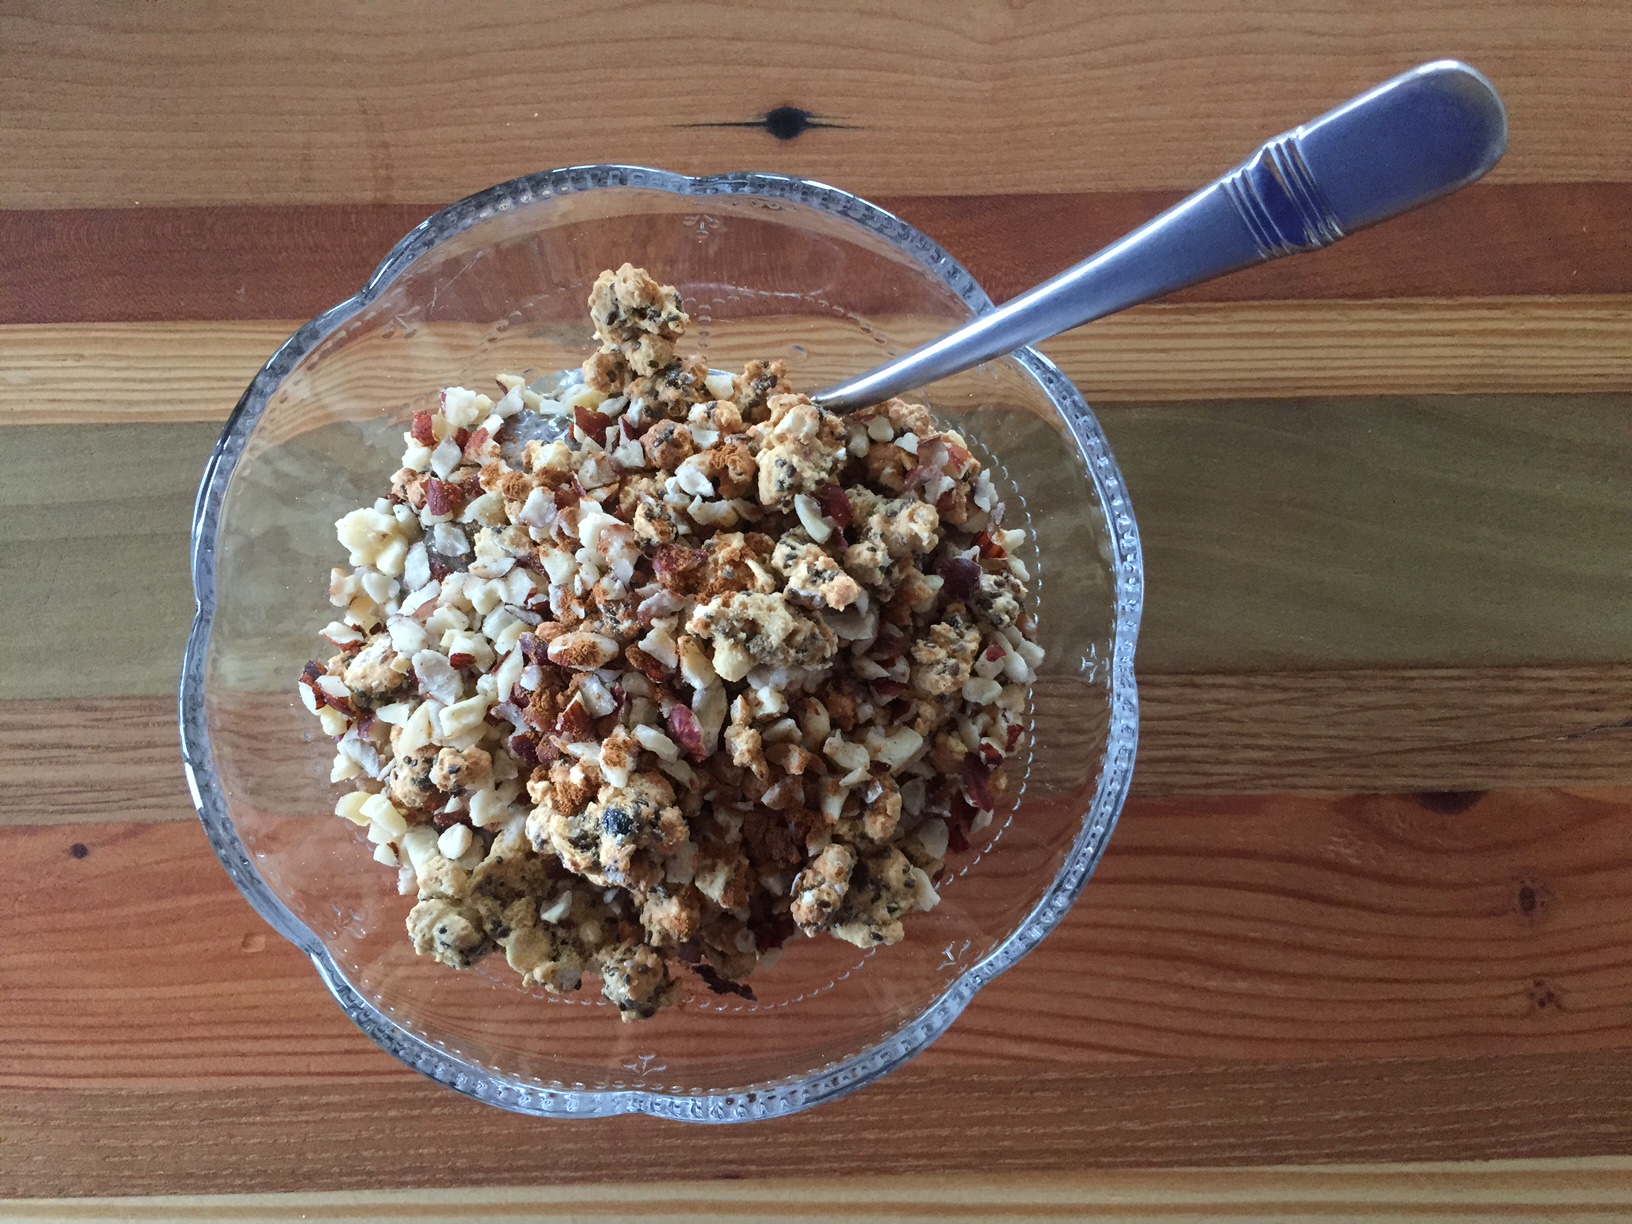
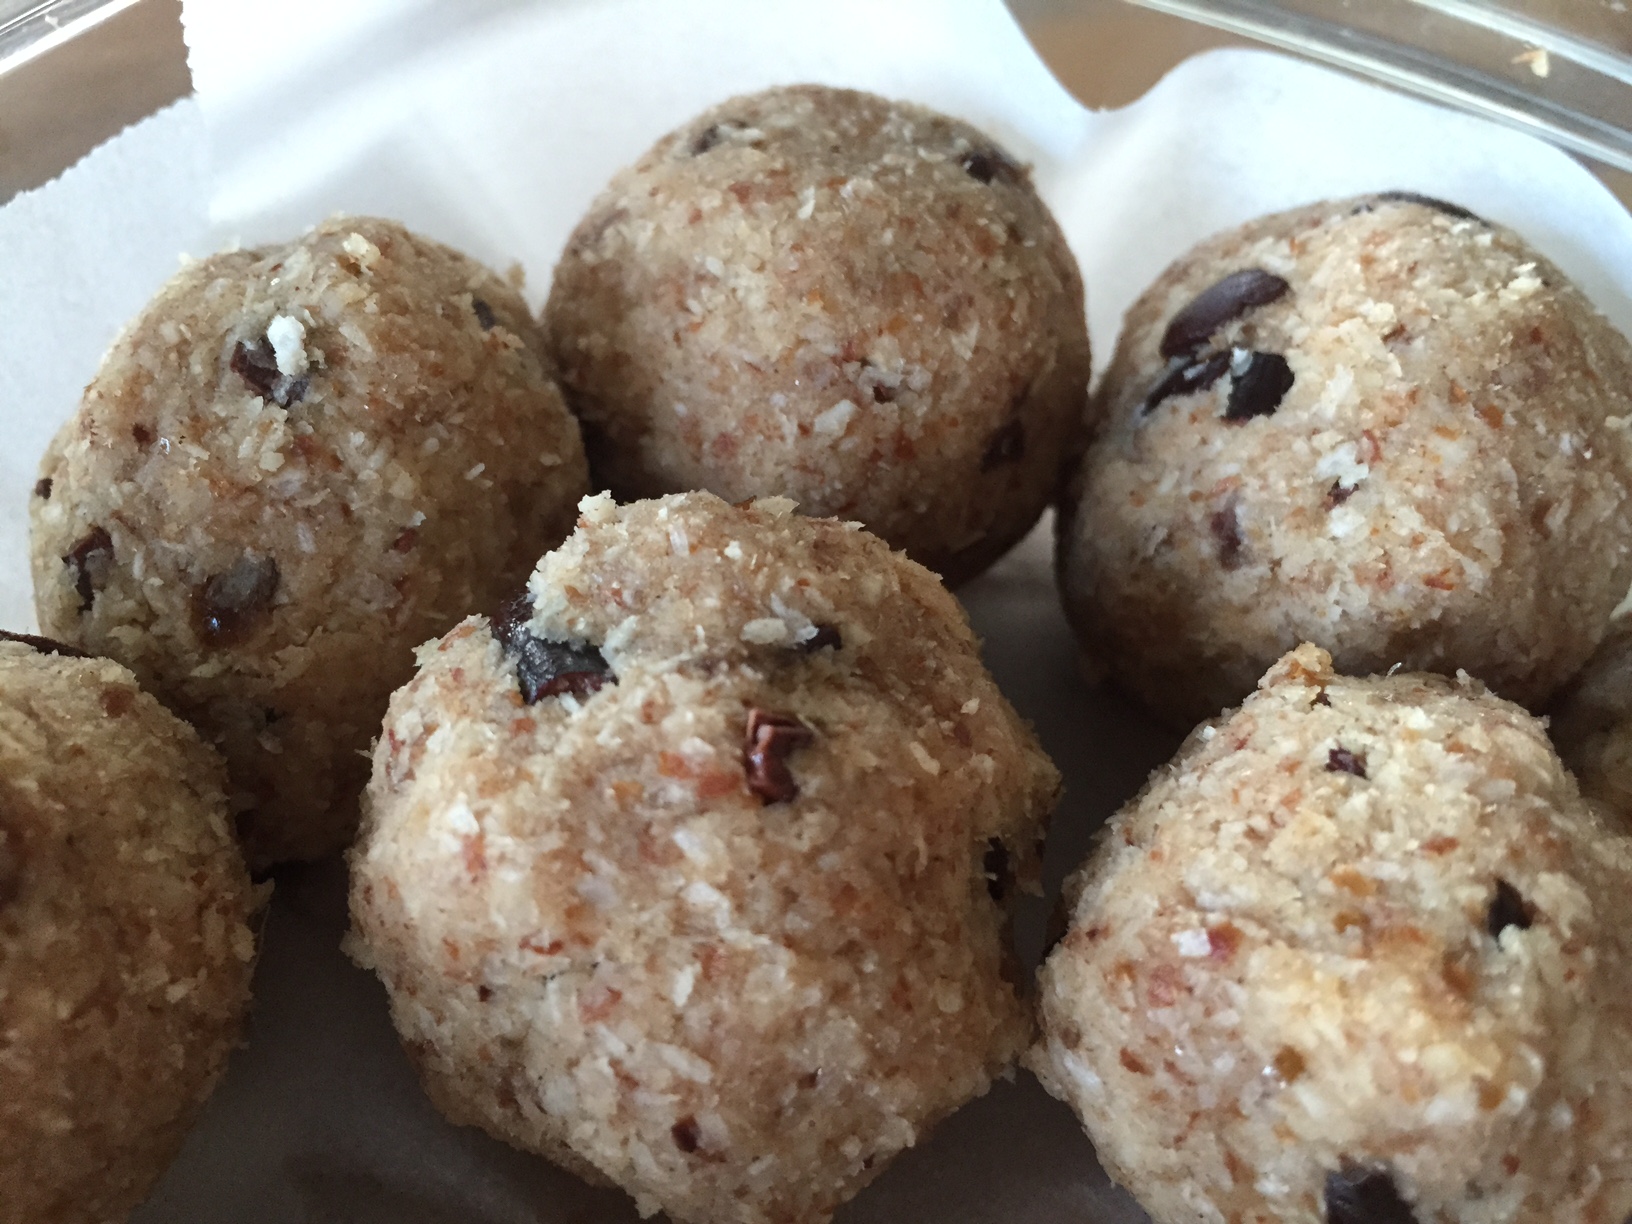
Eat it plain, or top with nuts, berries or something crunchy if you want to break up the smooth texture (I opted for unsweetened shredded coconut).

IMG_7190

Do you celebrate chocolate o’ clock in your house? 

Recipe: Zest Nutrition’s Lemon Yogurt Cream Pie

IMG_6502

When she’s not helping kiddos eat better by day as a registered dietitian or running around with Team LUNA Chix Portland Run on Monday evenings, Megan Fuetterer can often be found in her kitchen concocting some pretty amazing so-good-you-won’t-believe-they’re-actually-good-for-you recipes.

Case in point: this pumpkin pie, which landed her on the TODAY show in Joy Bauer’s “Too Good To Be Healthy” holiday pie competition.

Megan, along with her business partner Anna Rossinoff, founded Zest Nutrition, which is dedicated to helping women shed the guilt and overcome the struggle with food. Zest’s mission is to take a whole-foods approach to eating to support women in accomplishing health goals and truly loving their bodies, so they can spend less time in their heads and more time in their hearts.

This Lemon Yogurt Cream Pie that Megan created is one such example; she wanted a treat for breakfast one morning, so she whipped up something that’s sweetened with honey, nestled in a whole-wheat crust and packed with protein from a yogurt base. Go ahead, and indulge without guilt!

Zest Nutrition’s Lemon Yogurt Cream Pie

For the Crust

Ingredients:

  • 2 1/2 cups whole wheat flour
  • 1/2 tsp salt
  • 2/3 cup softened coconut oil
  • 1/4 cup cold water

Directions:

  1. Using a hand mixer, mix the flour, salt and oil together until you have good-looking crumbs.
  2. Add water and continue to mix. If your crust is too crumbly, continue to add water until you get the right consistency.
  3. Press crust into a the bottom and up the sides of a pie pan. You might have some leftover crust depending on how thin you make it.
  4. Bake your crust at 450F for 10 minutes. Let cool before adding pie filling.

For the Homemade Lemon Curd

Ingredients:

  • 3 eggs
  • Zest of 2 lemons
  • 1/4 cup coconut oil
  • 1/4 cup honey
  • 1/2 cup lemon juice

Directions:

  1. Mix together eggs, honey and lemon zest in a nonstick saucepan or pot.
  2. Heat over low heat, then add coconut oil and continue to stir.
  3. Once melted, stir in the lemon juice.
  4. Cook over low heat, stirring constantly for about 5 minutes until it thickens.
  5. Let cool before adding to pie filling.

For the Filling

Ingredients:

  • 2 cups Greek yogurt (Megan recommends 2%)
  • 1 1/2 cup homemade lemon curd (recipe above)
  • 1/4 cup honey
  • 1/2 tsp vanilla extract
  • 1 1/2 tsp powdered gelatin
  • 2 Tbsp water

Directions:

  1. Mix together yogurt, lemon curd, honey and vanilla.
  2. Put the water and gelatin in a microwave safe bowl and let sit for 5 minutes. Then microwave for 10 seconds until gelatin is dissolved and immediately whisk the hot gelatin into yogurt mixture.
  3. Pour into pie crust, cover with aluminum foil and refrigerate for at least 6 hours to allow pie to set up.
  4. Add any toppings or garnish as desired…enjoy!

Megan’s secret to making this pie pop is the addition of homemade lemon curd, which is actually much easier to make that you’d think (I even added a few key limes we had on hand to give it extra zip).

IMG_6500

Ben and I couldn’t wait the full six hours for the pie to set, so we dove in after about four, topping it with fresh berries and devouring it as dessert.

IMG_6505

Of course, by morning it was even better — not only did the filling fully set, but the lemon-lime flavor also mellowed out a tad. Start your morning off with a slice and a cup of coffee, and you’re pretty much guaranteed a good day!

IMG_6509

Pie for breakfast: Yay or nay? 

Recipe: Coconut Flour Chocolate Chunk Bars

IMG_5993

Finally — a no-fail coconut flour recipe!

I could wax poetic about how these bars are low in carbs, high in fiber, gluten-free (depending on the chocolate), blah blah blah…but all you need to know its that — holy crap — they’re good. And not too bad for you.

Next time you have a hankering for chocolate chip cookies, this isn’t just a healthier substitute; it’s about to become your new go-to recipe for chewy, cakey, chocolatey bars with that perfect balance of sweet-and-salty, thanks to a sprinkle of sea salt on top.

Coconut Flour Chocolate Chunk Bars

Courtesy of Ambitious Kitchen

Ingredients: 

  • 1/4 cup melted coconut oil
  • 1/3 cup honey, agave nectar or maple syrup
  • 2 teaspoons vanilla extract
  • 2 eggs, slightly beaten
  • ¼ cup unsweetened almond milk (I used cashew)
  • 1/2 cup coconut flour
  • ½ teaspoon baking soda
  • ¼ teaspoon salt
  • 3 oz your favorite dairy free dark chocolate bar, coarsely chopped
  • 1/2 cup coconut flakes, optional

Directions: 

  1. Preheat oven to 350 degrees. Spray 8×8 inch baking pan with nonstick cooking spray.
  2. In a large bowl, whisk together coconut oil, honey, vanilla, eggs, and almond milk. In a separate medium bowl whisk together coconut flour, baking soda and salt.
  3. Add dry ingredients to wet ingredients and mix until just combined and batter is smooth. Fold in chopped chocolate, reserving a few tablespoons for sprinkling on top, if desired.
  4. Bake for 20-22 minutes (mine took closer to 26) or until edges are golden brown and knife comes out with a few crumbs attached. The batter may look like it’s not all the way cooked, but it will be. DO NOT OVERBAKE.
  5. Cool bars on a wire rack for at least 10 minutes so they settle a bit, then cut into 16 squares. Enjoy!

As mentioned above, I also sprinkled some sea salt on top before baking to offset the sweetness just slightly.

IMG_5990

Have you struck gold with a coconut flour recipe? 

Recipe: Erica Stenz’s Healthiest Whole30-Approved Tuna Salad

IMG_5739

I’ll be honest: The first time I saw this recipe from my fit friend Erica Stenz (aka SF’s hottest trainer), I wrinkled my nose in disgust.

Now, you know I love healthy, nutrient-dense foods as much as the next person, but there was just no way that this combination of ingredients — pickles, apples, dates and tuna — could taste good…right?!

Well, Erica, I stand corrected…which is precisely why I’m sharing it here.

A word to the wise: Don’t over-think the ingredients. Just assemble, and enjoy (I promise).

Erica’s Healthiest Whole30 Approved Tuna Salad

(via TheSimpleFare.com)

Ingredients:

For Salad:

  • 2 cans of albacore tuna, no salt added and in water
  • 1 diced apple (I used Gala)
  • 1 diced kosher dill pickle
  • 2 diced Medjool dates, pitted
  • 1 diced avocado
  • 1 diced bell pepper (I used red)
  • 1 diced cucumber

For Dressing:

  • 2 tbsp spicy brown mustard (no white wine vinegar for Whole30)
  • 2 tbsp olive oil (or fish oil)
  • 1 teaspoon smoked paprika
  • 1 teaspoon dried dill
  • 1 teaspoon freshly ground black pepper
  • 1 teaspoon salt
  • Dash of curry powder, optional

Directions: 

  1. Add salad ingredients to a large bowl.
  2. In a small bowl, add dressing ingredients and whisk together using a fork.
  3. Pour dressing over salad and toss to coat evenly. Serve immediately or refrigerate.

If using these ingredients together is wrong, then I don’t want to be right.

IMG_5736

Don’t ask me how, but they work so well together to create a wonderfully fresh, tangy, sweet, savory combo.

IMG_5741

And for some additional nutrients — gotta get those greens! — I layer it in a bed of kale for a light, yet satisfying, lunch.

IMG_5743

How daring are you when experimenting with new recipes? 

Recipe: Zest Nutrition’s Gluten-Free Lemon Chia Seed Muffins

IMG_5364

Despite whatever the weather’s doing near you, the calendar says it’s spring. And one of my favorite ways to celebrate is with a sweet treat, preferably something light, bright and lemon-y.

Ever since my friend (Zest Nutrition co-founder & fellow Team LUNA Chix Portland Run memberMegan Fuetterer posted this recipe, I’d been dying to try it. The only problem? Our oven was broken for almost a week.

So as soon as we were up and running again on what happened to be a rainy weekend afternoon, baking these little rays of sunshine was first on my to-do list. They’re everything you love about lemon muffins — and more — because they’re super healthy.

Gluten-Free Lemon Chia Seed Muffins

Adapted from Zest Nutriton

Ingredients: 

  • 4 cups almond meal/flour
  • 4 Tbsp chia seeds
  • 1 tsp salt
  • 1 tsp baking soda
  • Zest of 2 lemons
  • Juice of 1 lemon
  • 4 eggs
  • 3/4 cup lemon-flavored Greek yogurt
  • 1/4 cup olive oil
  • 1/4 cup agave nectar

Directions:

  1. Preheat oven to 350F.
  2. Mix together dry ingredients. In a separate bowl, whisk together wet ingredients.
  3. Combine wet and dry ingredients, then pour into lined muffin tins.
  4. Bake for 25-30 minutes. Let cool, and enjoy!

Here’s a look at the process:

I just bought a great new grater from GoodCook, which made zesting the two lemons a breeze (and spared my poor knuckles).

IMG_5357

They’re pretty dense, thanks to the almond flour, so be generous when you’re filling the cups; these muffins will rise only slightly.

IMG_5360

Bake until the edges are a nice golden-brown and a toothpick inserted into the center of the muffins comes out clean.

IMG_5362

Since I used agave nectar, which is 1.4 times sweeter than sugar, I halved the amount of honey the original recipe called for.

But if you like them on the sweeter side, you may want to experiment with the type and amount of sweetener used.

IMG_5363

The lemon yogurt, which I added instead of applesauce, also added another layer of flavor and kept the muffins nice and moist.

IMG_5365

Enjoy, and here’s hoping they bring a little ray of sunshine into your spring!

Is your baking influenced by the change of seasons? 

Recipe: Peanut Butter Chia Seed Granola

IMG_5305

Peanut butter lovers, have I got a recipe for you!

It was developed by Jen, a yoga teacher, personal trainer and fitness instructor in Charlotte, N.C., who blogs over at Peanut Butter Runner. If you get a chance, check it out; not only does she have an inspirational fitness journey, but she also shares deliciously-healthy recipes — and this might be one of her all-time best.

Of course, I played around with it by doubling up on the ingredients and adding a few extras (coconut, raisins, hazelnuts and cinnamon), but it’s just as she described, “sweet, a little salty and very peanut buttery.”

Peanut Butter Chia Seed Granola

(Adapted from Peanut Butter Runner)

Ingredients: 

  • 1 cup peanut butter
  • 2/3 cup maple syrup
  • 3 tbsp coconut oil, melted
  • 2 tsp vanilla
  • 2 tsp cinnamon
  • 6 cups oatmeal
  • 1 tsp coarse sea salt
  • 4 tbsp chia seeds
  • 1 cup unsweetened, sliced coconut
  • 1/2 cup raisins
  • 2 oz chopped hazelnuts

Directions: 

  1. Preheat oven to 300 degrees. Line two large cookie sheets with parchment paper.
  2. In a large bowl, mix together peanut butter, maple syrup, coconut oil and vanilla.
  3. Stir in cinnamon, oats, salt and chia seeds, mixing well until oats are evenly coated with peanut butter mixture.
  4. Gently fold in coconut and raisins until distributed evenly throughout oat mixture.
  5. Divide in half between the baking sheets, spreading into a thin layer on each sheet.
  6. Bake for 20 minutes or until oats and coconut begin to turn a light golden brown.
  7. Let cool completely before storing in an airtight container at room temperature.

Here’s a peek at the process:

Coconut oil is solid at room temperature, so I warmed it gently (until liquid) in the microwave for about 20 seconds before mixing with the first few ingredients.

FullSizeRender (1)

The heat actually helped to soften the peanut butter, which allowed the wet ingredients to melt together nicely.

IMG_5297

Once your peanut butter mixture is blended, it’s time to add all the dry ingredients and stir until evenly combined.

IMG_5299

I had the oven pre-heating while I prepared the baking sheets, but realized right when I was about to pop them in to bake that it was broken (i.e. fan blowing, but no heat)!

IMG_5300

No oven? No problem. I decided to improvise with sheets of foil in the toaster oven. Time consuming, yes, but it worked nonetheless.

IMG_5303

The granola may seem soft when you remove it from the oven, but remember that it will set and harden up as it cools…if it even lasts that long.

IMG_5304

What else would you add in your version of home-made granola? 

Recipe: Vanilla-Almond Chia Pudding

IMG_5179

Thanks to our Whole30 experience, I’ve traded in my longtime breakfast parfait habit (yogurt, granola and fruit) in exchange for morning meals that are more nutrient-dense and less inflammatory. But old habits die hard, and I soon found myself in a Green Eggs & Ham Scramble rut.

Luckily my sister came to the rescue, sending me this recipe for Vanilla-Almond Chia Breakfast Pudding from Daily Burn. I’m a chia fan, not only because they’re packed with omega-3 fatty acids, antioxidants, calcium, fiber and protein, but also because they’re super-hydrating, absorbing up to 10 times their weight in water — or in this case, almond milk!

And as an added bonus, this make-ahead recipe works great for weeks when you know you’ll be pressed for time. Just mix together the ingredients on Sunday night, pour into separate containers, pop ’em in the fridge, and top with a different combo of fruits, nuts and granola each day for a hearty breakfast, filling snack or textured dessert.

Vanilla-Almond Chia Pudding 

Adapted from Daily Burn

Ingredients: 

  • 2/3 cup chia seeds
  • 2 1/2 cup almond milk
  • 1 tsp vanilla
  • 1 tsp agave nectar
  • 1/2 tsp cinnamon
  • Optional add-ins: nuts, berries, shredded coconut, granola, etc.

Directions: 

  1. Combine chia seeds, almond milk, vanilla and agave nectar in a bowl. Stir well until combined.
  2. Cover bowl, and store in the refrigerator overnight or for at least an hour (until mixture thickens).
  3. Stir again before serving, adding more almond milk if pudding’s consistency is too thick.
  4. Top with add-ins of your choice — from fresh fruit and nuts to spices, granola or coconut.

I happened to have these ingredients on hand, but if you don’t use agave nectar, feel free to swap in maple syrup or honey to help sweeten the pudding instead.

IMG_5149

Before the pudding has time to set, the consistency will be super runny; if you’re finding that the chia seeds are sticking together, try using a whisk to separate them before storing your mixture in the fridge.

IMG_5151

This bowl sat overnight, and you can see how the seeds swell up when they absorb the almond milk. They also give the pudding a lovely tapioca-like texture.

IMG_5155

Stir again before serving to  break up any clumps of seeds before adding your favorite toppings. Again, I just worked with what we had in our pantry — Mamma Chia protein granola, cinnamon and hazelnuts.

IMG_5178

The pudding will store in refrigerator for up to five days, so with a little planning you can quickly create a week’s worth of grab-and-go meals!

IMG_5180

What’s your favorite way to incorporate chia into meals and snacks? 

Recipe: Raw Coconut Macaroons with Cacao Nibs

IMG_3845

Remember when I wrote about my recent almond milk experiment?

Well, when all was said and done, I was left with a bowl of expensive delicious almond meal that I couldn’t bear to throw out. And since the food processor was already dirty, I figured I might as well take a stab at this recipe from the lovely Jessica Mishra, a friend who is a health coach and yoga teacher in San Francisco.

Mishra made these decadent little nibbles for one of our SweatGuru events, and no one could believe that they were all-natural, packed with nutrients and brimming with healthy fats. I made a few tweaks — like using dates instead of maple syrup — and am excited to share what has become a favorite after-dinner treat in our house!

Raw Coconut Macaroons with Cacao Nibs

Ingredients: 

  • 6oz almond meal (I use leftovers after making almond milk)
  • 2 cups unsweetened, finely-shredded coconut
  • 2 tsp cinnamon
  • 2 tsp vanilla
  • 2 tsp water
  • 5 pinches sea salt
  • 8 dates, pitted
  • 1/4 cup coconut oil
  • 1/4 cup cacao nibs

Directions: 

  1. Combine almond meal, coconut, cinnamon, vanilla, water, salt and dates in food processor, blending until mixture has a uniform consistency.
  2. As the food processor is running, gradually add in coconut oil until fully incorporated.
  3. Transfer mixture to a bowl, and stir in cacao nibs.
  4. Using a spoon, scoop mixture into hands and press to form into small balls.
  5. Store in an airtight container in the refrigerator for up to a week.

Here’s a look at the process, starting with the inspiration for this recipe: what’s left in nut milk bag after I make a batch of almond milk.

IMG_3838

The coconut oil helps bind all the ingredients together, so you’ll want to scrape the food processor once or twice to make sure everything’s evenly distributed.

IMG_3839

And don’t worry — it’ll be pretty crumbly. Here’s what it looks like after transferring the mixture to a bowl and adding the cacao nibs.

IMG_3841

If you try to roll them, you’ll end up with a crumbled mess — so gently “pack” scoops of the mixture between your palms to form into balls.

IMG_3844

Two more tips: Sprinkle with a dash of coarse sea salt if you like that sweet-salty mix, and separate balls between layers of parchment paper when storing.

How do you make use of your almond-milk remnants?

The Almond Milk Experiment

IMG_3826

Our recent Whole30 experience left Ben and I between a rock and a hard place when it came to morning coffee: Either drink it black or pay a hefty $1 or so per ounce for the deliciousness from Portland Juice Company.

Now wanting to blow through our grocery budget, I knew there had to be another way. Sure, we could fudge our way through with store-bought almond milk, which even when it’s organic and free of lactose, soy, gluten can have some nasty additives (just Google “carrageenan,” for example).

So that left us (read: me) with one, final option: Making it home-made, which I was trying to avoid at all costs — literally and figuratively.

A little math:

  • Nut-milk bag: $10.99
  • 6 oz package of raw almonds: $4.99
  • 12 oz package of dates: $6.99
  • Finally getting over the fear of using my food processor: Priceless

Is it worth it? Well, I might not be the best person to ask since I love my dairy and have since added it back into my diet — in moderation, of course (#BecauseIceCream). But almond milk is a delicious alternative for people with dietary restrictions — especially with the addition of dates as a natural sweetener and pumpkin pie spice for an extra kick.

Making it on my own not only was a learning experience, but it also got me thinking about all the extra gunk I’m consuming in my usual store-bought, sugar- and chemical-laden creamers, so although I don’t expect to make it regularly, I will add it into my repertoire of “every-now-and-then” recipes.

Here’s a look at the process:

Step one: Purchase nut-milk bag. Get mocked by husband when you tell him you’re “going to the store to buy a nut bag.”

IMG_3819

Step two: Soak almonds. Overnight, ideally, but for at least a few hours or until the nuts plump up.

IMG_3820

Step three: Rinse almonds and place in food processor with 3-4 pitted dates and a few cups of fresh water. Blend.

IMG_3821

Step four: Clean up explosion of water from said food processor. Locate manual and read instructions about not filling above “fill line.” Oops.

IMG_3822

Step five: Repeat step four. Clean up second mess, and wonder if you assembled it incorrectly. Nope — just too much liquid. Again.

Step six: Finally blend (for 1-2 minutes) until white and frothy. Smells lovely.

IMG_3823

Step seven: Hold open nut-milk bag over a large bowl and pour mixture into bag to strain. Gently squeeze to get excess liquid out.

IMG_3825

Step eight: Store in airtight container. Preferably a mason jar, particularly if you live in Portland, to cement neo-hippie status.

IMG_3827

Now…what do do with the almond remnants? I’ve got a recipe for that, too! Stay tuned…

Have you made home-made almond milk?

Recipe: Blueberry Chia Overnight Oats

Ch-ch-ch-chia!

If you’re a child of the ’80s, like me, that’s probably the first thing that comes to mind when you hear people talking about chia. But these tiny, nutrient-packed seeds are much more than the green, grass-like fur growing on those nostalgic clay figurines.

A staple for centuries in the Mayan and Aztec diets, they’re again popular with healthy eaters as a great source of fiber, omega-3 fatty acids, calcium and protein, plus a host of vitamins and minerals.

I’d never had ’em before, so my sister and I decided to experiment over the holidays. Our result was a hit with everyone the next morning!

Blueberry Chia Overnight Oats

Ingredients:

  • 1 cup oatmeal
  • 1 cup Greek yogurt
  • 1 1/2 cup of your favorite milk (cow, soy, almond, etc)
  • 8-10 tsp chi seeds
  • 1 cup blueberries
  • 8-10 tsp maple syrup
  • 1 tsp vanilla
  • 1 tsp cinnamon

Directions:

  1. Combine all ingredients in a medium-sized bowl, stirring well to incorporate.
  2. Pour into separate cups and cover, or place covered bowl in the refrigerator (overnight, if possible).
  3. When you’re ready to eat, give it a quick stir. Serve with your favorite toppings.

Some helpful hints: We opted for soy milk, instead of our usual cow’s milk, to add a little more flavor dimension.

IMG_3559

You can further adjust the amounts, depending on whether you want it sweeter, thicker or more chia-ey.

IMG_3561

Here’s how it looked just before I popped it in the fridge to set overnight; as you can see, it’s pretty runny.

IMG_3563

But, by morning, the chia seeds soak up moisture and get plump, so it almost has a tapioca-pudding consistency.

IMG_3564

Scoop into individual servings — this recipe makes 4-6, depending on how hungry you are…

IMG_3565

…and top with your favorite fresh stuff. We opted for strawberries, which were surprisingly sweet for mid-winter in Michigan, and sliced almonds.

IMG_3569

Have you experimented with chia seeds? Got any good recipes to share?