After spending too many hours passed out on the couch after long runs, I finally perfected a formula for being able to salvage afternoons after intense training sessions:
Hot shower + Smoothie (*consumed in shower) = Ticket to feeling like a million bucks
And the more nutrient-dense the smoothie the better, so my body can start repairing itself as I go about my day.
Which is where Baobab comes in: I just heard of this most “super” of the superfruits recently and decided to give it a whirl after learning about its almost-too-good-to-believe benefits…
- More antioxidants than any other superfruit, even acai, blueberries and pomegranate
- High soluble fiber content (50% by weight)
- A raw, whole, organic food
- Ethically and sustainably harvested, even helping impoverished African communities
- The planet’s highest plant source of calcium
- More iron, potassium and magnesium than most other superfoods
- Six times the Vitamin C of oranges
- Rich in electrolytes and has a very high bioavailability
- Contains no fillers or added sugar, sodium or preservatives
With a sweet, tangy and pear-like flavor profile, it’s an ideal addition to recovery smoothies to help boost your immune system, minimize inflammation and enhance digestion after tough workouts.
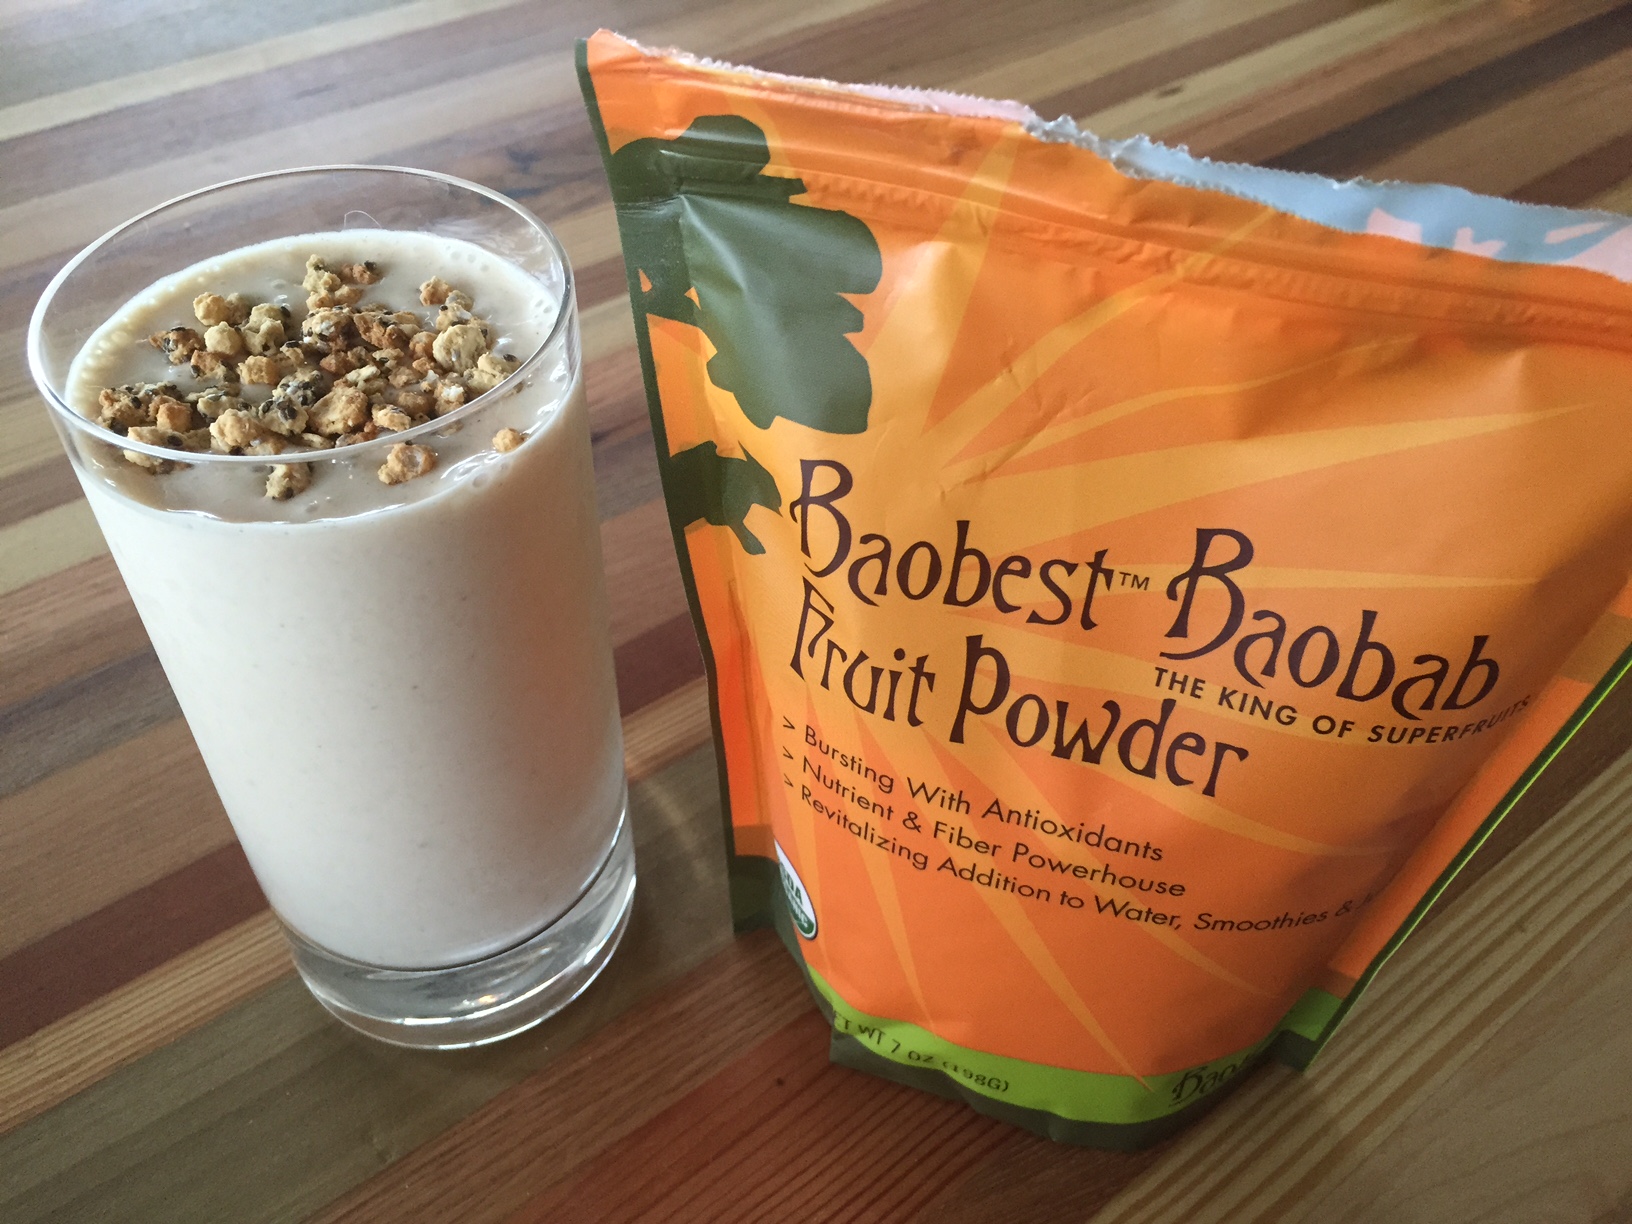
I think it’d work best for enhancing the flavor of berry-based smoothies, but I put it to the test in my standard peanut-butter-and-banana protein shake and was pleasantly surprised by the light taste and slight tang.
It did the trick post-run, but it’s also an excellent option for a quick grab-and-go breakfast!
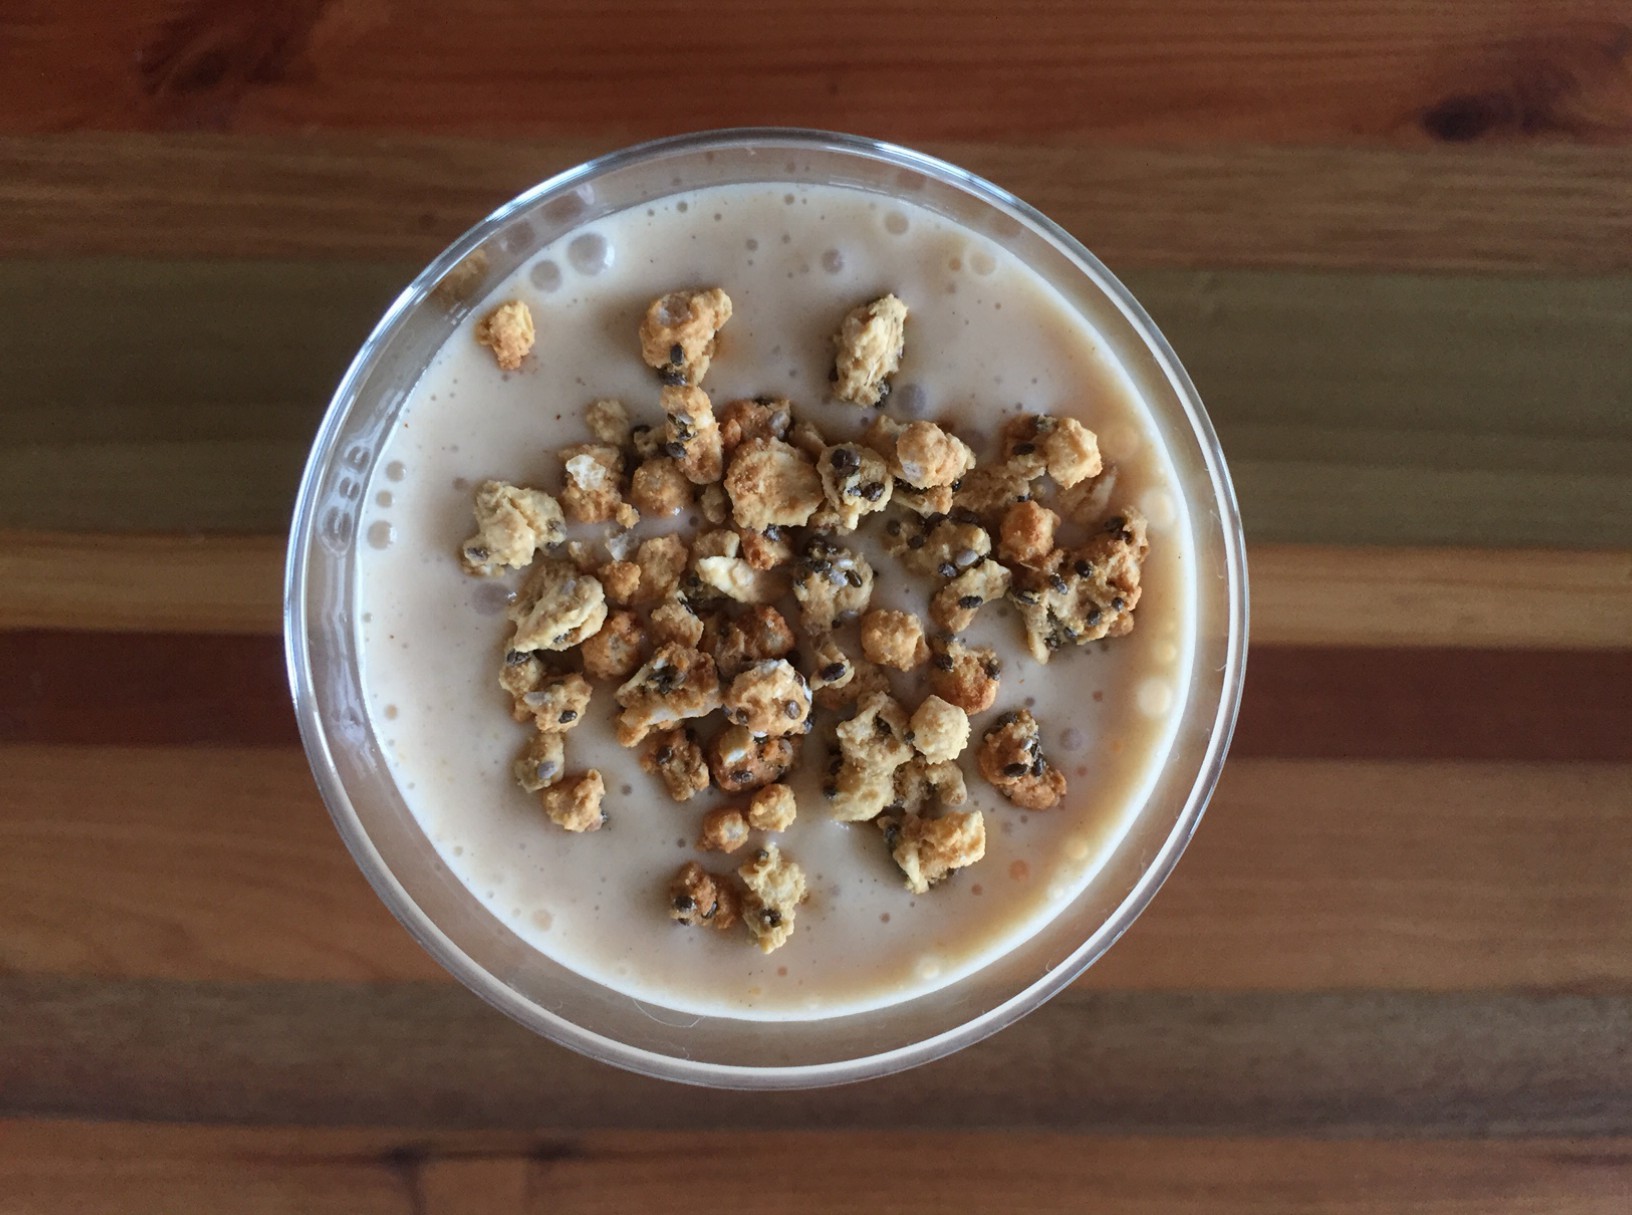
Baobab Recovery Smoothie
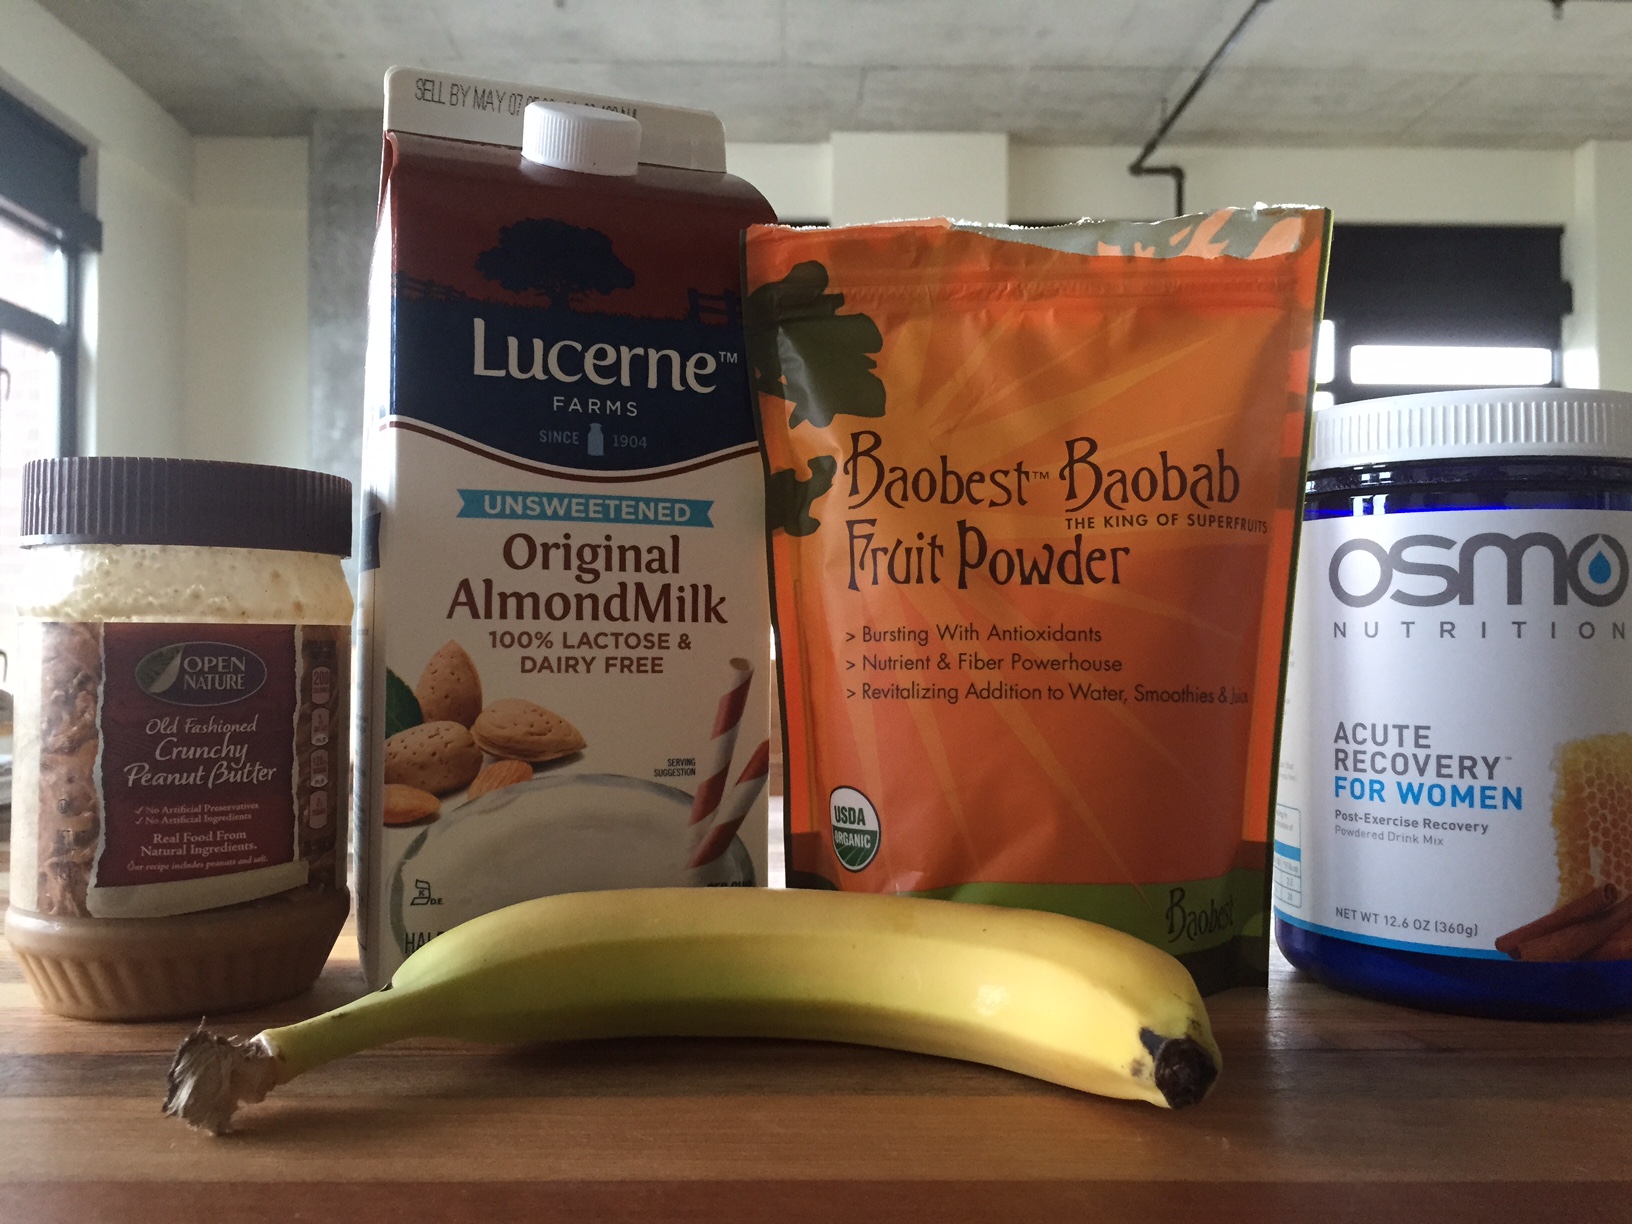
Ingredients:
- 10 ice cubes
- 1 cup unsweetened almond milk
- 1 banana
- 1 scoop Osmo Nutrition Acute Recovery
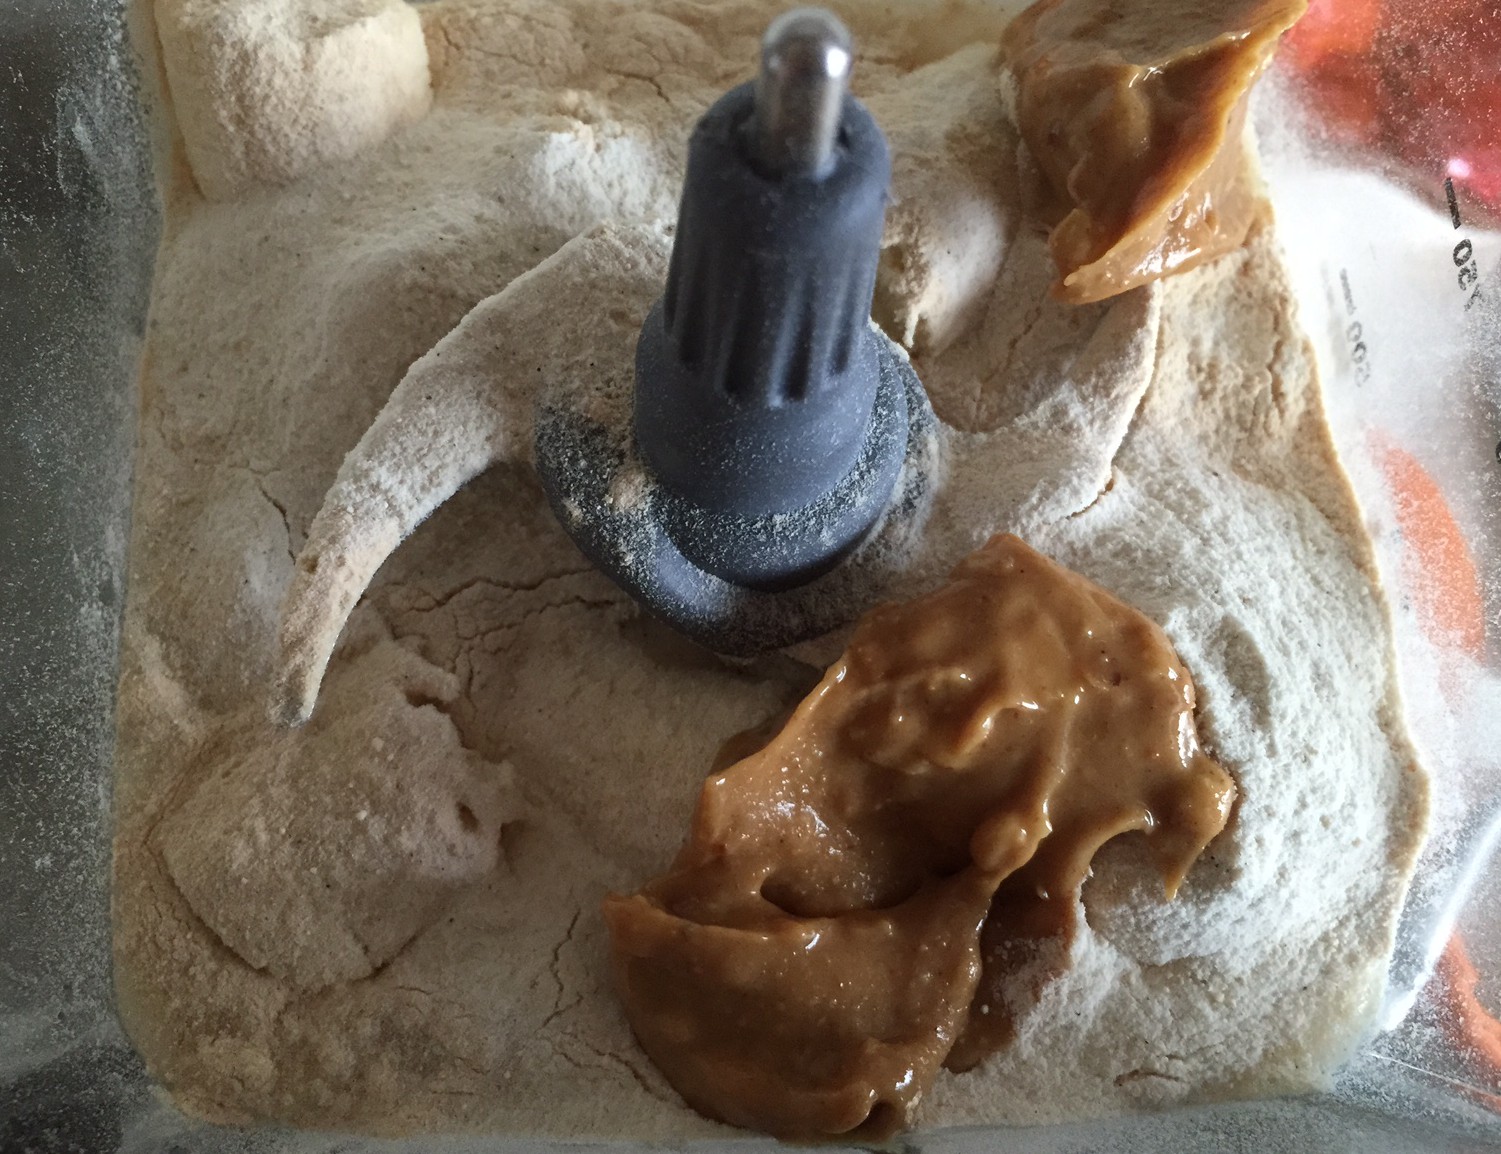
- 2 Tbsp natural peanut butter
- 2 Tbsp Baobest Baobab fruit powder
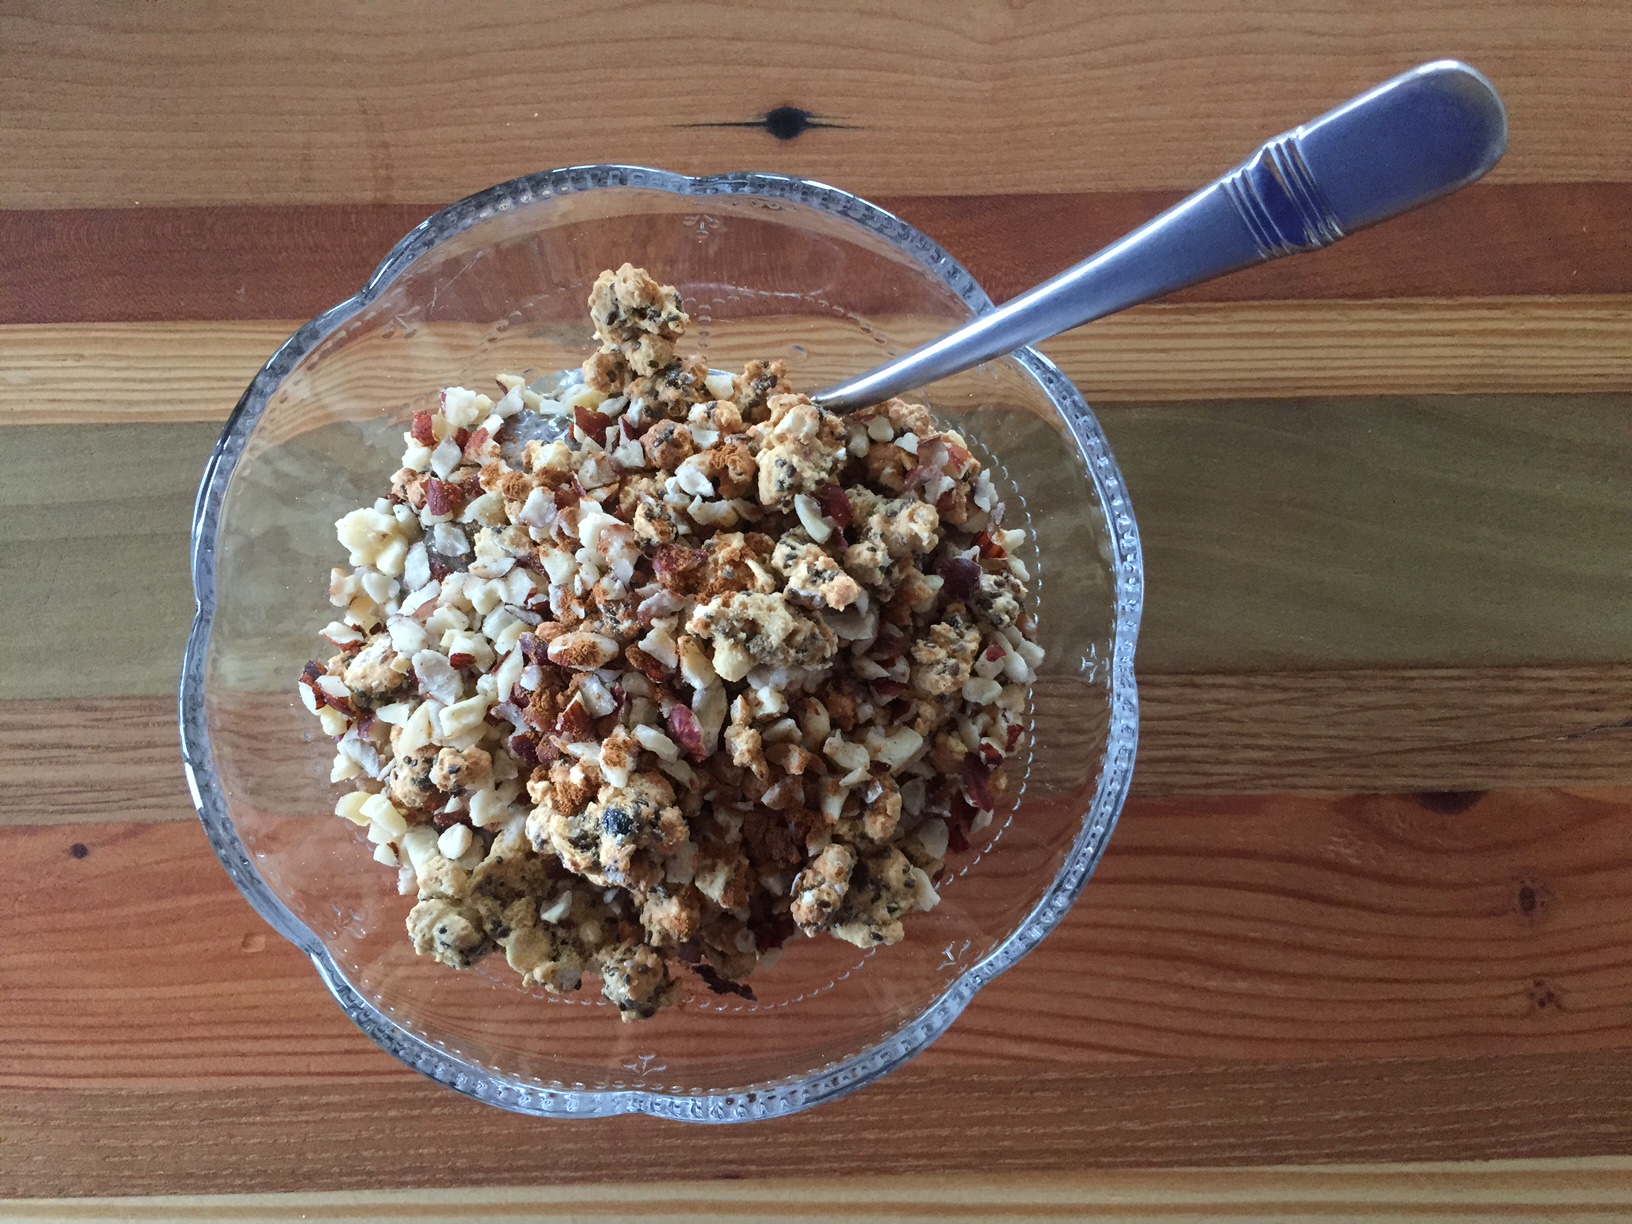
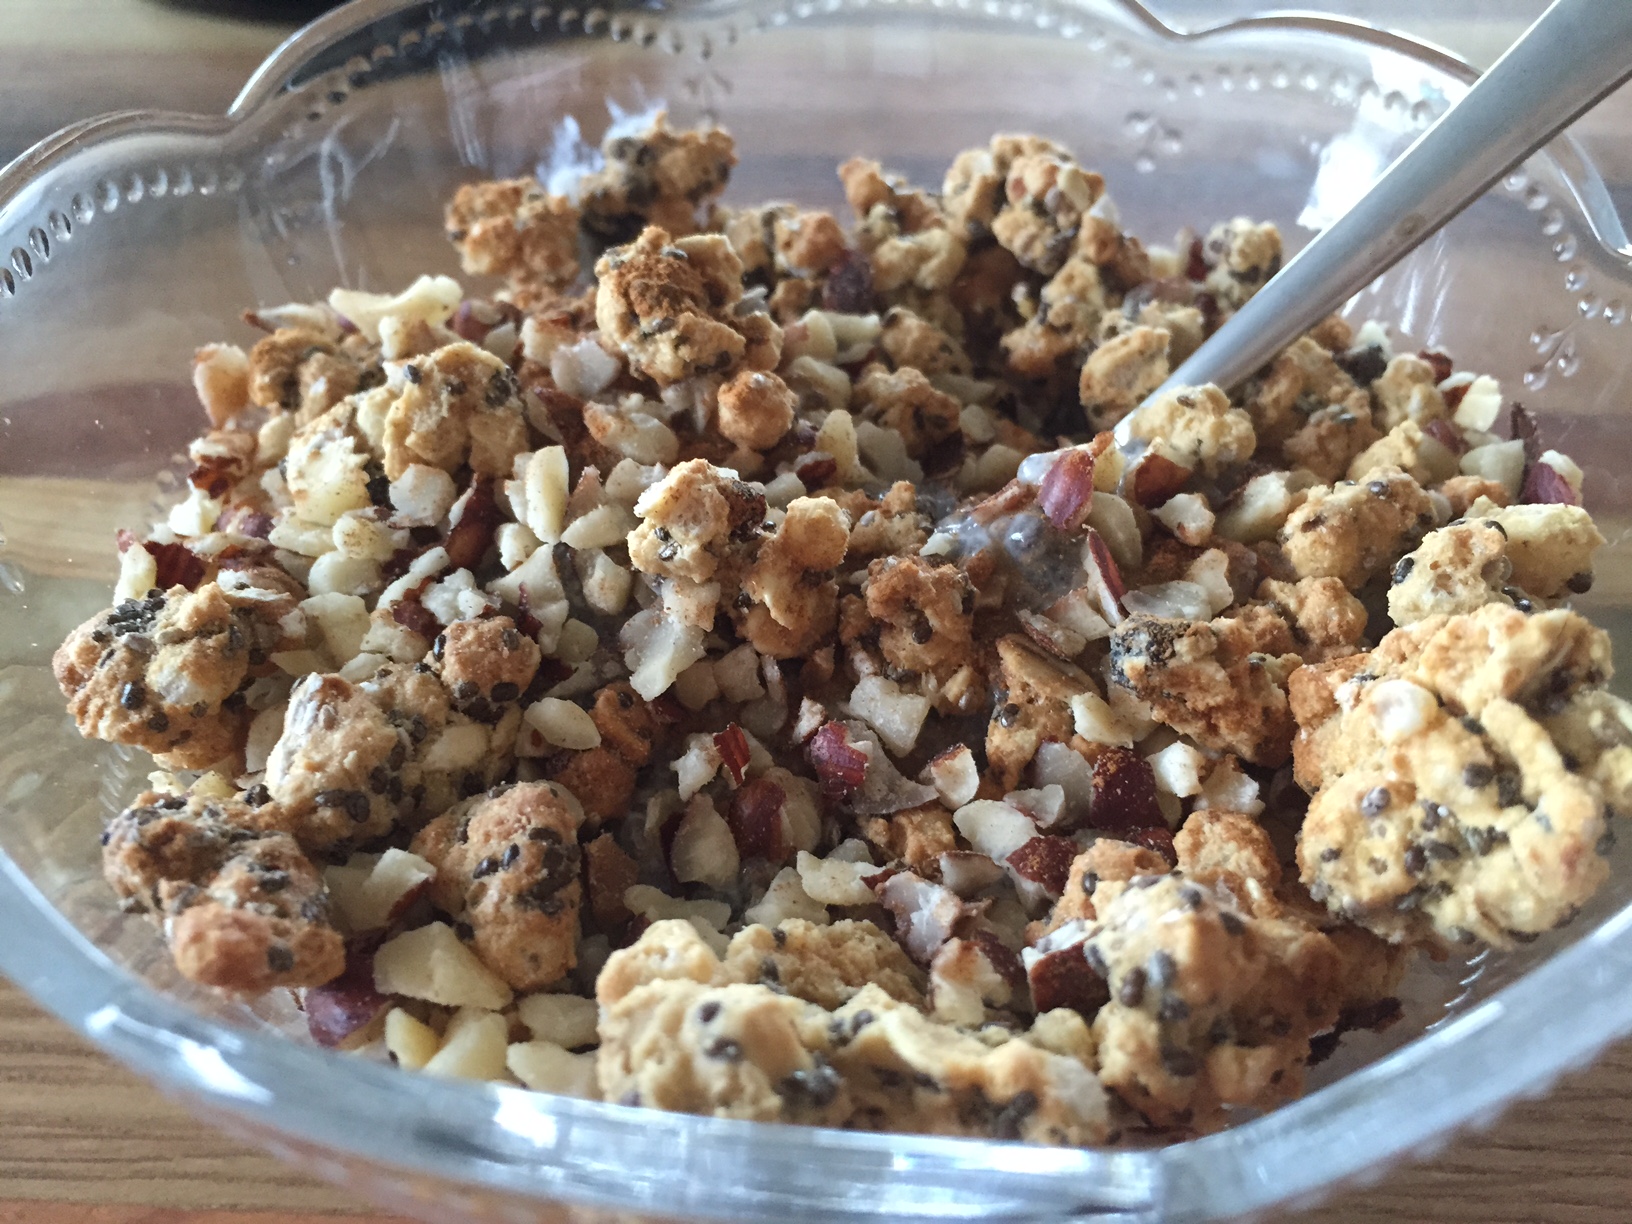
- 1 Tbsp Mamma Chia Vitality Granola Vanilla Almond Clusters
Directions:
- Add first six ingredients to blender, and blend until desired consistency.
- Top with sprinkle of granola. Relax, sit back, and enjoy!
Fun fact: Since Baobab has a high pectin content (around 25%), it offers the benefit of being a natural thickening and binding agent for a nice, rich texture in recovery shakes.
Harvesting baobab provides a cash crop for women in southern Africa and encourages protection of ancient Baobab trees, so it’s an ingredient you can actually feel good about using.
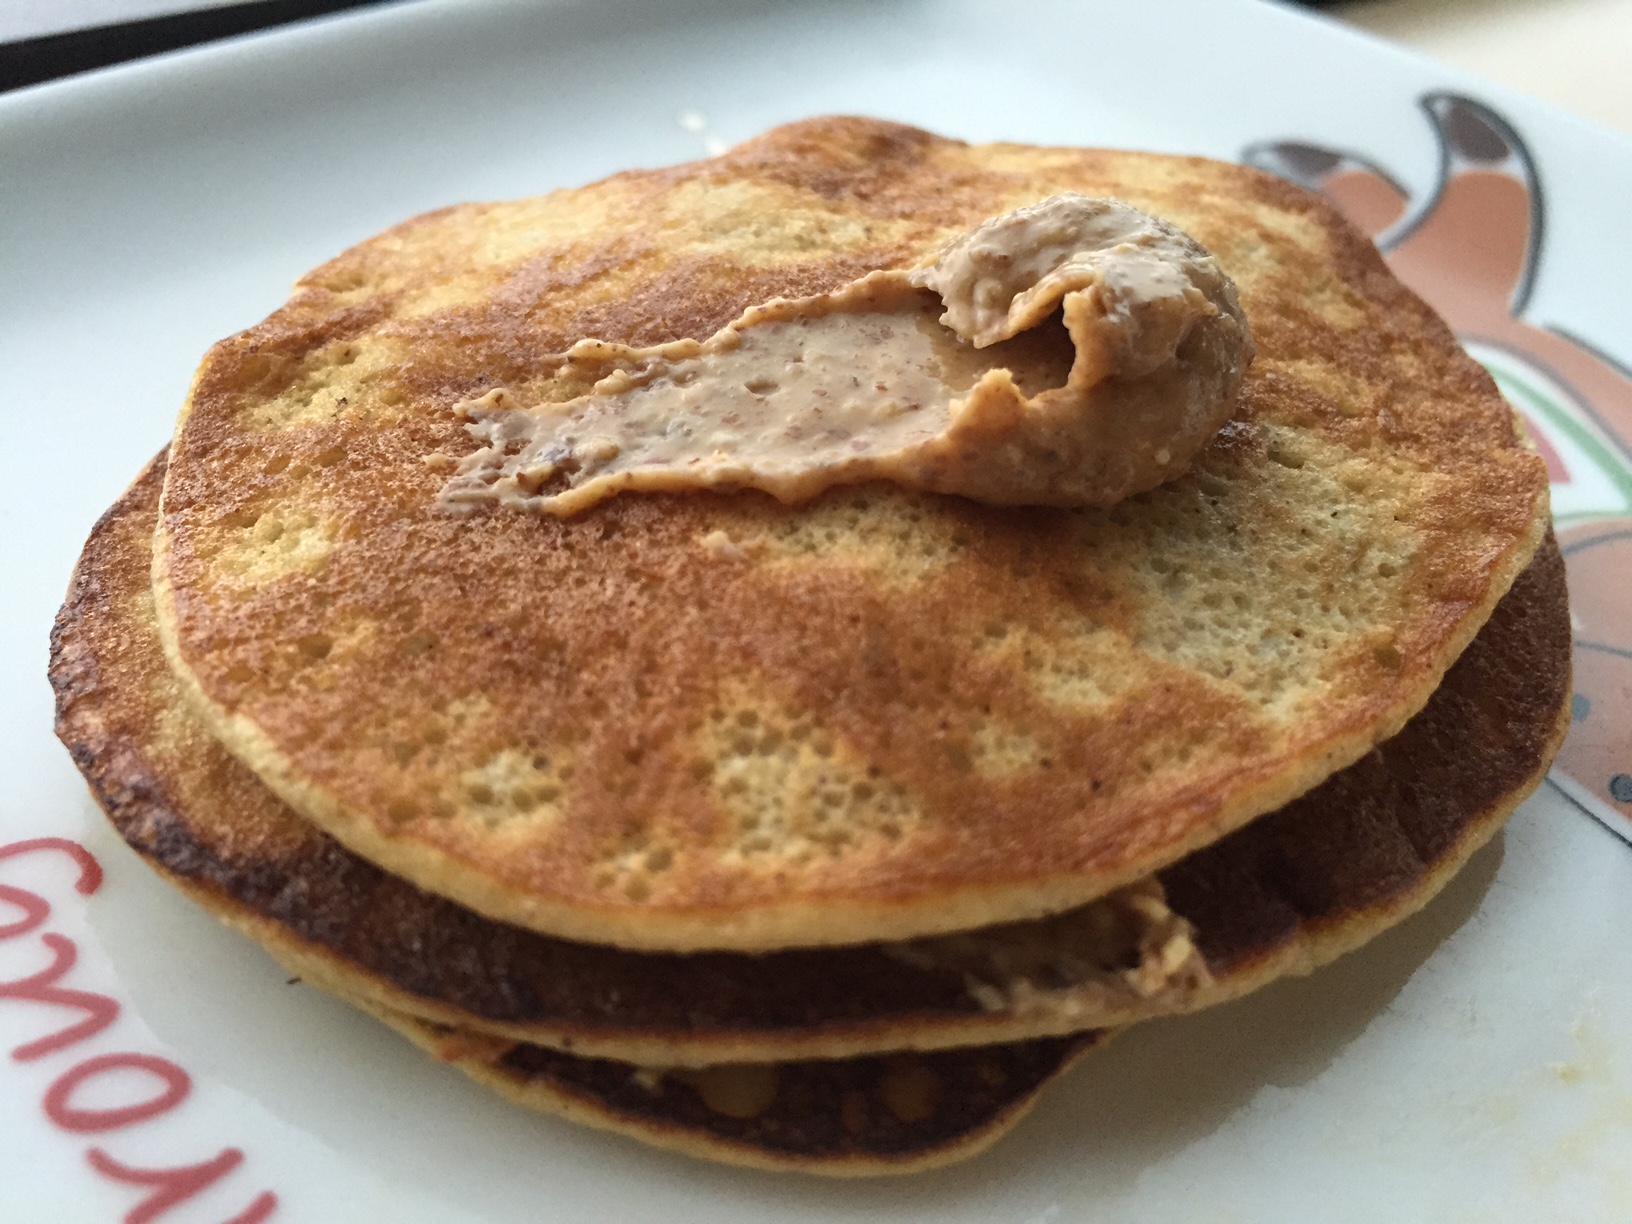
Plus, the flavor’s also light enough where it’ll blend in seamlessly with pretty much anything — from smoothies and other drinks to oatmeal, baked goods, yogurt and sauces. Cheers to that!